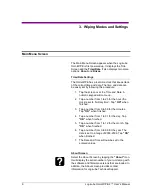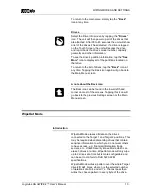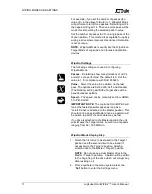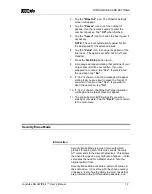
WIPING MODES AND SETINGS
13 Logicube OmniWIPE-
2 ™ User’s Manual
then prompt the user to unlock the drive with the
correct password.
Not all drives support Security Erase. If Security
Erase detects unsupported drives, an error message
will appear and the operation will abort.
NOTE:
Security Erase mode does not use a Master
drive. All drives that are attached to the OmniWIPE
are seen as Targets. The drive in the Master position
becomes Target 3.
Security Erase Settings
The following settings are used in configuring Security
Erase Mode:
Passes
– Determines how many times that the
OmniWIPE will write to the drive. The default is 1.
Unlike WipeOut mode, there is no formula for the
number of passes.
NOTE
: Setting the number of passes to 0 will make
the OmniWIPE wipe as if 1 pass was selected.
Enhanced
– Some hard drives are able to support an
Enhanced Security Erase procedure. Enhanced
Security Erase will write a data pattern, predetermined
by the hard drive manufacturer, to all user data areas
including sectors that are no longer in use due to
reallocation.
NOTES:
If Enhanced
Erase is set to “Y” and the drive attached
to the Master/Target 3 position supports Enhanced
Security Erase, all Enhanced Security Erase capable
drives attached will be erased. Drives that are non-
Enhanced Security Erase capable will not be erased,
If Enhanced Erase is set to “Y” and the drive attached
to the Master/Target 3 position does not support
Enhanced Security Erase, an error message will
appear and the operation will abort.
If Enhanced Erase is s
et to “N” and the drives attached
do not support Security Erase, an error message will
appear showing “Drive error. Timeout waiting for drive
to respond.”
Please check your hard drive’s documentation to see if
it supports these features.
Security Erase Mode Step-by-Step
1. Attach the drive(s) to be erased to the Target
position(s).

