background image

(iPod / iPhone not included)

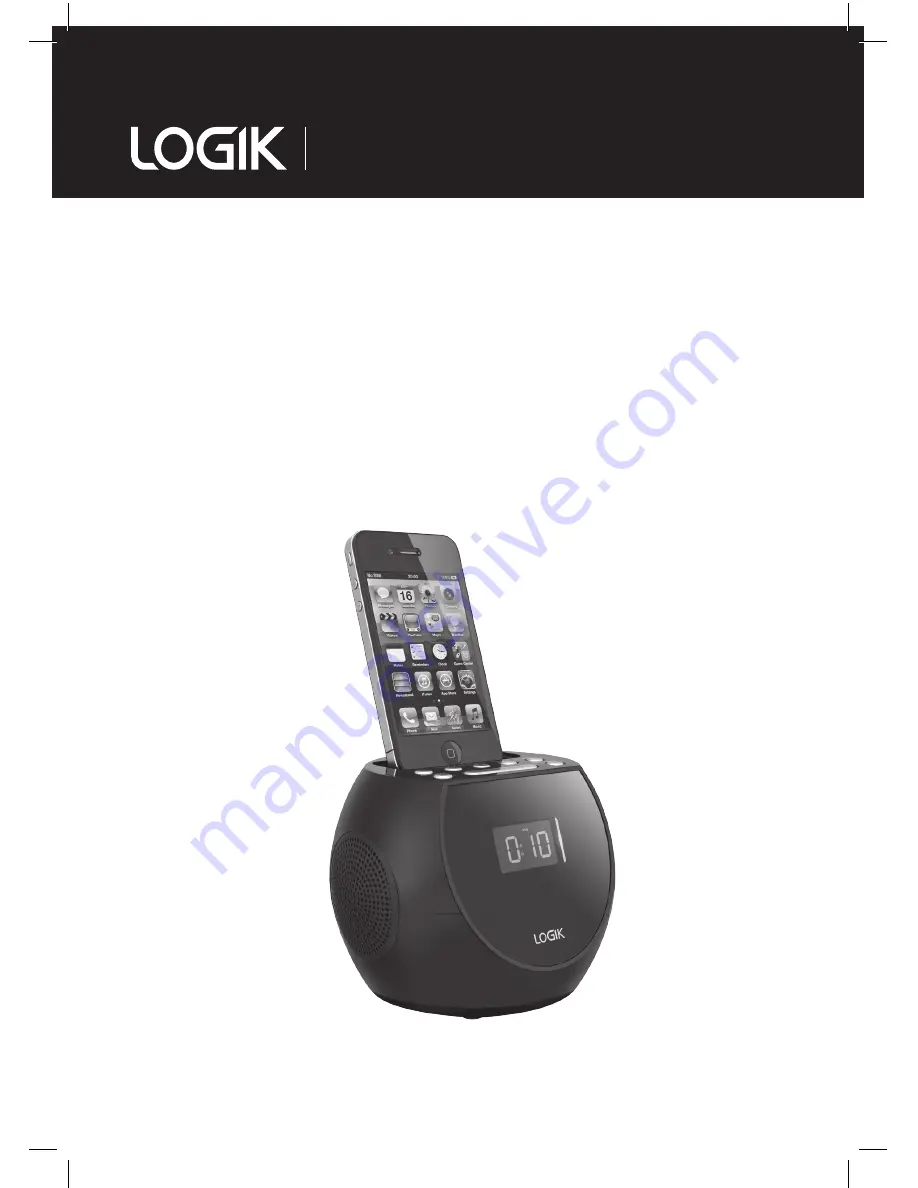
Instruction Manual

Clock Radio  

for iPhone and iPod  
with a lightning connector

LCRLI13

LCRLI13_IB.indd   1

23/07/2013   12:17

Summary of Contents for LCRLI13

Page 1: ... iPod iPhone not included Instruction Manual Clock Radio for iPhone and iPod with a lightning connector LCRLI13 LCRLI13_IB indd 1 23 07 2013 12 17 ...

Page 2: ...LCRLI13_IB indd 2 23 07 2013 12 17 ...

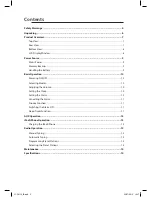
Page 3: ...ing Modes 10 Adjusting the Volume 10 Setting the Clock 10 Setting the Alarm 10 Cancelling the Alarm 11 Snooze Function 11 Switching the Alarm Off 11 Sleep Timer Function 11 AUX Operation 12 iPod iPhone Operation 12 Charging the iPod iPhone 12 Radio Operation 13 Manual Tuning 13 Automatic Tuning 13 Programming Preset Stations 13 Selecting the Preset Stations 14 Maintenance 14 Specifications 14 LCRL...

Page 4: ...erious damage Switch it off at the mains immediately Unplug the mains plug and consult your dealer Ventilation To prevent the risk of electric shock or fire hazard due to overheating ensure that curtains and other materials do not obstruct the ventilation vents Do not install or place this unit in a bookcase built in cabinet or in another confined space Ensure the unit is well ventilated Safety Al...

Page 5: ...with arrowhead symbol within an equilateral triangle is intended to alert the user to the presence of uninsulated dangerous voltage within the unit s enclosure that may be of sufficient magnitude to constitute a risk of electric shock The exclamation point within an equilateral triangle is intended to alert the user to the presence of important operating and maintenance servicing instructions in t...

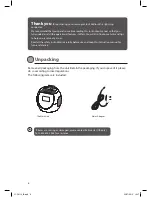
Page 6: ...nstruction manual so that you fully understand all the operational features it offers You will also find some hints and tips to help you resolve any issues Read all the safety instructions carefully before use and keep this instruction manual for future reference Unpacking Remove all packaging from the unit Retain the packaging If you dispose of it please do so according to local regulations The f...

Page 7: ...S P Button 6 PREV TUNE Button 1 3 4 5 8 9 11 2 6 7 10 2 12 13 14 12 DC 5 9V IN Power Connection 13 FM Aerial Wire 14 AUX IN Socket 7 NEXT TUNE Button 8 VOLUME ALARM1 Button 9 SNOOZE SLEEP Button 10 VOLUME ALARM2 Button 11 LCD Display Product Overview Top View LCRLI13_IB indd 7 23 07 2013 12 17 ...

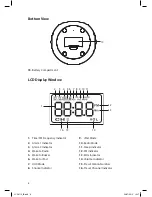
Page 8: ... Alarm 2 Indicator 4 Wake to Radio 5 Wake to Buzzer 6 Wake to iPod 7 AUX Mode 8 Snooze Indicator 9 iPod Mode 10 Radio Mode 11 Sleep Indicator 12 FM Indicator 13 MHz Indicator 14 Volume Indicator 15 Preset Station Number 16 Preset Channel Indicator Bottom View 15 15 Battery Compartment LCRLI13_IB indd 8 23 07 2013 12 17 ...

Page 9: ...ge to property Install the battery correctly by following the polarity and indications in the battery compartment Only use the battery type indicated in this manual Do not install new batteries with used ones and do not mix different types of batteries Do not dispose of the used batteries as domestic waste Dispose of them in accordance with local regulations If you are not going to use the unit fo...

Page 10: ...ress the TIME button to adjust the minute digits 3 Press the buttons to adjust the minute digits and then press the TIME button to confirm the clock setting Setting the Alarm 1 In standby mode press ALARM 1 or 2 the display will brighten and the or indicators will light the word BUZZER will flash in the display 2 Press the buttons to select which mode you want to wake up to Buzzer radio or iPod th...

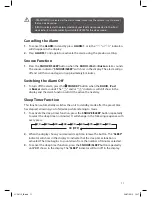
Page 11: ...me has elapsed allowing you to fall asleep while listening to music 1 To activate the sleep timer function press the SNOOZE SLEEP button repeatedly to select the sleep time in minutes It will change in the following sequence with every press 10 00 OFF 20 60 40 80 30 70 50 90 2 When the display shows your desired sleep time release the button The SLEEP indicator will show in the display to indicate...

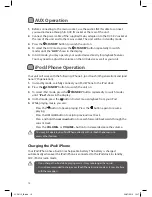
Page 12: ...ss the STANDBY button to switch the unit on 3 To select iPod mode press the STANDBY button repeatedly to switch modes until iPod shows in the display 4 In iPod mode press the button to start music playback from your iPod 5 While playing music you can Press the button to pause playing Press the button again to resume playing Press the or button to skip to previous next track Press and hold the or b...

Page 13: ...vides the best reception for your favourite FM stations Manual Tuning 1 In radio mode press TUNE buttons until you reach the desired frequency or the reception is at its best Automatic Tuning 1 In radio mode press and hold the TUNE buttons until the unit starts to search up or down the frequency band The tuner will automatically search for the first station of sufficient signal strength 2 Repeat t...

Page 14: ...ree cloth Do not use any cleaning fluids containing alcohol ammonia or abrasives Do not spray an aerosol at or near the unit Ensure the unit is fully unplugged from the mains socket before cleaning Selecting the Preset Stations 1 In radio mode press the PRESETS P button once The preset number will appear in the display 2 Press the TUNE buttons repeatedly to select the preset station number shown o...

Page 15: ...ay to buy electrical spares and accessories With over 1 million spares and accessories available we can deliver them directly to your door the very next day Visit www partmaster co uk or call 0844 800 3456 UK customers only Calls charged at National Rate Made for iPod and Made for iPhone mean that an electronic accessory has been designed to connect specifically to iPod or iPhone respectively and ...

Page 16: ... IB LCRLI13 130700 DSG Retail Limited Registered in England No 504877 Maylands Avenue Hemel Hempstead Hertfordshire HP2 7TG UK LCRLI13_IB indd 16 23 07 2013 12 17 ...

Reviews: