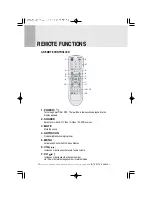
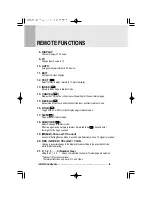
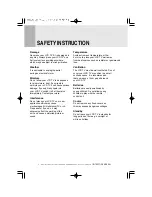
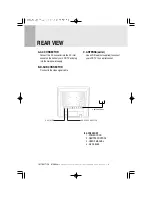
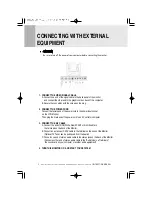
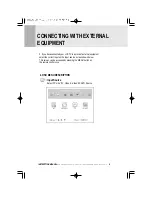
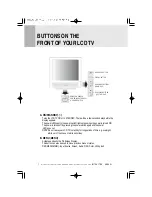
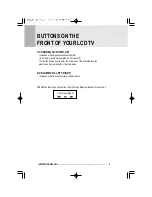
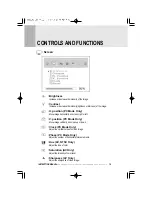
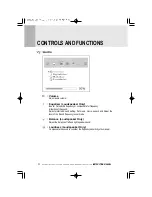
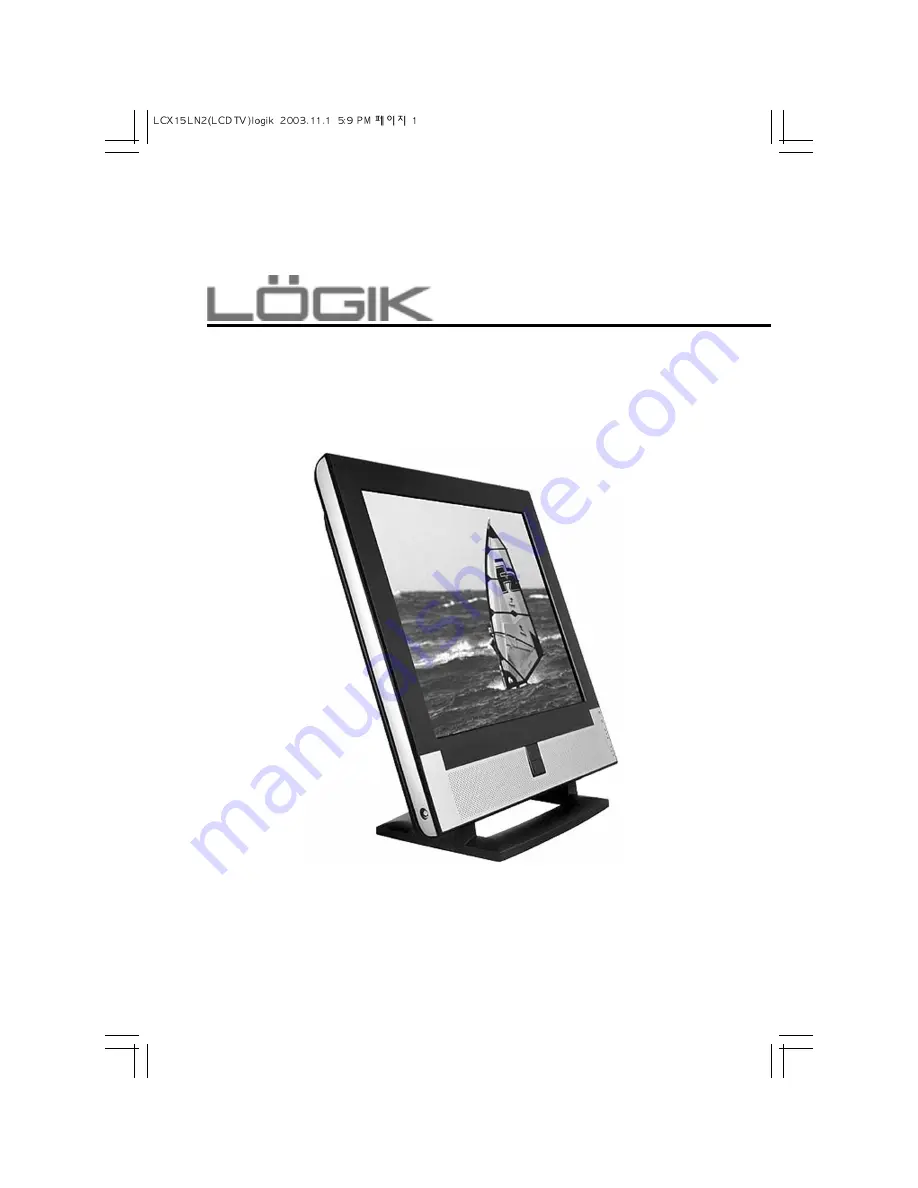
background image

LCX17LN2  LCDTV

INSTRUCTION  MANUAL

Summary of Contents for LCX17LN2

Page 1: ...LCX17LN2 LCDTV INSTRUCTION MANUAL ...

Page 2: ...OTE FUNCTIONS 2A 2B SAFETY INSTRUCTION 3 REAR VIEW 4 CONNECTING WITH EXTERNAL EQUIPMENT 5 6 BUTTONS ON THE FRONT OF YOUR LCD TV 7 8 TUNING YOUR LCD TV 9 CONTROLS AND FUNCTIONS 10 16 TROUBLE SHOOTING GUIDE 17 SPECIFICATIONS 18 ...

Page 3: ... cause fire or electrical shock SCREEN BURN Please note that some programmes are broadcast with a logo which will appear in the corner of your TV screen Some of these logos can be very bright and may cause damage by permanently maeking the logo on the screen To prevent this avoid watching channels displaying a logo for prolonged periods of time particularly when the TV is not being watched Turning...

Page 4: ...eo TV Video S Video SCART sources 3 MUTE Mute the sound 4 AUTOSCAN Find available channels programs 5 MENU Activates and exits the On Screen Display 6 VOL Increases or decreases the level of audio volume 7 CH Increases or decreases the channel number Up Down the teletext page number in teletext mode A REMOTE CONTROLLER 1 2 4 8 5 6 10 3 9 7 6 7 11 12 19 21 20 ...

Page 5: ...ay page in teletext mode 17 SIZE Page expand in teletext mode 18 SUBCODE Select Sub page in teletext mode If Some page may be multiple in teletext Select subcode Key and enter four digits for the page you need 19 I II Multi Channel TV Sound Access I II Setting Stereo Mono Second Audio Selection when a TV signal is received 20 RED GREEN YELLOW CYAN Change to associated page in the display block acc...

Page 6: ...tic interference TV or Hi Fi speakers If you do it may adversely affect the working of the unit and cause a distorted picture or sound Temperature Avoid extremes of temperature either hot or cold place your LCD TV well away from heat sources such as radiators or gas electric fires Ventilation The LCD TV must be well ventilated Do not cover your LCD TV or position in a small confined space It is re...

Page 7: ...AC connector into the AC inlet socket on the back of your LCD TV and plug into the main power supply B D SUB CONNECTOR Connect to the video signal cable C ANTENNA aerial Use an RF lead not supplied to connect your LCD TV to on aerial socket INSTRUCTION MANUAL 4 A AC INLET B D SUB CONNECTOR C ANTENNA aerial ...

Page 8: ... to the power input socket on the LCD Monitor Then plug the male end of the power cord to an AC outlet or computer 3 CONNECT THE A V CABLE A Connect the end of RCA White Red SCART or S VHS cable to the terminals on the back of the Monitor B Connect an antenna or CATV cable to the terminal on the back of the Monitor Optional TV Tuner can be purchased from the dealer C Connect one end of stereo audi...

Page 9: ...the correct input on the input source screen shown below This screen can be accessed by pressing the MENU button on the remote control once CONNECTING WITH EXTERNAL EQUIPMENT 2 OSD MENU DESCRIPTION Input Source Select PC or AV TV Video S Video SCART Source INSTRUCTION MANUAL 6 ...

Page 10: ... and the power LED goes out NOTE Do not leave your LCD TV in standby for long periods of time e g overnight while out of the house or while on holiday B MENU MENU Activates and exits the On Screen Display This button can also be used to move previous menu or status OSD MENU MAIN Input Source Screen Audio OSD Color Utility Exit 7 INSTRUCTION MANUAL B SOURCE BUTTON E VOLUME BUTTONS LEFT RIGHT D CHAN...

Page 11: ...ates as Auto adjust This button allows user to enter the sub menu of the activated function when down key is pressed on the main menu D VOLUME VOL LEFT RIGHT Increases or decreases the level of audio volume NOTE When there is no connection the On Screen Display will show for 3 seconds Check input Signal INSTRUCTION MANUAL 8 ...

Page 12: ...tton to identify which channel you are watching you may need to wait 20 seconds for the channel information to update Press the teletext button again to return to the TV screen Press the MENU button and then vol four times to select the TV channel screen Press CH to highlight Channel Swap and then press the number button for the channel you found in step Eg BBC1 1 BBC2 2 etc Repeat steps for all t...

Page 13: ...orizontally on screen right or left V position PC Mode Only Move image vertically on screen up or down Clock PC Mode Only Adjust the vertical noise of screen image Phase PC Mode Only Adjust the number of horizontal picture elements Hue AV NTSC Only Adjust the tone of color Saturation AV Only Adjust the intensity of color level Sharpness AV Only Adjust the sharpness of video image INSTRUCTION MANUA...

Page 14: ...ency distortion of the sound Select preferred Sound setting flat music movie speech and Adjust the level of the Sound frequency in user mode Balance Loudspeaker Only Adjust the balance of left and right speaker sound Loudness Loudspeaker Only Compensate the sound to consider the frequency sensitivity of human ear 11 INSTRUCTION MANUAL ...

Page 15: ...SD position to right or left V Position Move the OSD position to up or down Transparency Select the OSD background OSD Timer Select the OSD display timing Language Select a language among English Français Deutsch Español Danish INSTRUCTION MANUAL 12 ...

Page 16: ...IONS Color PC Mode Color Temp Adjust color temperature to 9300 6500 user note 9300 is factory default Red Adjust red color for user Green Adjust green color for user Blue Adjust blue color for user 13 INSTRUCTION MANUAL ...

Page 17: ...CC1 CC2 CC3 CC4 Vchip NTSC US Only Initial passwords is 0000 The V chip can block certain rated television shows off if chosen so children cannot watch programs that parents do not approve If the rating codes are higher than the preset values the television signal will be displayed To select V chip on OSD Enter 4 digits of number if you Enter a wrong number Invalid number will be displayed INSTRUC...

Page 18: ... Program or select Clear to remove the channel Program TV Type NTSC Only Select Air or Cable TV system Channel Program Swap PAL or SECAM Only Change current channel number to new channel number user want to change Channel number will be different with real channel number after execute this menu Region Select a channel system that is being used in your region USA Korea NTSC M W EU Scand PAL B G UK ...

Page 19: ...CONTROLS AND FUNCTIONS Exit Exit Turn off OSD Menu INSTRUCTION MANUAL 16 ...

Page 20: ... grounded extension cable or strip 2 Power switch should be in the ON position and LED is lit 3 Check that the Brightness and or the Contrast adjustments of the Display have not been turned down to minimum levels 1 The signal cable should be completely connected to the video card computer 2 The video card should be completely seated in its slot and the computer is switched ON Push the down key on ...

Page 21: ...31 80KHz VERTICAL 56 75Hz INPUT SIGNAL VIDEO Analog 0 7Vp p 75 SYNC Separate TTL Level SCART S VIDEO AV Sound L R PC Stereo Sound RF Tuner option ACTIVE DISPLAY AREA W x H 338mm X 270mm DIMENSIONS W x D x H 416mm X 185mm X 430mm WEIGHT Net Weight 4 9Kg Gross Weight 6 9Kg ELECTRICAL RATINGS INPUT AC100 240V 50 60Hz auto switching N NO OT TE E Technical specifications are subject to change without n...

Reviews: