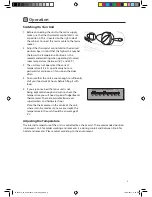
Location
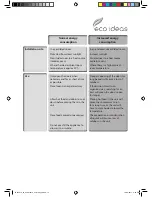
When selecting a position for your unit you should make sure the floor is flat and firm, and
the room is well ventilated with an average room temperature of between 16°C and 32°C.
Avoid locating your unit near a heat source, e.g. cooker, boiler or radiator. Also avoid direct
sunlight as it may increase the electrical consumption. Extreme cold ambient temperatures
may also cause the unit not to perform properly. This unit is not designed for use in a garage
or outdoor installation. Do not drape the unit with any covering.
When installing the unit, ensure that 2 cm of free space is left at both sides and 3 cm at the
rear of the unit. The door can be opened to the right or the left, depending on what better
suits the location. Please ensure there is adequate space for the door to fully open.
• Ensure the unit is unplugged and empty.
• Adjust the two levelling feet to their highest position.
• To take the door off it is necessary to tilt the unit backwards. You should rest the
unit on something solid, e.g. a chair just below the top panel.
• All parts removed must be saved to do the reinstallation of the door. You should
rest the unit on something solid so that it will not slip during the door reversing
process.
• Do not lay the unit flat as this may damage the coolant system.
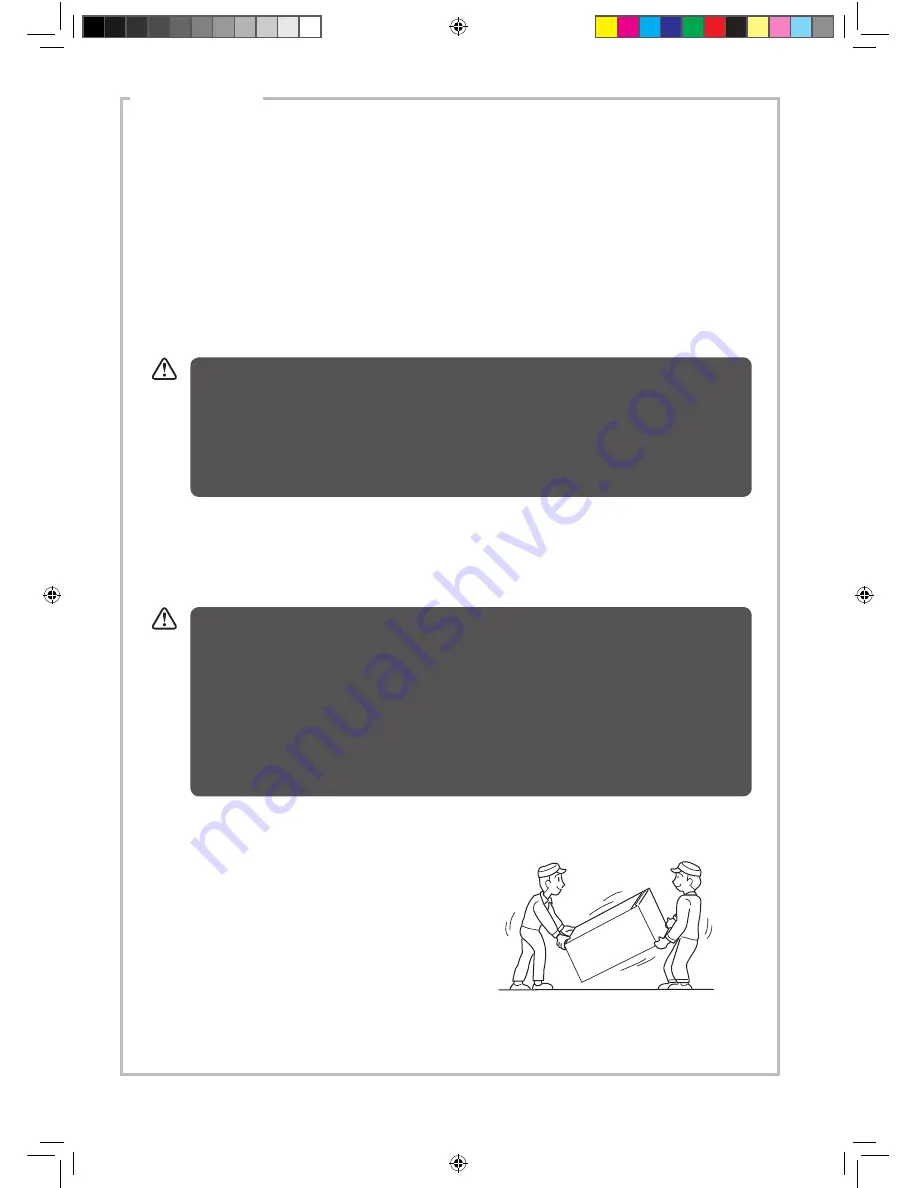
• We recommend that 2 people handle the unit during assembly.
• If you want to have the door swing reversed, we recommend that you contact a
qualified technician. You should only try to reverse the door yourself if you believe
that you are qualified to do so.
• All parts removed must be saved to do the reinstallation of the door. You should
rest the unit on something solid so that it will not slip during the door change
process. Do not lay the unit flat as this may damage the coolant system. Ensure
the unit is unplugged and empty.
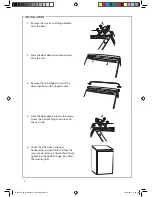
Reversing the Door Swing
Tools required: Phillips style screwdriver / Flat bladed screwdriver / Hexagonal spanner
1. Tilt the unit carefully. 2 people are
required to tilt the unit during the door
reversing process.
INSTALLATION
5
LUL55S10_IB_final110512_door change.indd 5
12/05/2011 4:26 PM
Summary of Contents for LUL55S10
Page 2: ...LUL55S10_IB_final110512_door change indd 2 12 05 2011 4 26 PM...
Page 17: ...LUL55S10_IB_final110512_door change indd 17 12 05 2011 4 26 PM...
Page 18: ...LUL55S10_IB_final110512_door change indd 18 12 05 2011 4 26 PM...
Page 19: ...LUL55S10_IB_final110512_door change indd 19 12 05 2011 4 26 PM...
Page 20: ...LUL55S10_IB_final110512_door change indd 20 12 05 2011 4 26 PM...

