background image

Instruction / Installation Manual

Air-vented Tumble Dryer

LVD6W13

Summary of Contents for LVD6W13

Page 1: ...Instruction Installation Manual Air vented Tumble Dryer LVD6W13...

Page 2: ......

Page 3: ...y Laundry 15 Organising Laundry 15 Selecting the Programme 16 Drying Laundry Loads 0 5kg or Less 16 Dry Programme Setting 17 First Time Use 17 Standard Drying Cycle 17 Tips for Optimum Drying 17 Cance...

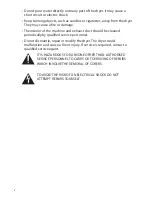
Page 4: ...e dryer for example kerosene gasoline benzene paint thinner and alcohol or clothing soaked with these They may cause an explosion or a fire Installation Check that the voltage marked on the rating lab...

Page 5: ...tricted Do not use a mains plug adapter or extension cable It may overheat and cause a fire Do not operate this dryer until you are sure the dryer has been installed according to the INSTALLATION INST...

Page 6: ...in or spotted with gasoline dry cleaning solvents other flammable or explosive substances as they give off vapours that could ignite or explode To reduce the risk of fire clothes cleaning rags mop hea...

Page 7: ...ure that ensures that the items will not be damaged Children shall not play with the appliance Children must be closely supervised to ensure that they do not play with the appliance This appliance can...

Page 8: ...xhaust duct should be cleaned periodically by qualified service personnel Do not dismantle repair or modify the dryer The dryer could malfunction and cause a fire or injury If service is required cont...

Page 9: ...ividual product for details If items are missing or damaged please contact Partmaster UK only Tel 0844 800 3456 for assistance Thank youfor purchasing your new Logik Dryer We recommend that you spend...

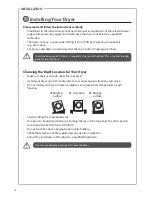
Page 10: ...yer Install your dryer on a flat stable surface to avoid excessive vibrations and noise Do not install your dryer in direct sunlight or in a place where temperatures reach freezing Sloping surface Uns...

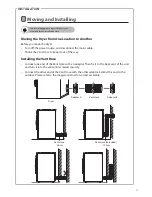
Page 11: ...Extend this end to the outdoor Please refer to the diagrams below for correct assembly Moving the Dryer from One Location to Another Before you move the dryer Turn off the power source and disconnect...

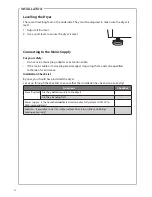
Page 12: ...ins plug are damaged stop using them and call a qualified technician for assistance Installation Check List By now you should have installed the dryer Let us go through the checklist to ensure that th...

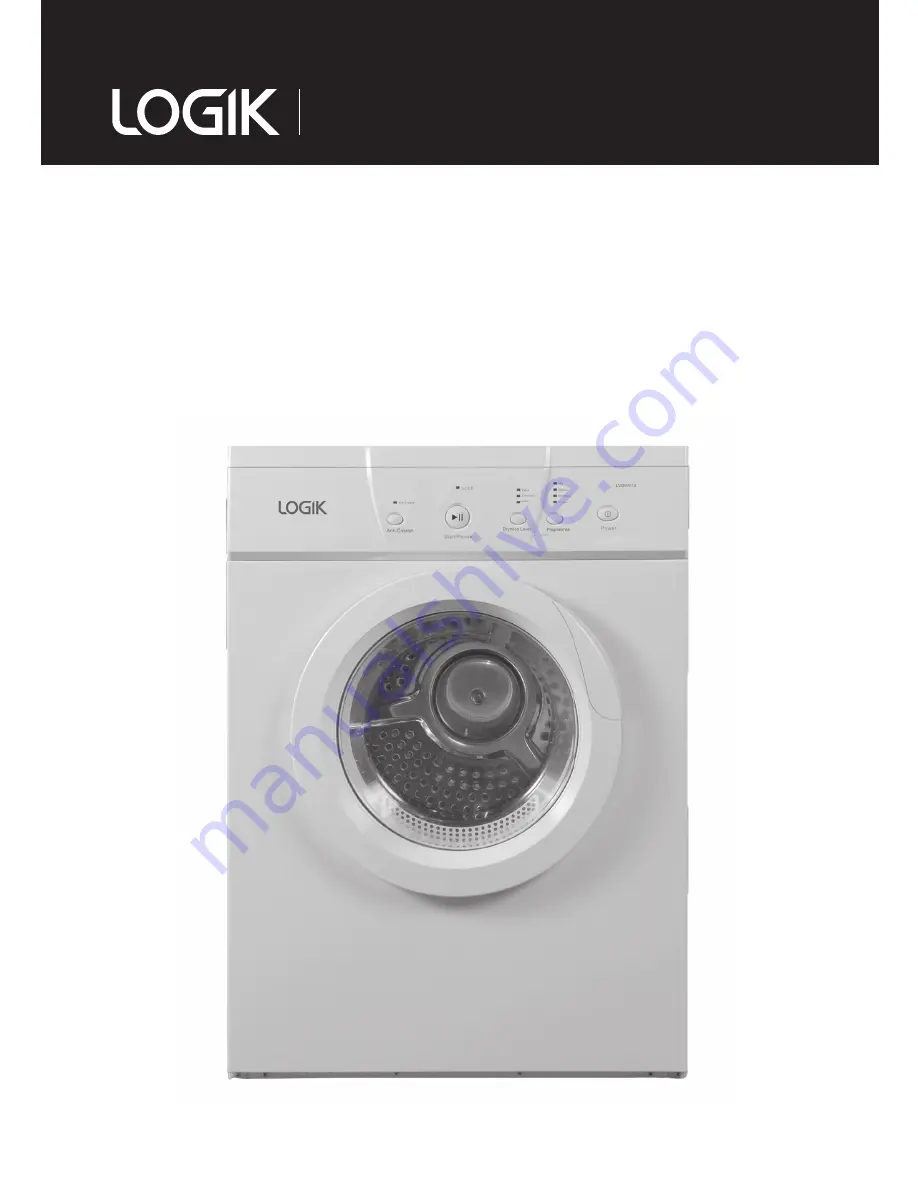
Page 13: ...13 Product Overview The unit Control Panel Door Handle Window...

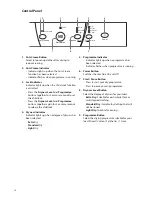
Page 14: ...s together again for 3 or more seconds to release the child lock 4 Dryness Indicator Indicator lights up when a degree of dryness has been selected Extra Dry Standard Dry Light Dry 5 Programme Indicat...

Page 15: ...e remaining moisture content and help dry your laundry faster It will also be more energy efficient Make sure all zips are closed buttons are done up hooks and eyelets are fastened and ties and belts...

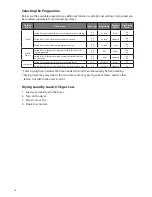
Page 16: ...uitable for clothing comprising particularly thick or multi layered materials 6 0 3 0 Mix Extra 150 100 Suitable for clothing comprising multiple materials that will not be ironed 6 0 3 0 Mix Standard...

Page 17: ...ogramme has finished the machine will beep Tips for Optimum Drying Do not over dry the clothes as this increases the chance of shrinkage and creasing Do not dry clothes containing rubber foam and simi...

Page 18: ...r 3 seconds or more to activate the Child Lock function The machine will beep 4 Press the Dryness Level and Programme buttons at the same time again for 3 seconds or more to cancel the Child Lock func...

Page 19: ...er 4 Clean using a cloth to wipe away lint and dust You can also wash the filter but you must thoroughly dry it afterwards 5 Replace the lint filter firmly Maintenance Cleaning the Dryer Cleaning the...

Page 20: ...re still wet not dry enough Too many clothes in the drum Clothes were not sorted prior to tumble drying Remove some of the laundry The load must NOT exceed 6kg Sort clothes before tumble drying Clothe...

Page 21: ...adornments that are knocking on the drum interior This is normal and NOT a fault Unusual knocking noise from Vent Hose The dryer forces damp air out through the Vent Hose at some force This causes the...

Page 22: ...Power Input 1 800 2 200 W Dimensions of the Product 595mm W x 555mm D x 840mm H Weight of the Product 33 kg Maximum Mass of Dry Cloth 6 kg Energy Rated Programme According To Regulation EN60456 Cotto...

Page 23: ...wer consumption off mode 0 46 W Power consumption left on mode 0 46 W Duration of the left on mode 10 min Cotton Standard programme which is the standard cotton programme used at full and partial load...

Page 24: ...ld waste There are separate collection systems for recycling in the EU For more information please contact the local authority or your retailer where you purchased the product Visit Partmaster co uk t...

Reviews: