Preparing a UTREL30-WiFi for first use
UTREL30-WiFi User Guide
31
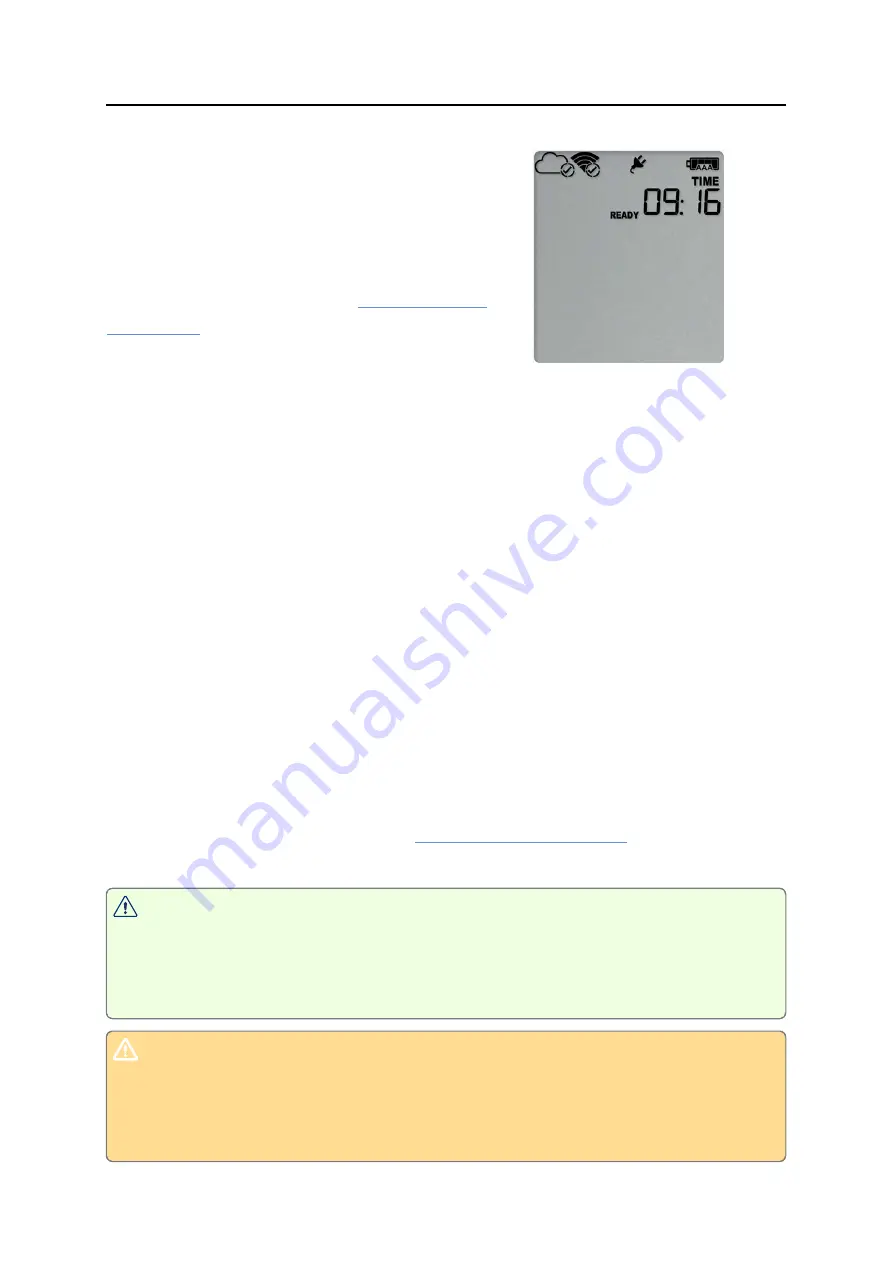
After successful completion of the wireless network
test, the Wizard establishes a connection between
the UTREL30-WiFi and the LogTag
®
Online cloud
server. When completed successfully, the screen on
the right shows.
Please refer to the section about
for reasons why the cloud server
connection can fail.
The UTREL30-WiFi is now ready to be deployed.
The logger will be configured in LogTag
®
Online
LogTag
®
Online can transfer configuration settings containing recording and alarm
parameters to the logger, and automatically start recording temperature data once the
transfer has completed. To do this, following steps are required:
1. Configure the UTREL30-WiFi's wireless network settings using the LogTag
®
Online
Connection Wizard.
2. Register the device in LogTag
®
Online.
3. Attach the UTREL30-WiFi to a location. During the attachment process, select one
of the pre-defined
Logger Configuration Profiles
. Each profile contains
l
the log interval;
l
alarm settings for all alarms; and
l
optionally, a start delay.
Once the settings have been applied, you can view them directly in LogTag
®
Online
for each device. Please refer to the
information.
Please note: This method of configuration sets only a minimal number of pre-
defined parameters to enable logging and transferring real-time data. If you
wish to control the appearance of the PDF file, set advanced options or specify
custom logging parameters please configure the unit using LogTag
®
Analyzer.
If you are attaching both channels of a dual-channel logger, they must be
attached to separate locations. Some parameters such as log interval or start
delay apply to both locations. The configuration profile that was set last
determines these parameters.


