T: 07752 929 363 E:
sales@longridge.co.uk
W:
www.longridge.co.uk
9.
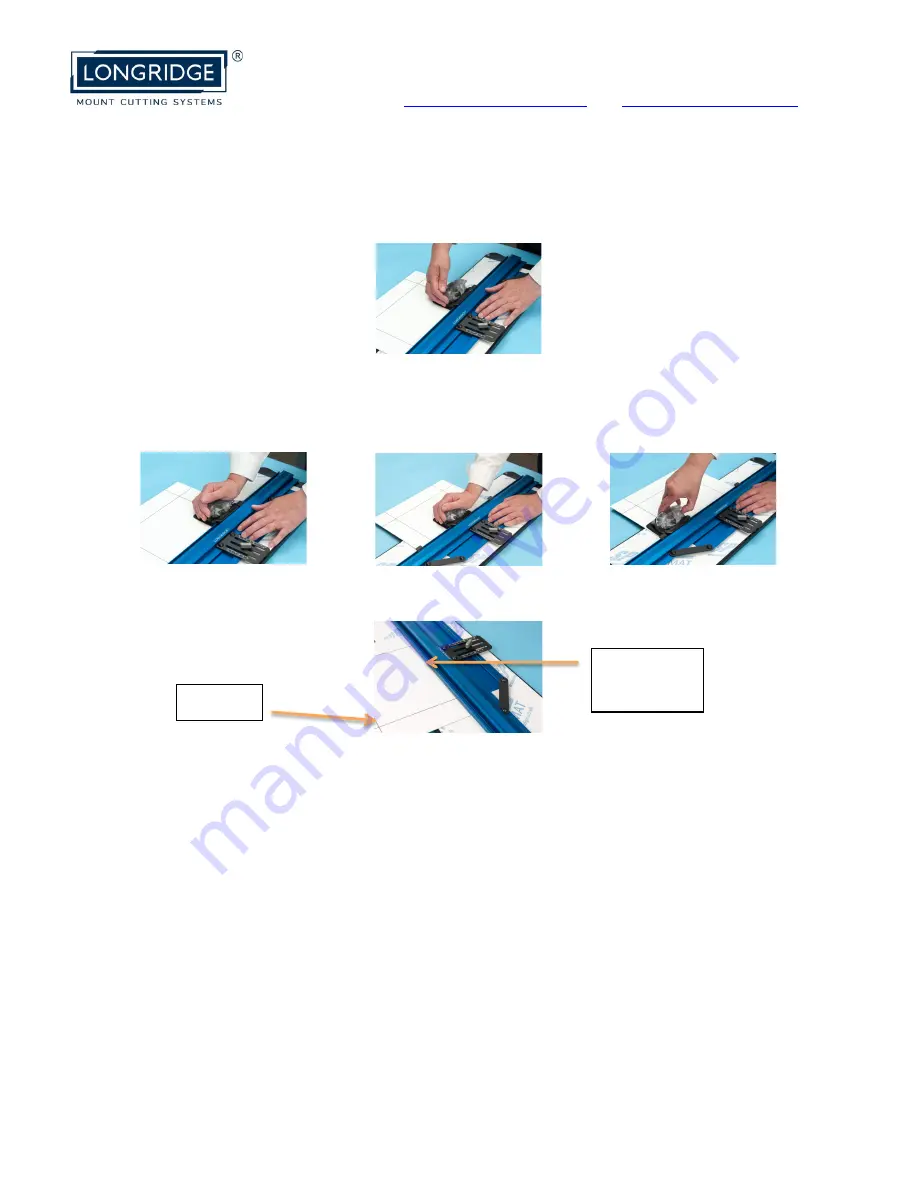
Place one hand on the Guide Rail for your support.
10.
With the other hand, place the palm of your hand over the clear
carrier, keeping the cutter held firmly up against the bottom stop.
11.
Use the heel of the hand to insert the blade fully into the mountboard.
12.
Push the cutter along to the other stop in one continuous action.
13.
Retract the blade fully and take the cutter off the Guide Rail.
14.
Turn the mount around and repeat the steps above.
The cutter stops remain set for the other three sides of a square and for the
opposite long side of a rectangle.
15.
If cutting a rectangular mount, reset the stops and repeat the steps
above for each cut.
In just a few minutes you will have produced that desired professional quality
mount that transforms your fabulous image into a wondrous masterpiece!
Extra Information:
1. To cut several same size mounts with the same borders, mark up a master
copy as a template – do not cut the window aperture. The template is then
used to set up the system without the need for any pencil lines.
Longridge Mountcutters are different – anything else is a compromise
Cut line
Next line
to cut


