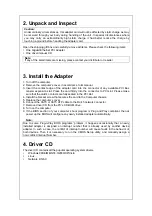
2. Unpack and Inspect
Caution:
Under ordinary circumstances, this adapter card will not be affected by static charge as may
be received through your body during handling of the unit .In special circumstances where
you may carry an extraordinarily high static charge, it had better reduce the charge by
touching a ground before handling the adapter card.
Open the shipping gift box and carefully remove all items. Please check the following items:
y
One Gigabit Ethernet PCI Adapter
y
One
driver/manual
CD
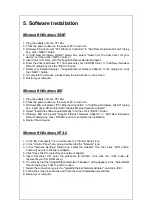
3. Install the Adapter
1. Turn off the computer.
2. Remove the computer’s cover, in accordance to its manual.
3. Insert the contact edge of the adapter card into the connector of any available PCI Bus
master expansion slot. Press the card firmly into the connector to PCI slot. Please make
sure that the card’s contacts are fully seated in the PCI slot.
4. Install the bracket screw that secures the card to the Computer chassis.
5. Replace the computer’s cover.
6. Connect the CAT3 or CAT5 UTP cable to the RJ-45 network connector.
7. Remove driver CD from the PC’s CD-ROM drive.
8. Turn on the computer.
9. If the BIOS section of your computer’s boot program is Plug and Play compliant, then at
power up the BIOS will configure any newly installed adapter automatically.
Note:
Due to some Plug-n-Play BIOS programs' problem, it happens occasionally that a newly
installed adapter is assigned an interrupt number that is already used by another device
adapter. In such a case, the conflict of interrupt number will cause faults in the behavior of
both devices. Then it is necessary to run the CMOS Setup utility, and manually assign a
non-conflict Interrupt Number.
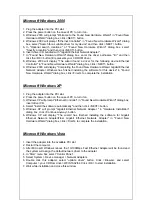
4. Driver CD
The diver CD contains all the popular operating system drivers.
y
Windows
98SE/ME/NT4.0/2000/XP/Vista
y
Linux
y
Netware
4/5/6.X
Note:
If any of the listed items are missing, please contact your distributor or reseller


