6
2. The Transmitter
Code when delivered
(all switches with even figures in position “on“)
2.3 Replacing the battery
The transmitter can be coded individually. This can be helpful if several trans-
mitters with the same frequency (433.92 MHz) are being used in the same area.
The receiver will only react to the signal of the coded transmitter and cannot be
activated from a second transmitter.
Please note
: The receiver will save the code of the transmitter and need not to
be coded itself.
All previous configurings of the buttons should be deleted, in advance, to enable
all buttons to work with the new code from the transmitter (see chapter 3.3).
The system offers 1024 coding options. The setting is made by means of DIP
switches. Each of the 10 switches has two operating positions: on and off.
When delivered the switches with even numbers are in position “on“.
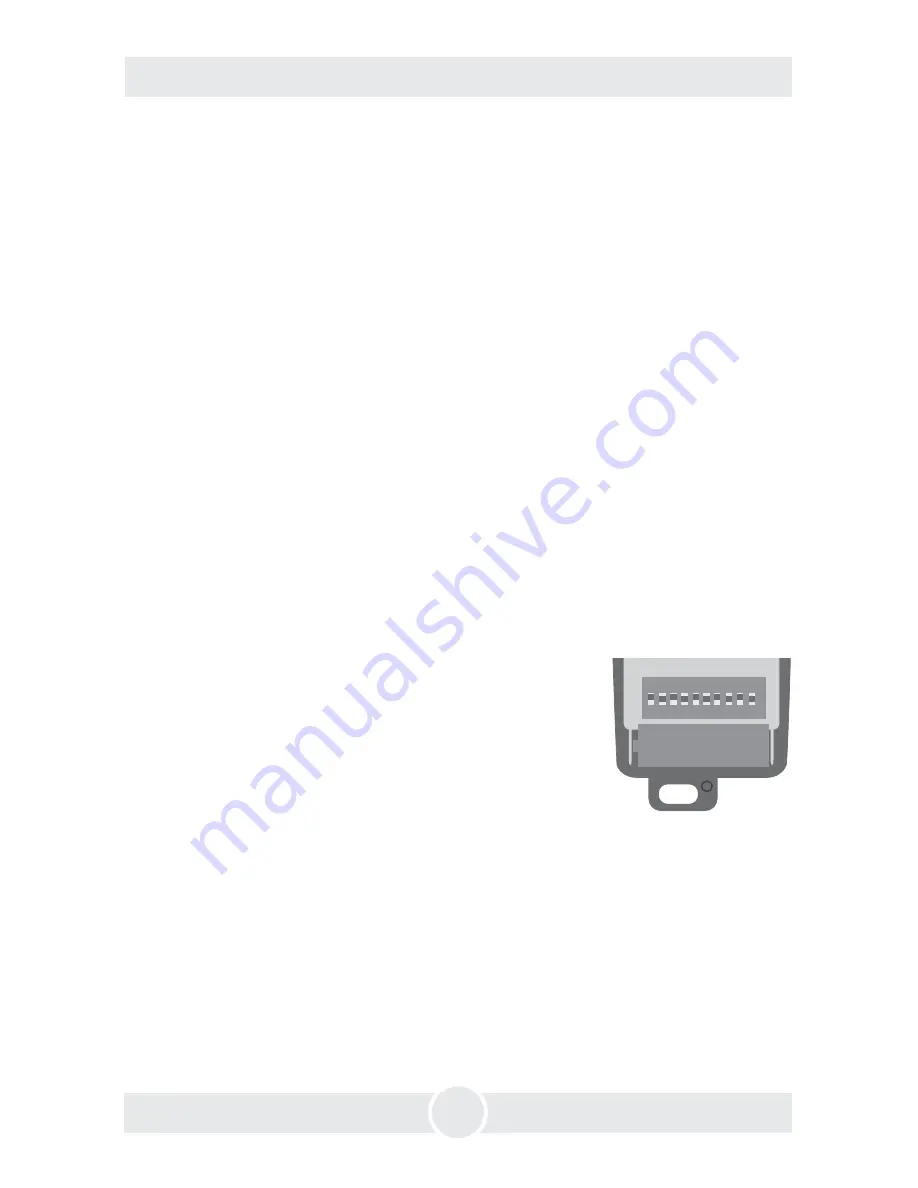
To change the coding set by the factory, open the apparatus by loosening the
screw with a suitable screwdriver and dismantle the two halves of the casing.
Using a ball-point pen you can now set your individual code.
Please note
: The coding of the smaller, 4-position DIP switch must never be
changed!
2.2 Coding
+
–
ON
1 2 3 4 5 6 7 8 9 10
The life of the battery depends on the use of the radio transmitter. If the range
is strongly reduced or transmission is not possible, the battery must be replaced.
Only use standard 12 V-alkaline batteries.
Loosen the screw with a suitable screwdriver and dismantle the two halves of
the casing. Remove the used-up battery and insert the new one. Pay attention to
polarity and test contact of the battery by trying to transmit.
Summary of Contents for Radio Remote
Page 1: ...1 Operating manual Radio Remote v 2 0 a Look Solutions product ...
Page 15: ...15 ...
Page 16: ...16 a Look Solutions product ...


