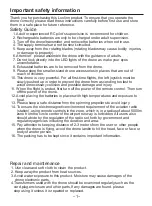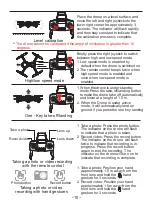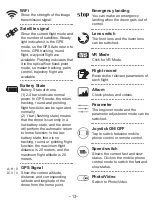
Take a photo
Record video
Lens up
Lens down
-10-
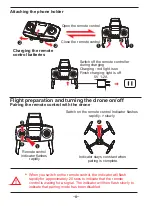
Taking a photo or video
recording with hand gestures
Photo button
Record button
Taking a photo or video recording
with the remote control
One - Key take-off/landing
Level calibration
High/low speed mode
*
The drone cannot be calibrated if the angle of inclination is greater than 10
degrees.
1
.
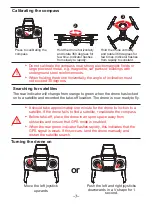
Take a photo: Position your hand
approximately 1.5 m away from the
front lens and hold the hand
gesture for 3 seconds.
2
.
Record video: Position your hand
approximately 1.5m away from the
front lens and hold the hand
gesture for 3 seconds.
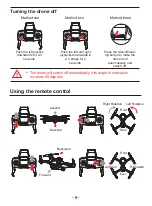
Place the drone on a level surface and
move the left and right joysticks to the
lower right corner for approximately 3
seconds. The indicator will flash rapidly
and then stay constant to indicate that
the calibration process is complete.
1
.
Take a photo: Press the photo button.
The indicator on the drone will flash
to indicate that a photo is taken.
2
.
Record video: Press the record button.
The indicator on the drone will flash
twice to indicate that recording is in
progress. Press the record button
again to end the recording. The
indicator on the drone will turn on to
indicate that recording is complete.
Briefly press the right joystick to switch
between high and low speed mode.
1
.
Low speed mode is enabled by
default when the drone is switched on.
2
.
The remote control beeps twice when
high speed mode is enabled and
once when low speed mode is
enabled.
1
.
When the drone is under standby
mode,Press the take-off/landing button
to make the drone take off automatically
and hover at a height of 1.5 m.
2. When the Drone is under active
mode, it will automatically land on
ground if you press the one key landing


