55
User Manual
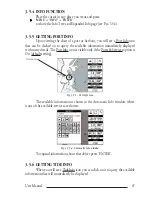
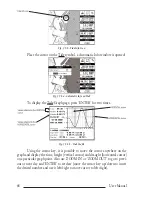
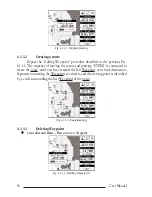
Press 'ENTER'. Select "DELETE" and press 'ENTER'. The Waypoint is
deleted and a new line between previous and next Waypoint is shown. The deleted
Waypoint remains shaded until the screen is redrawn.
Fig. 4.1.1.3a - Deleting Waypoint (II)
4.1.1.4
Deleting route
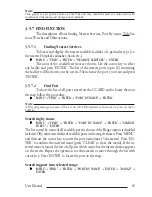
Select Advanced Mode + Place cursor on Waypoint
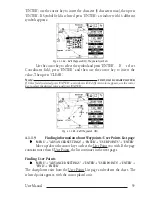
Press 'ENTER'. Select "DELETE ROUTE" and press 'ENTER'. A window
is opened: select "YES" and press 'ENTER' to confirm (select "NO" and press 'ENTER'
otherwise). The route remains on the screen shaded until the screen is redrawn. To
delete route see also Par. 4.1.2.2 and 4.1.2.5.
4.1.1.5
Distance and Bearing to Target
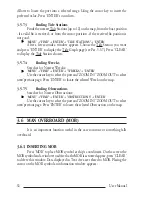
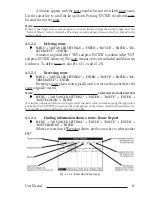
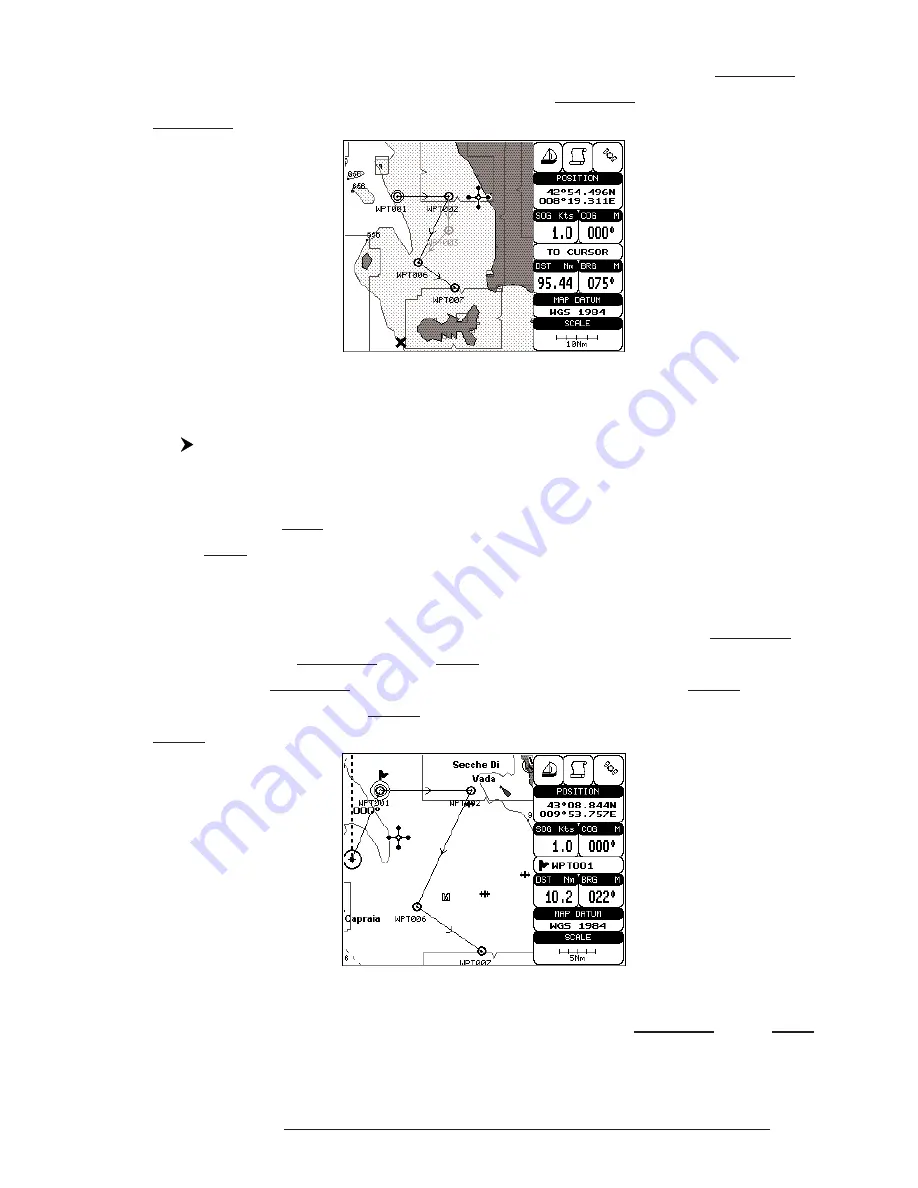
Once you have positioned the cursor on the desired starting Waypoint (it
could be the first Waypoint of the route or another one) press 'GO-TO'.
A circle
surrounds the Waypoint symbol. A line is shown, connecting the Target with the
ship's position. When the Target is placed, all navigation data are referred to this
Target.
Fig. 4.1.1.5 - Selecting destination (Target)
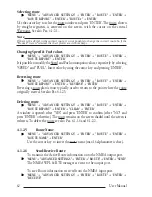
The destination will automatically switch to the next Waypoint on the route
when you reach or pass the present destination.
Summary of Contents for Compact 7 Plus
Page 14: ...16 User Manual...
Page 19: ...21 User Manual Fig 2 5 1 GPS Connection on Port 3...
Page 50: ...52 User Manual...
Page 87: ...89 User Manual 6 For the Technician 6 1 DIMENSIONS Fig 6 1 EXCALIBUR models Dimensions...
Page 92: ...94 User Manual Fig 6 4a GPS Connection on Port 3 for chartplotter with external GPS receiver...
Page 98: ...100 User Manual...

