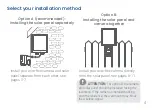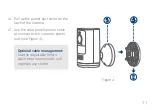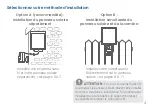
Option B - Installing the solar panel and camera together
1. The solar panel is designed to
maintain the camera battery pack’s
charge. Make sure to first charge the
battery pack using the micro USB
cable.
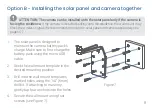
2. Stick the wall mount template in the
desired mounting position.
3. Drill into the wall mount template’s
marked holes using the 1/4” (6mm)
drill bit. If attaching to masonry,
gently tap four anchors into the holes.
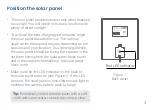
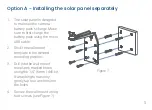
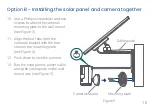
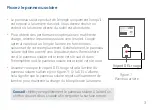
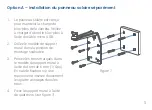
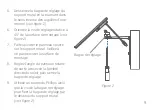
4. Secure the wall mount using four
screws (see
Figure 1
).
8
ATTENTION: The camera can be installed onto the solar panel only if the camera is
facing the residence.
If the camera is installed backing onto the residence, the wall mount may
block the wireless signal. We recommend installing the solar panel and camera separately, see
pages 5-7.
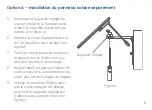
Figure 1
Summary of Contents for ACSOL2 Series
Page 1: ...Solar Panel Quick Start Guide ACSOL2 Series lorex com En...
Page 2: ......
Page 15: ...Panneau solaire Guide de d marrage rapide S rie ACSOL2 lorex com Fr...
Page 16: ......
Page 29: ...Panel solar Gu a de inicio r pido Serie ACSOL2 lorex com Es...
Page 30: ......


