background image

13

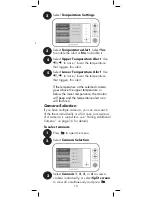
4

Select 

Upper Temperature Alert

. Use 

/

 to raise / lower the temperature 

that triggers this alert. 
Select 

Lower Temperature Alert

. Use 

/

 to raise / lower the temperature 

that triggers this alert. 

If the temperature at the selected camera 

goes above the upper temperature or 

below the lower temperature, the monitor 

will beep and the temperature alert icon 

will flash red.

5

Press 

 to open the menu.

Select 

Temperature Settings

.

2

3

Select 

Temperature Alert

. Select 

Yes


to enable the alert or 

No

 to disable it.

Select 

Low

,

 Medium

,


or

 High

 sensitivity 

and press 

.


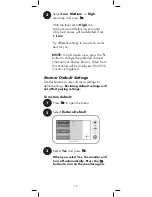
With the level set to 

High

, the camera 

will detect even slight movement. At 

Low 

sensitivity, a larger amount of movement is 

required to trigger the alert.

Try different settings to see which works best 

for you.

Press 

 to open the menu.

Select 

Temperature Settings

.

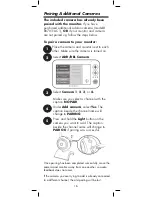
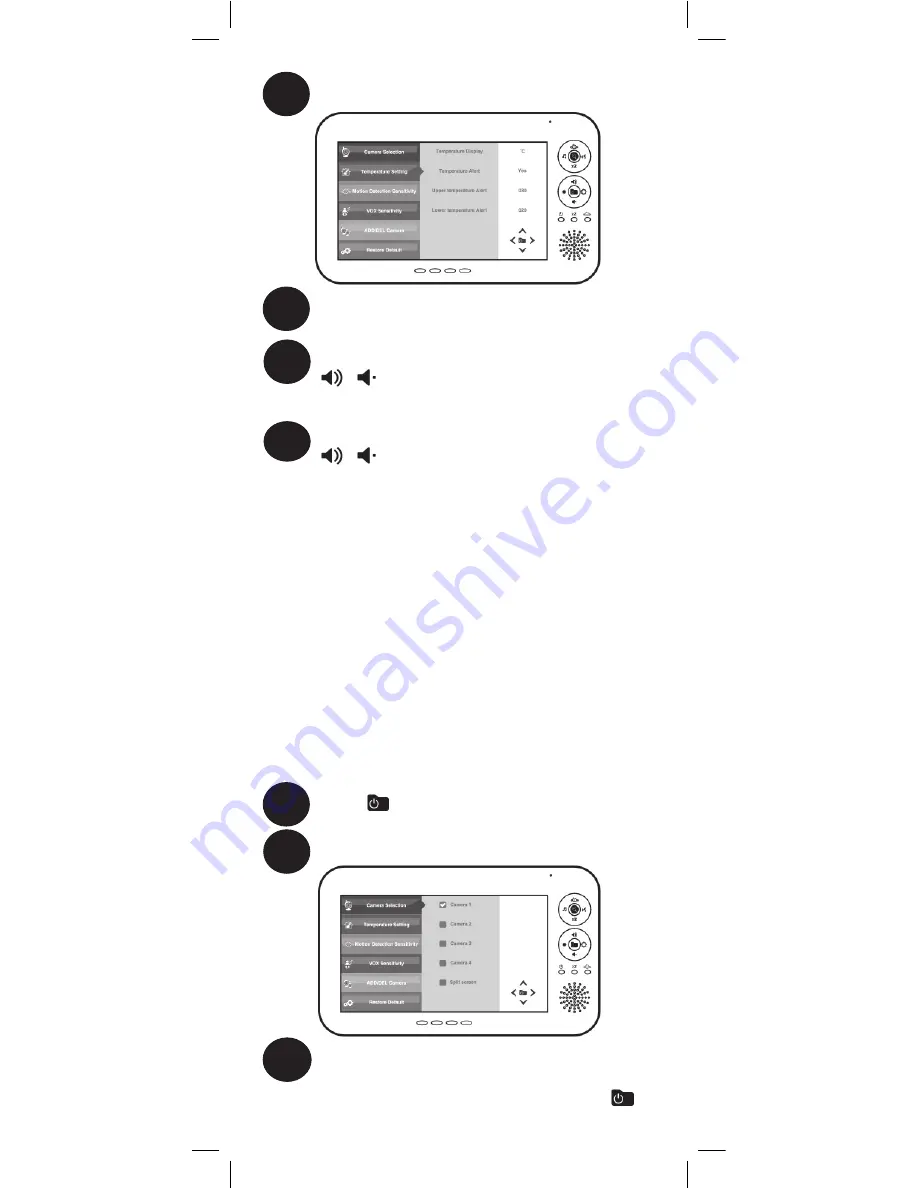
Camera Selection

If you have multiple cameras, you can view each 

of the them individually or all at once (a maximum 

of 4 cameras is supported - see “Pairing Additional 

Cameras” on page 16 for details).

To select camera:

1

Press 

 to open the menu.

Select 

Camera Selection

.

2

3

Select 

Camera 1

,

 2

,

 3

, or

 4 

to view a 

camera individually, or select 

Split screen


to view all simultaneously and press 

.

Summary of Contents for Baby BB7011

Page 1: ...STAR BRIGHT VIDEO BABY MONITOR BB7011 Version 1 0 USER S GUIDE www lorexbaby com ...

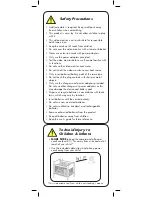
Page 2: ...not touch the plug contacts with sharp or metal objects Only use the chargers and power adapters provided Do not use other chargers or power adapters as this may damage the device and battery pack Dispose or recycle batteries in accordance with local laws which may vary by location Insert batteries with the correct polarity Do not mix new and used batteries Do not mix alkaline standard and recharg...

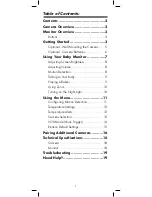
Page 3: ...Detection 8 Talking to Your Baby 9 Playing Lullabies 9 Using Zoom 10 Turning on the Night Light 10 Using the Menu 11 Configuring Motion Detection 11 Temperature Settings 12 Temperature Alerts 12 Camera Selection 13 VOX Mode Voice Trigger 14 Restore Default Settings 15 Pairing Additional Cameras 16 Technical Specifications 18 Camera 18 Monitor 18 Troubleshooting 19 Need Help 19 Table of Contents ch...

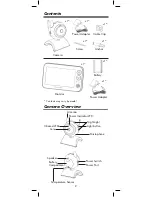
Page 4: ...or Power Adapter Camera Overview Antenna Power Indicator LED Infrared LEDs Lens Night light Light button Microphone Speaker Power Switch Power Port Battery Compartment Temperature Sensor Screw x1 x1 x1 x1 x1 x1 x1 Contents may vary by model x1 Cable Clip ...

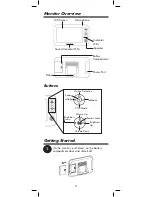
Page 5: ...n Battery Compartment Power Port Stand Night light Light button Microphone Getting Started 1 On the monitor push down on the battery compartment door and slide it off Lullaby Motion Detection Zoom Talkback VOX Mode Volume Up Power Menu Brightness Up Volume Down Brightness Down Buttons ...

Page 6: ...so that the blue arrow on the battery lines up with the white arrow in the battery compartment Replace the compartment door Connect the included power adapters to the monitor and the camera Plug the power adapters into a power outlet Let the monitor charge until the battery is full about 3 hours NOTE The monitor and the camera should be plugged in for overnight prolonged monitoring The power indic...

Page 7: ...ble clip to help keep power cables away from your child Cable clip should be used even if you are not mounting the camera To mount your camera on to turn on the monitor To install the cable clip Place the camera in the desired position Feed the power cable through the two plastic brackets on the cable clip Wrap the cable around the brackets to shorten the cable 1 2 3 Position the cable clip agains...

Page 8: ...e camera can operate for up to 4 5 hours on battery power Optional Camera Batteries Use a flat head screwdriver not included to unscrew the battery compartment on the back of the camera If using batteries it is recommended to use the power adapter whenever possible to save battery life When camera battery life is low the power indicator LED on the camera will begin flashing Do not mix old batterie...

Page 9: ...ts Power Indicator LED Motion Detection Indicator LED VOX Mode Indicator LED Sound Indicator LEDs Low High Indicates power status Glows green when powered on Glows blue when charging Flashes red if the battery is running low Power Indicator LED Glows green when VOX Mode is enabled For more details see VOX Mode Voice Trigger on page 14 VOX Mode Indicator LED Glows green when motion detection is ena...

Page 10: ...ion is enabled To enable motion detection You can set your monitor to sound an alarm when movement is detected on your camera To configure motion detection sensitivity see Configuring Motion Detection on page 11 Press to lower raise the volume of the monitor Adjusting Volume Adjusting Screen Brightness Press to lower raise the brightness of the monitor ...

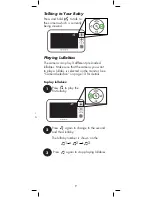
Page 11: ...on page 13 for details To play lullabies Press to play the first lullaby 1 2 Press again to change to the second and third lullaby The lullaby number is shown on the 3 Press again to stop playing lullabies Talking to Your Baby Press and hold to talk to the camera which is currently being viewed to sound an alarm when your camera To configure ity see Configuring Motion 1 2 3 ...

Page 12: ...ing area The figure below shows how to use these buttons as directional keys Press again to zoom out 1 Press to zoom in Using Zoom Press the Light button on the side of the camera to turn the night light on or off Turning on the Night Light Lig ht ...

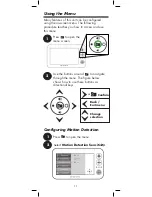
Page 13: ...d to navigate through the menu The figure below shows how to use these buttons as directional keys Change selection or Confirm Back Exit menu Using the Menu Many features of this unit can be configured using the on screen menu The following procedure teaches you how to access and use this menu Configuring Motion Detection ...

Page 14: ...ress to open the menu 3 Select Low Medium or High sensitivity and press With the level set to High the camera will detect even slight movement At Low sensitivity a larger amount of movement is required to trigger the alert Try different settings to see which works best for you Temperature Settings You can select if you would like temperature readings and alerts to be in Fahrenheit or Celsius To se...

Page 15: ...lect Temperature Alert Select Yes to enable the alert or No to disable it dium or High sensitivity to High the camera light movement At Low er amount of movement is er the alert ngs to see which works best the menu ture Settings Camera Selection If you have multiple cameras you can view each of the them individually or all at once a maximum of 4 cameras is supported see Pairing Additional Cameras ...

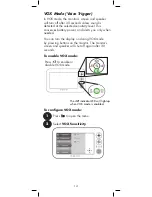
Page 16: ...s you only when needed You can turn the display on during VOX mode by pressing buttons on the monitor The monitor s screen and speaker will shut off again after 30 seconds VOX Mode Voice Trigger To enable VOX mode The indicator LED will light up when VOX mode is enabled Press to enable or disable VOX mode To configure VOX mode 1 Press to open the menu Select VOX Sensitivity 2 ...

Page 17: ...w press the button to change the preferred channel channel icon flashes brown Video from this channel will be displayed if the VOX function is triggered Select Yes and press When you select Yes the monitor will turn off automatically Press the button to turn on the monitor again 3 Restore Default Settings Use this feature to reset all menu settings to default settings Restoring default settings wi...

Page 18: ...ected to a different channel the old pairing will be lost 1 Place the camera and monitor next to each other Make sure the camera is turned on Pairing Additional Cameras The included camera has already been paired with the monitor If you have purchased additional add on cameras model BB7011AC1 OR if your monitor and camera are not paired up follow the steps below To pair a camera to your monitor Se...

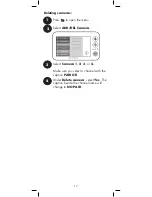
Page 19: ... Press to open the menu Select ADD DEL Camera 2 Select Camera 1 2 3 or 4 Make sure you select a channel with the caption PAIR OK 3 Under Delete camera select Yes The caption beside the channel name will change to NO PAIR 4 ...

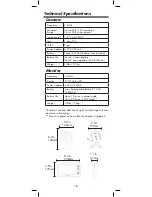
Page 20: ... Up to 2 hours nighttime with IR LEDs on Weight 0 5lbs 0 2kg Monitor Frequency 2 4GHz Display 7 TFT Color LCD Power Adapter 6 0V DC 800mA Battery Li ion Rechargeable Battery 3 7V DC 1050mAH Battery Life Up to 1 5 hours in normal mode Up to 2 5 hours in VOX mode Weight 0 9lbs 0 4kg Based on unobstructed line of sight Actual range will vary based on surroundings May vary based on how often the displ...

Page 21: ...ction on page 13 for details on switching channels Make sure the camera is plugged in or has new batteries Make sure the camera is powered on The camera and monitor may be out of range Move the monitor and camera closer together You may need to pair the camera and the monitor again See Pairing Additional Cameras on page 16 for details For optimal performance avoid placing the monitor and camera ne...

Page 22: ...you need more information on the collection points in your area Dispose of the battery pack in an environmentally friendly manner according to your local regulations NOTICES WARNING Any changes or modifications not expressly approved by the grantee of this device could void the user s authority to operate the device FCC NOTICE This device complies with Part 15 subpart C of the FCC Rules Operation ...

Page 23: ......

Page 24: ...USER S GUIDE BB7011 Version 1 0 Copyright Lorex Technology Inc 2013 www lorexbaby com ...

Reviews: