background image

8

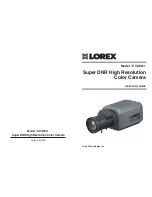
Super DNR High Resolution Color Camera

Super DNR High Resolution Color Camera

9

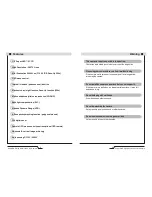
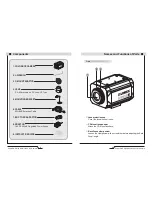
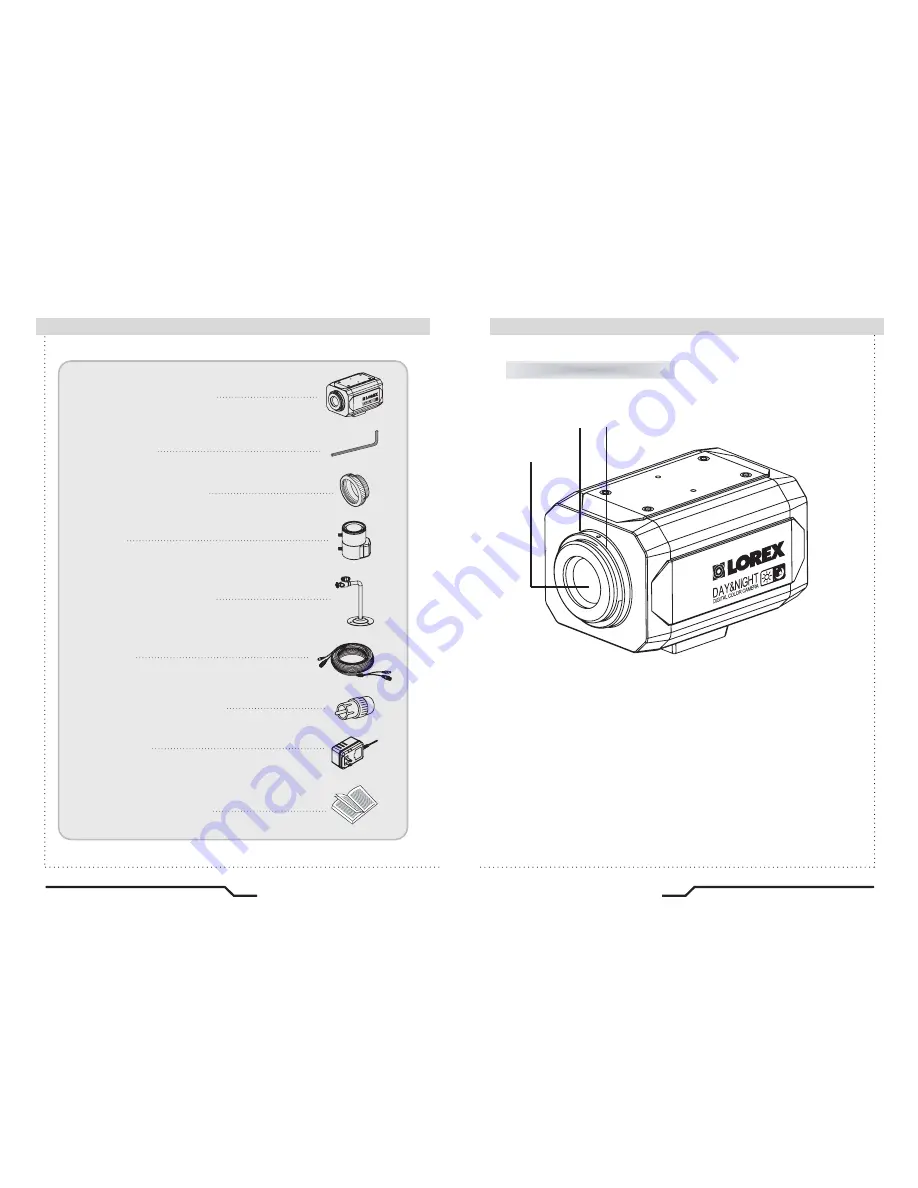
  Components

Names and Functions of Parts  


Front

Lens protection cap

Cover the lens when not in use.

CS-Mount lens adaptor

Attach the CS-Mount lens here.

Back Focus clamp screw

Loosen the clamp screw with a screwdriver before adjusting the Back

Focal length.

1. COLOR BOX CAMERA

2. L-WRENCH

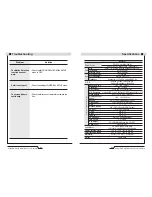
3. C-MOUNT ADAPTOR

9. INSTRUCTION GUIDE

4. LENS

5. MOUNTING BRACKET

6. CABLE

8. ADAPTOR

3.0~8.0mm Auto Iris DC Lens-CS Type

65ft BNC Extension Cable

12V DC 300mA Regulated Power Supply

7. BNC TO RCA ADAPTOR

② ③

Summary of Contents for CVC8011

Page 1: ...Printed in KOREA Instruction Guide Super DNR High Resolution Color Camera Model CVC8011 Super DNR High Resolution Color Camera Model CVC8011 Lorex Technologies Inc...

Page 2: ...ces other than those specified Do NOT expose this appliance to rain or moisture This installation should be made by a qualified service person and should conform to all local codes The lightning flash...

Page 3: ...11 Lens When using a CS Mount lens included When using a C Mount lens Connecting to a monitor Connecting to power 12 14 14 Components 8 Camera Operation 15 Settings 16 LENS 17 EXPOSURE 19 WHITE BALANC...

Page 4: ...res periodic inspection Contact an authorised technician to carry out the inspection Stop using your camera when you find it malfunctioning If the camera emits smoke or is unusually hot for a long per...

Page 5: ...amera in an environment where the humidity is high Do not install the camera under unstable lighting conditions Do not touch the front lens of the camera It can cause malfunctions to occur If it gets...

Page 6: ...Mount lens adaptor Attach the CS Mount lens here Back Focus clamp screw Loosen the clamp screw with a screwdriver before adjusting the Back Focal length 1 COLOR BOX CAMERA 2 L WRENCH 3 C MOUNT ADAPTOR...

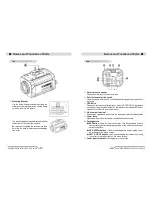
Page 7: ...input terminal of the monitor Power lamp Lights up when the correct power is supplied to the camera Setting button SET button Used for the menu display This button can be used to confirm settings aft...

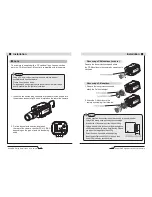
Page 8: ...f the camera to either DC or VIDEO depending on the type of auto iris lens being used IRIS JACKOSD EXTRA POWER DC VIDEO SET VIDEO OUT AC24V IN DC12V IN Remove the lens protection cap and attach the CS...

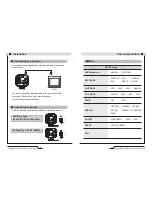
Page 9: ...nt before connecting to power Connecting to power IRIS JACK OSD EXTRA POWER DC VIDEO SET VIDEO OUT AC24V IN DC12V IN AC24V IN DC12V IN IRIS JACK OSD EXTRA POWER DC VIDEO SET VIDEO OUT AC24V IN DC12V I...

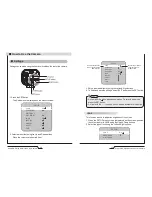
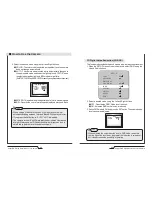
Page 10: ...P and DOWN buttons Modes can be changed using the LEFT and RIGHT buttons LENS Note An item with the icon also has sub menus To select a sub menu press the SET button An item with the icon has no sub m...

Page 11: ...VIDEO You can t adjust brightness in EXPOSURE Return to LENS and adjust brightness MANUAL Manual Lens selection RETURN LENS RET BRIGHTNESS 40 3 Press the SET button to return to the previous menu 18 S...

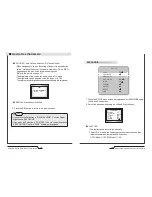
Page 12: ...E UP BLC D WDR RETURN 1 50 MIDDLE AUTO OFF OFF RET BRIGHT LIGHT COMPENSATION HSBLC The CVC8011 is equipped with Bright Light Compensation technology HSBLC which effectively blocks strong light sources...

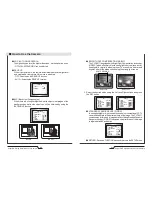
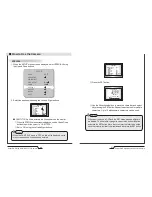
Page 13: ...ite Balance function to adjust the screen colors 1 Position the cursor to point to WHITE BAL on the SETUP menu screen select using the Up and Down buttons 2 Select the desired mode using the Left and...

Page 14: ...s mode allows the application of a filter to external signals B W Discards the color information and displays in black and white DAY NIGHT AUTO DELAY S LEVEL E LEVEL RETURN 5 55 65 RET 24 Super DNR Hi...

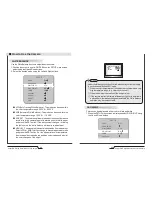
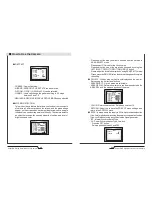
Page 15: ...E RETURN OFF ON OFF INT ENGLISH RET Note When the CAM TITLE menu is OFF no title will be displayed on the monitor screen even if one has been entered Note If the cursor is moved to CLR and the SET but...

Page 16: ...displayed on the monitor Set up using the 4 directional buttons AREA SELECT Up to 8 areas are selectable AREA DISPLAY Determines whether to use the area selected in the AREA SEL and the size and posi...

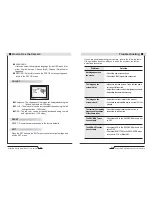
Page 17: ...88 RET Troubleshooting If you have trouble operating your camera refer to the following table If the guidelines do not enable you to solve the problem contact an authorized technician Problem Nothing...

Page 18: ...ne Lock Horizontal 15 734 KHz Vertical 59 94 Hz CS Mount Easy Focus type C Mount is mountable by using adaptor OFF BLC HSBLC 560 TV Lines 52 dB AGC Off Weight ON 0 15Lux 40IRE Color 0 0006Lux 40IRE Se...

Page 19: ...ng or non functioning of the Product or for any delay in the performance of this warranty due to any cause beyond its control This warranty shall not apply to the appearance or accessory items includi...

Page 20: ...l absence de fonctionnement dudit produit ainsi que pour tout d lai dans l ex cution de cette garantie suite des circonstances hors du contr le de Lorex Lorex ne garantit d aucune mani re l apparence...

Page 21: ...re de defectos de fabricaci n en materiales y mano de obra sujeto a que el Producto sea usado en condiciones normales y que sea instalado y usado estrictamente de acuerdo con las instrucciones conteni...

Page 22: ...MEMO...

Reviews: