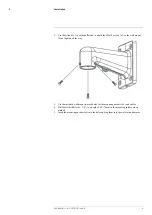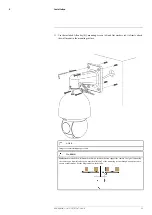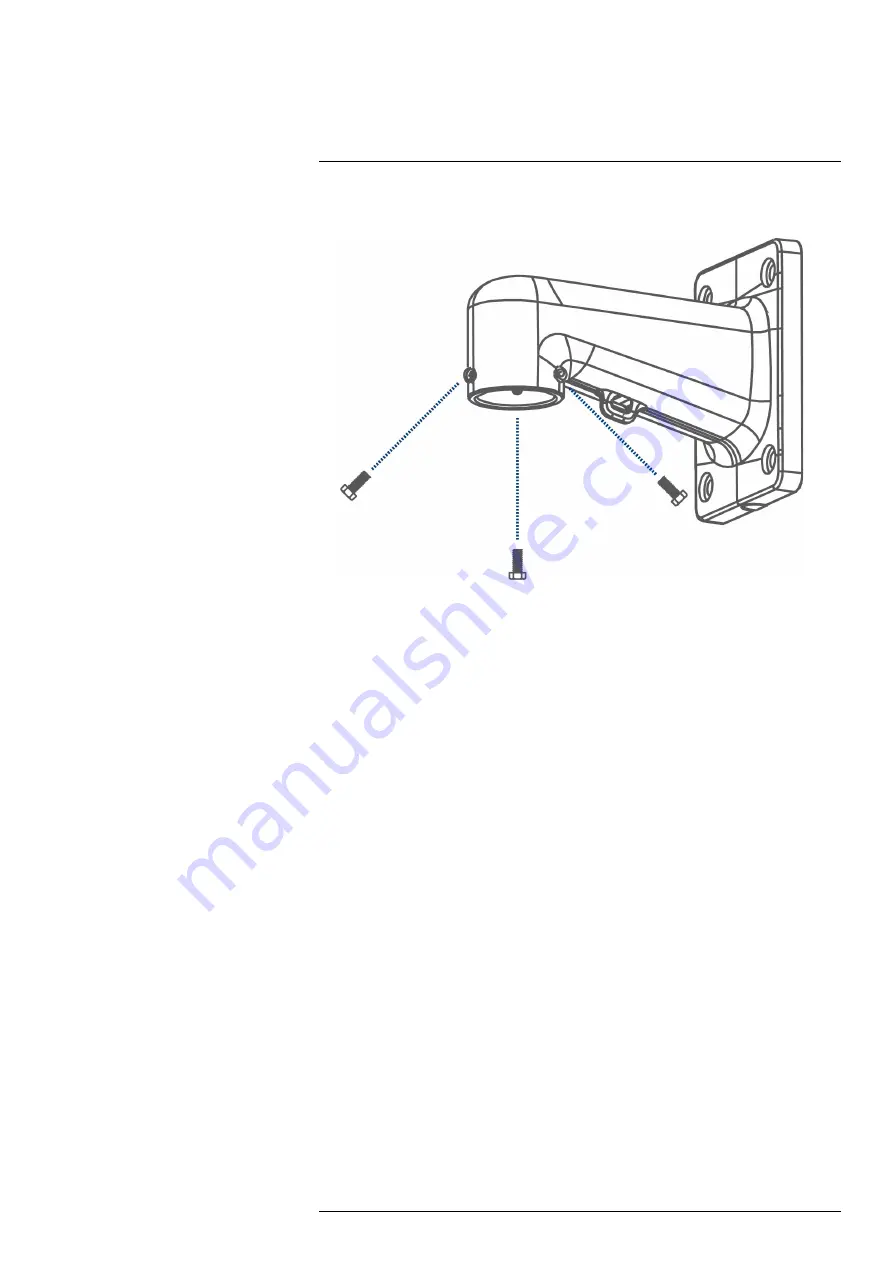
2. Use the Allen key (A) with the flat end to attach the M6x14 screws (x3) to the wall mount.
Do not tighten all the way.
3. Use the included wall mount to mark holes for the mounting anchors (x4) and cables.
4. Drill holes (drill bit size – 3/8”) to a depth of 2.8”/70mm in the mounting surface where
marked.
5. Insert the mounting anchors (x4) into the holes and tap them into the wall with a hammer.
#LX400116; r. 1.0/57307/57307; en-US
9
Summary of Contents for E881AP Series
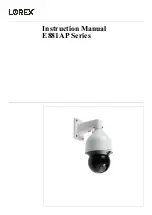
Page 1: ...Instruction Manual E881AP Series ...
Page 2: ......
Page 3: ...Instruction Manual E881AP Series LX400116 r 1 0 57307 57307 en US iii ...
Page 6: ......
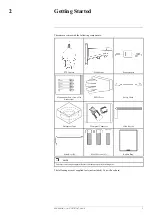
Page 9: ...Getting Started 2 Drill Screwdriver LX400116 r 1 0 57307 57307 en US 3 ...
Page 39: ...Technical Specifications 10 10 1 Dimensions LX400116 r 1 0 57307 57307 en US 33 ...
Page 40: ... LX400116 r 1 0 57307 57307 en US 34 ...
Page 41: ......

