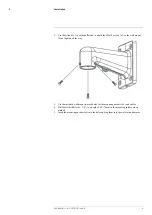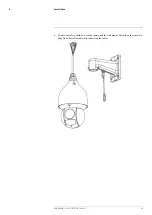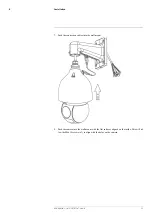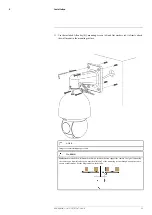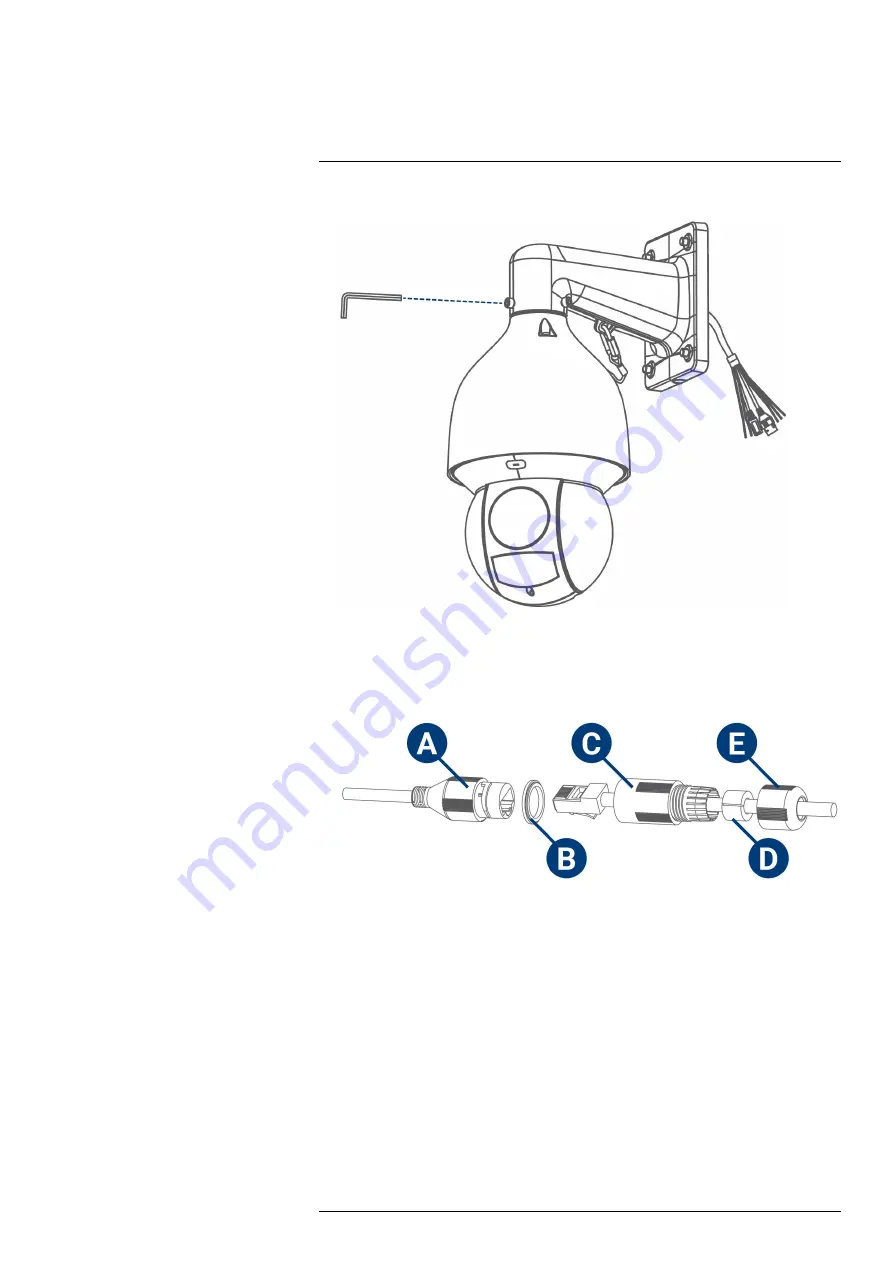
9. Use the included Allen key (A) to tighten the M6x14 screws and secure the camera in place.
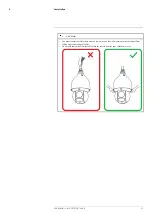
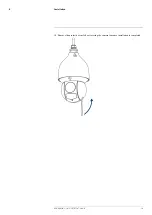
10. Connect the connection cables.
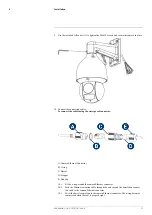
To connect the cables using the waterproof connector:
A: Camera Ethernet Connector
B: O-ring
C: Barrel
D: Stopper
E: End Cap
10.1.
Fit the o-ring around the camera Ethernet connector.
10.2.
Feed the Ethernet extension cable through the end cap and the barrel then connect
the cable to the camera Ethernet connector.
10.3.
Twist the barrel securely onto the camera Ethernet connector. The o-ring becomes
compressed when the seal is properly tight.
#LX400116; r. 1.0/57307/57307; en-US
13
Summary of Contents for E881AP Series
Page 1: ...Instruction Manual E881AP Series ...
Page 2: ......
Page 3: ...Instruction Manual E881AP Series LX400116 r 1 0 57307 57307 en US iii ...
Page 6: ......
Page 9: ...Getting Started 2 Drill Screwdriver LX400116 r 1 0 57307 57307 en US 3 ...
Page 39: ...Technical Specifications 10 10 1 Dimensions LX400116 r 1 0 57307 57307 en US 33 ...
Page 40: ... LX400116 r 1 0 57307 57307 en US 34 ...
Page 41: ......

