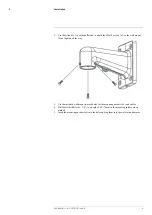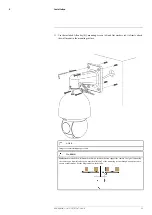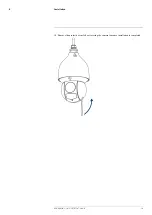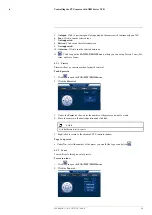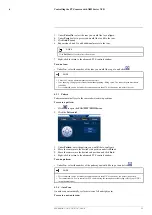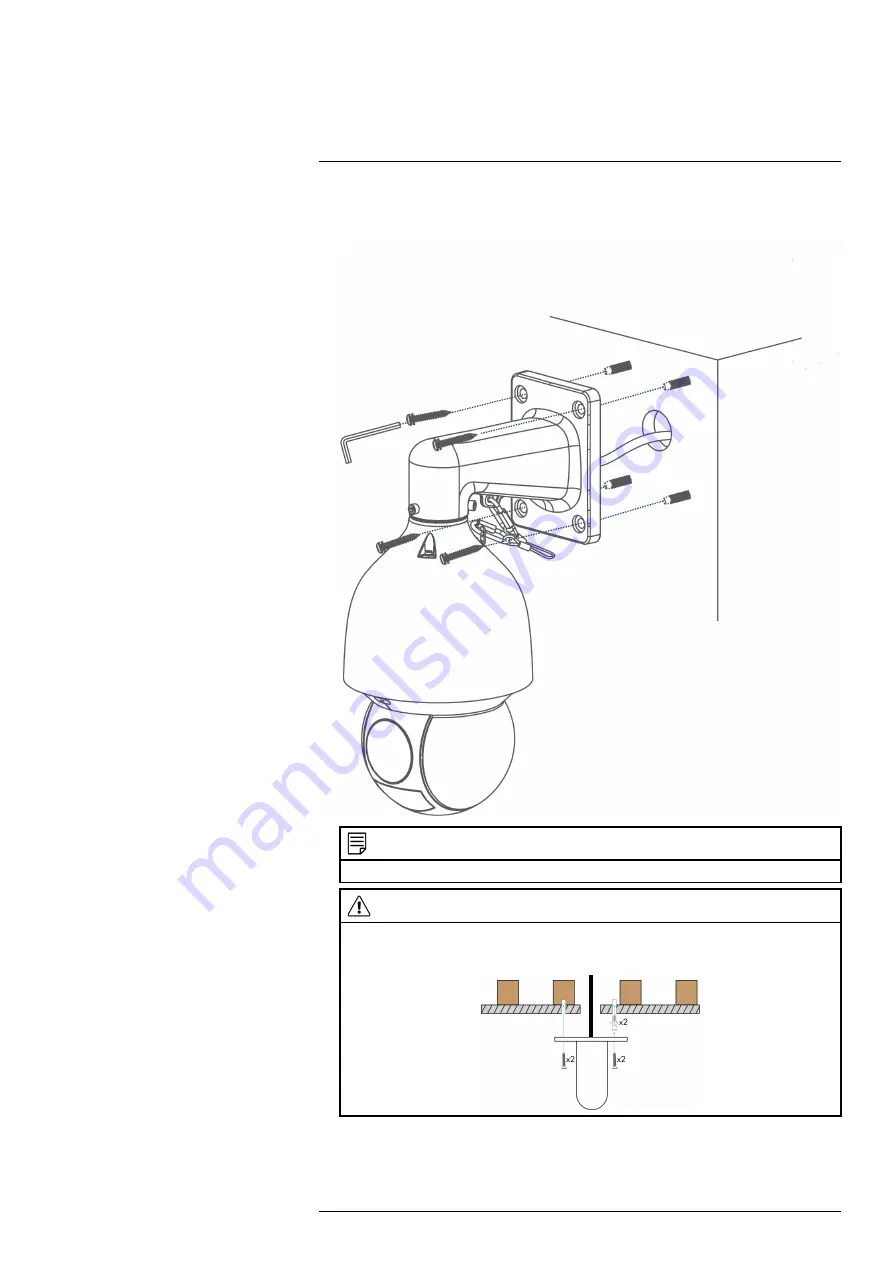
13. Use the included Allen key (B), mounting screws (x4) and flat washers (x4) to firmly attach
the wall mount to the mounting surface.
NOTE
Imagery for illustration purposes only.
WARNING
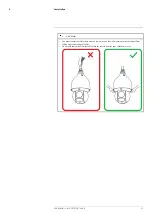
Make sure
to install the wall mount bracket in a location that can support the camera’s weight. If mounting
the camera on a drywall surface, you must drill at least 2 of the mounting screws through a wooden stud to
ensure a stable mount. See the diagram below for details.
#LX400116; r. 1.0/57307/57307; en-US
15
Summary of Contents for E881AP Series
Page 1: ...Instruction Manual E881AP Series ...
Page 2: ......
Page 3: ...Instruction Manual E881AP Series LX400116 r 1 0 57307 57307 en US iii ...
Page 6: ......
Page 9: ...Getting Started 2 Drill Screwdriver LX400116 r 1 0 57307 57307 en US 3 ...
Page 39: ...Technical Specifications 10 10 1 Dimensions LX400116 r 1 0 57307 57307 en US 33 ...
Page 40: ... LX400116 r 1 0 57307 57307 en US 34 ...
Page 41: ......

