4.1
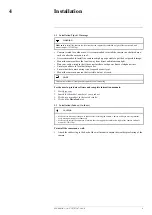
Installation Tips & Warnings
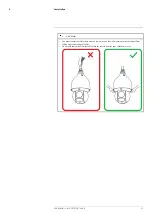
WARNING
Make sure
to install the camera in a location that can support the combined weight of the camera and wall
mount (weight: 11.7lb/5.3kg).
•
Camera is rated for outdoor use. It is recommended to install the camera in a sheltered area,
such as under the eaves on a roof.
•
It is recommended to install the camera as high up as possible to get the best possible image.
•
Mount the camera where the lens is away from direct and intense sunlight.
•
Plan your cable wiring so that it does not interfere with power lines or telephone lines.
•
Ensure you adhere to local building codes.
•
Ensure that the camera wiring is not exposed or easily cut.
•
Mount the camera in an area that is visible but out of reach.
NOTE
This camera includes all components required for wall mounting.
For the most up-to-date software and complete instruction manuals:
1. Visit
.
2. Search for the model number of your product.
3. Click on your product in the search results.
4. Click on the
Downloads
tab.
4.2
Installation (Indoor / Outdoor)
CAUTION
•
Make sure to disconnect the power cable before installing the camera. Camera will begin moving immedi-
ately when power cable is connected.
•
Make sure to install the camera in a location that can support the combined weight of the camera and wall
mount (11.7lb/5.3kg).
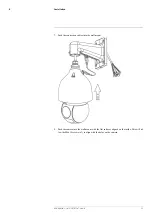
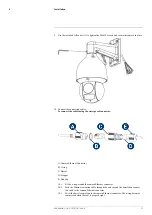
To install the camera on a wall:
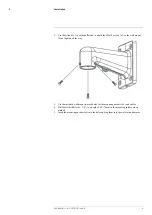
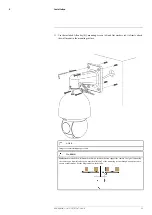
1. Attach the rubber ring to the back of the wall mount to ensure the weatherproof rating of the
camera.
#LX400116; r. 1.0/57307/57307; en-US
8
Summary of Contents for E881AP Series
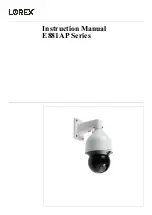
Page 1: ...Instruction Manual E881AP Series ...
Page 2: ......
Page 3: ...Instruction Manual E881AP Series LX400116 r 1 0 57307 57307 en US iii ...
Page 6: ......
Page 9: ...Getting Started 2 Drill Screwdriver LX400116 r 1 0 57307 57307 en US 3 ...
Page 39: ...Technical Specifications 10 10 1 Dimensions LX400116 r 1 0 57307 57307 en US 33 ...
Page 40: ... LX400116 r 1 0 57307 57307 en US 34 ...
Page 41: ......

