Page 5
IPSC240P
Information in this document is subject to change without notice. As our products are subject to continuous improvement, Lorex Technology and our subsidiaries reserve the right to
modify product design, specifications and prices, without notice and without incurring any obligation. E&OE © 2006 LOREX. All rights reserved.
WWW.LOREXINTERNATIONAL.COM
1
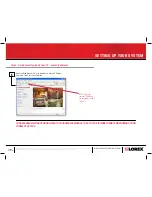
Open your web browser. Enter ddns.strategicvista.net in the Address Bar
2
Step 3 - Set Up Internet Remote Monitoring - Third
SETTING UP YOUR SYSTEM
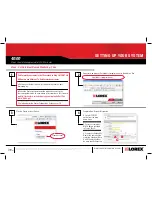
Port Forward your router to the IP recorded in Step 2.4 [PORT 80]
All Routers are different. To Port Forward your router
a. Refer to your Router’s manual for specific instructions on port
forwarding (or)
b. Check the Router configuration guide support document in the
consumer guide section on our website for information on Port Forward-
ing
http://lorexstore.lorextechnology.com/uploads/PortFor-
ward_Guide.pdf
C. Select and print the Router Configuration Guide on your CD
http://ddns.strategicvista.net
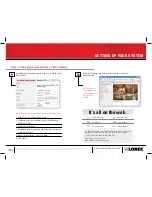
Click the Create Account Option
3
Create Account
Complete New Account Information
4
A
B
C
A. Select IPSC240
option from the drop
down menu
B. Enter your computer’s
MAC Address recorded
in Step 2, Part 4
C. Create your Unique URL
Name (this name will be
used) (eg. Johndoe). Note:
An URL name should not
be more than 8 characters.
Step 3 should take approximately 20-40 minutes
40:00


