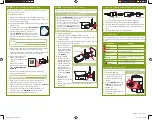
STEP 2:
Installing the Camera
Choose a mounting location and install your camera. The camera
can be installed on a wall or ceiling.
Before Installing the Camera
• Review the
Installation Tips
section on the other side of the guide to
help you choose an ideal mounting location.
STEP 1:
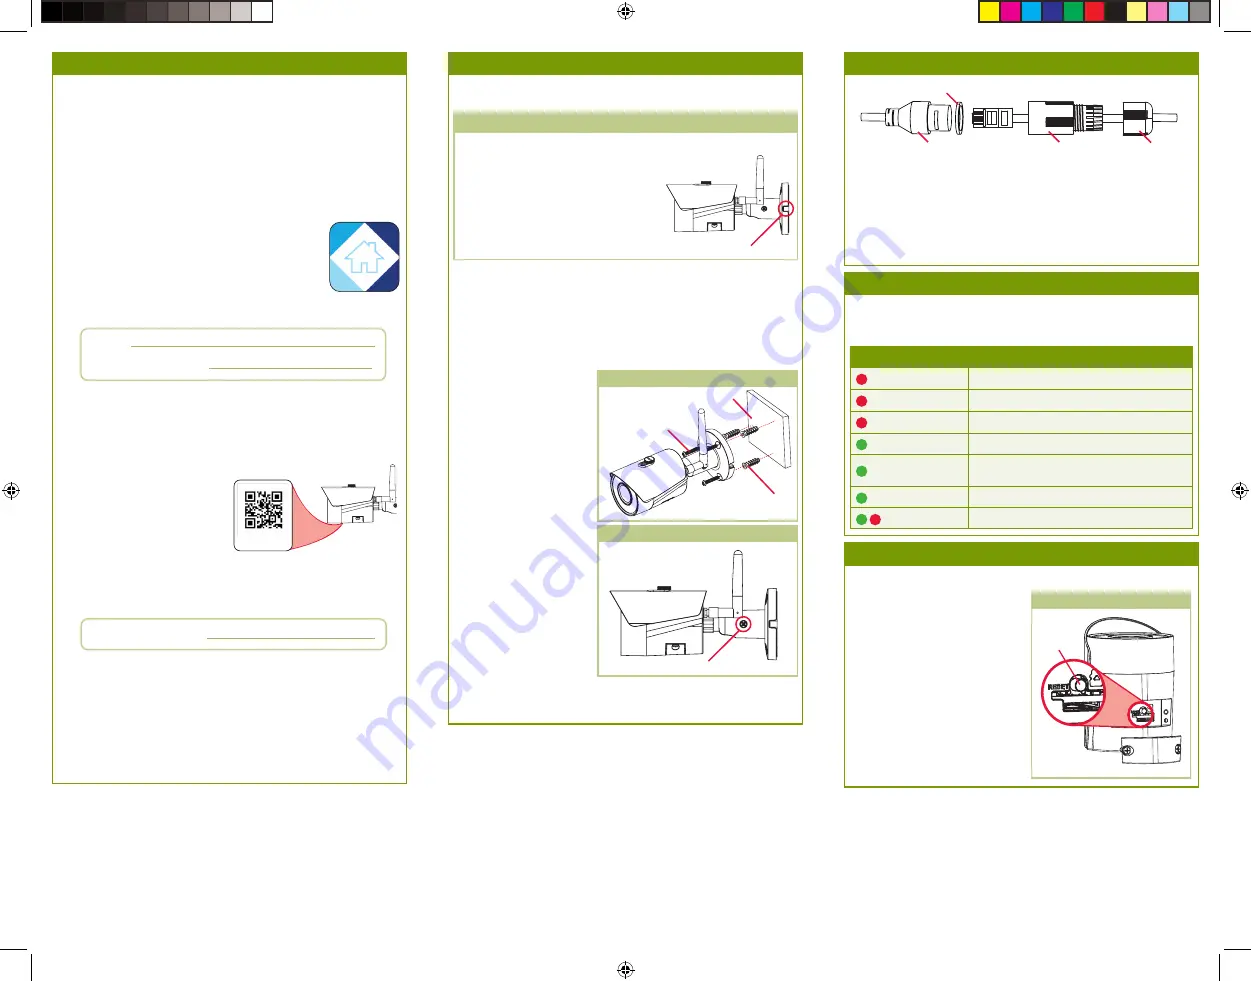
Connecting to Lorex Home
Connect to the camera using the free Lorex Home app on your
iPhone® or Android™ phone.
1. Attach the included antenna to the back of the camera.
2. Using a Phillips screwdriver (not included), remove the panel
on the bottom of the camera.
3. Use the included power adapter to connect your camera to a
nearby outlet.
4. Download and install the free
Lorex Home
app
from the App Store or Google Play Store.
5. Tap the Lorex Home icon to launch the
app. Tap
Sign up
, then follow the on screen
prompts to create an account. Record your
account details below and store in a secure
location:
Device ID: × × × × × × ××
LNBW421_QSG_EN_R1
1. Disconnect the power adapter before mounting.
2. Use the included mounting template to mark holes for the
mounting screws.
3. Drill holes where marked. Insert the drywall anchors if you are
mounting the camera onto drywall.
To install the camera:
• Decide whether to run the cables through
the wall / ceiling (drilling required) or along
the wall / ceiling. If you run the cables
along the wall / ceiling, you must run the
cable through the
cable notch
on the base.
This will keep the camera base flush to the
surface when mounted
.
Cable Notch
4. Secure the camera
base to the wall using
the included screws.
Make sure all screws
are fastened tightly
(see
Figure 1
).
5. Using a Phillips
screwdriver (not
included) loosen the
adjustment screw
slightly. Position the
camera as needed,
then tighten the
adjustment screw to
secure the camera
in place (see
Figure
2
).
6. Reconnect the
included power
adapter to the camera
cable.
Mounting screws (×3)
Mounting surface
Drywall anchors (×3)
The LED indicators under the panel on the bottom of the camera
will glow different colors to indicate different states. See the table
below:
LED Indicators
LED Behavior
Meaning
(steady)
Camera is starting up
(flashing)
Camera is disconnected from network
(flashing rapidly)
Camera failed to start up
(steady)
Camera is fully set up and operating normally
(flashing)
Camera start-up complete, awaiting Wi-Fi
configuration
(flashing rapidly)
Wi-Fi configuration in progress
(flashing)
Firmware upgrade in progress
Reset the camera password and restore default settings.
Resetting the Camera
1. Using a Phillips screwdriver
(not included), remove the
panel on the bottom of the
camera.
2. Hold the
RESET
button (see
Figure 3
) for approximately
10 seconds until the LED
flashes red.
3. Replace the panel.
4. Repeat the setup procedure
for the camera.
To reset the camera:
Figure 3
Reset
button
Adjustment screw
Figure 1
Figure 2
7.
Remove the vinyl cover on the camera lens to finish the
installation.
Using the Weather Resistant Cap
(Optional)
Camera Ethernet Connector
O-Ring
Barrel
End Cap
1. Fit the O-ring around the camera Ethernet connector.
2. Connect the cable to the camera Ethernet connector.
3. Twist the barrel securely onto the camera Ethernet connector.
The O-ring becomes compressed when the seal is properly
tight.
4. Twist the end cap securely onto the barrel.
To install the camera:
Email:
Account Password:
Camera Password:
6. Open the compartment on the bottom of the camera using a
Phillips head screwdriver to reveal the status LEDs.
7.
Once the status LED on the camera is flashing green and the
startup chime sounds, tap
+
in the Lorex Home app.
8. Scan the QR code on the
bottom of the camera
using your mobile device’s
camera.
NOTE:
If your mobile
device cannot scan the QR
code, tap
Manually enter
Device ID
.
9. Create a secure password for the camera. Record your
camera password below:
10. Select your Wi-Fi network from the list, then enter the
password to connect your camera to the Internet.
11. Once the status LED on the camera is solid green, tap
Next
to
add the camera to your Lorex Home account.
12.
Set a name for the camera and configure date & time
preferences, then tap
Complete
to finish the setup.
13. Replace the bottom panel of the camera.
LNBW421_QSG_EN_R1.indd 2
LNBW421_QSG_EN_R1.indd 2
2019-11-28 3:28:24 PM
2019-11-28 3:28:24 PM


