Connecting to Your Camera on
PC
8
Follow the steps below to get up and running on a PC. Ensure you have completed the ap-
propriate physical setup detailed in 3
Getting Started
, page 4 before you start.
• For instructions on setting your camera up for WiFi, see 8.2
PC WiFi Setup
, page 25.
8.1
Connecting to Your Camera on PC
NOTE
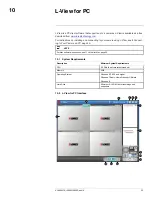
For PC system requirements, see 10.1
System Requirements
, page 33.
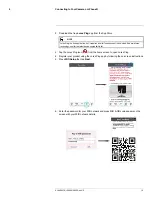
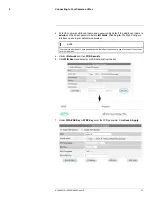
1. Download and install the L-View software from
www.lorextechnology.com
.
2. Double-click the L-View icon
to run L-View.
Connecting to your camera over the local area network (LAN):
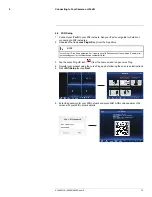
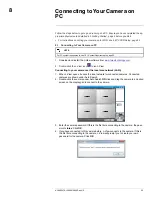
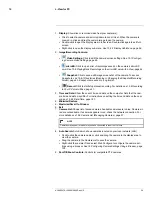
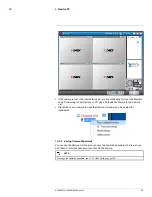
1. When L-View opens, it scans the local network for connected cameras. Connected
cameras are shown under Auto Search.
2. Double-click the camera under Auto Search
OR
click and drag the camera to a desired
screen on the display grid to connect to the camera.
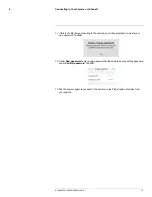
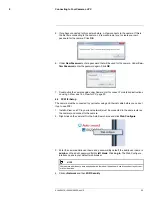
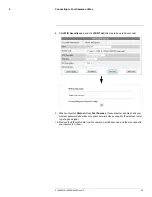
3. Enter the camera password. If this is the first time connecting to the camera, the pass-
word is
lorex
. Click
OK
.
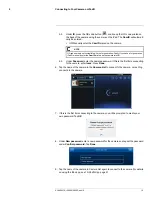
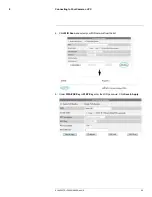
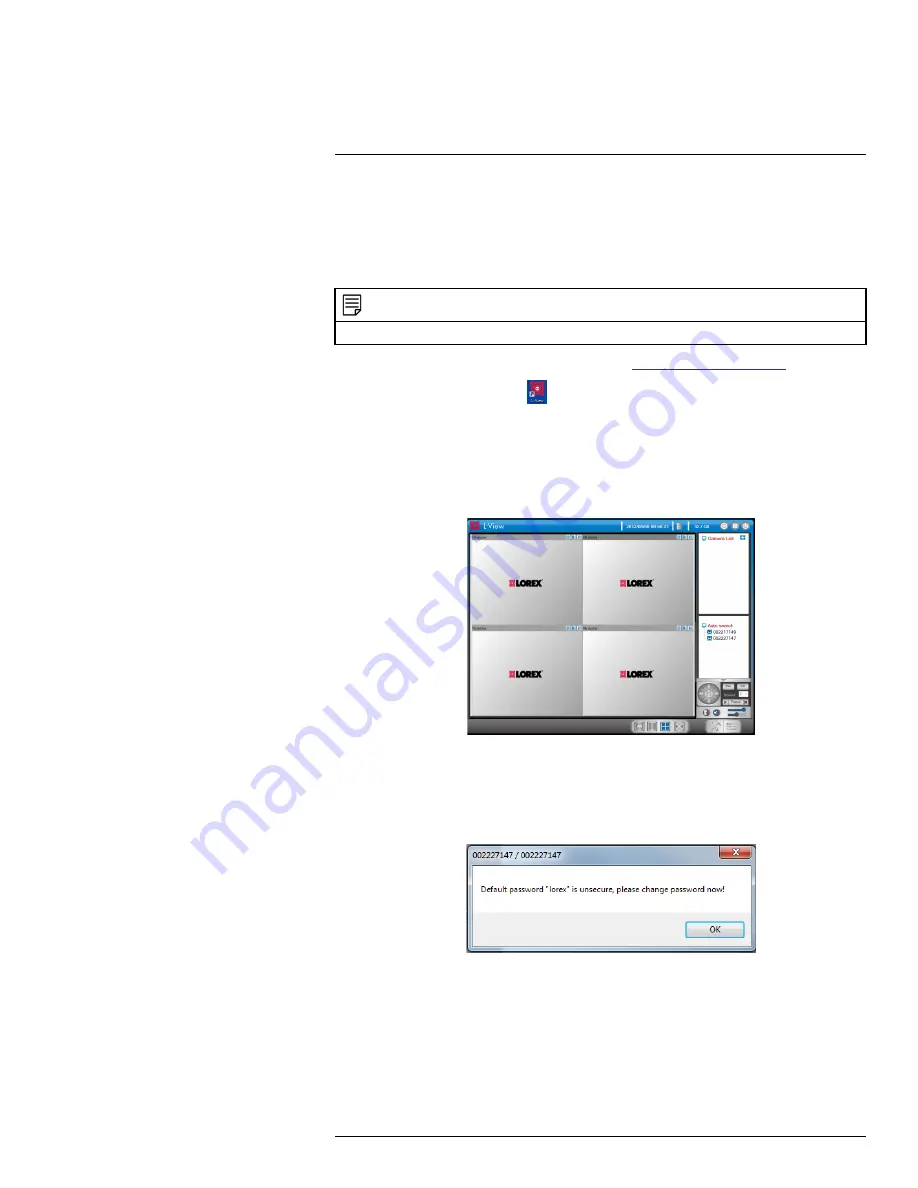
4. If you have connected to this camera before, L-View connects to the camera. If this is
the first time connecting to the camera, L-View will prompt you to create your own
password for the camera. Click
OK
.
#LX400072; r.28402/28402; en-US
23
Summary of Contents for LNC254 series
Page 1: ...USER S GUIDE LNC254 Series ...
Page 2: ......
Page 3: ...USER S GUIDE LNC254 Series LX400072 r 28402 28402 en US iii ...
Page 153: ......


