L-View for Mac
11
4.
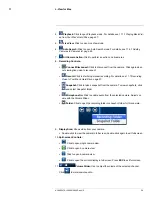
Playback:
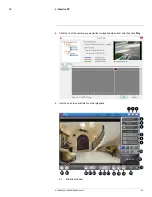
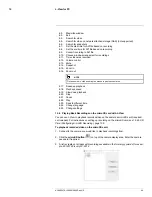
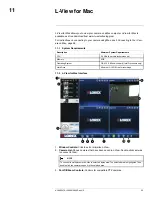
Click to open Playback mode. For details, see 11.7.1
Playing Back Vid-
eo from Your Mac’s Hard Drive
, page 57.
5.
Live View:
Click to open Live View mode.
6.
Auto Search:
Click to open Auto Search mode. For details, see 11.4.1
Adding
Cameras to Camera List
, page 55.
7.
All Camera Action:
Click to perform an action on all cameras.
8.
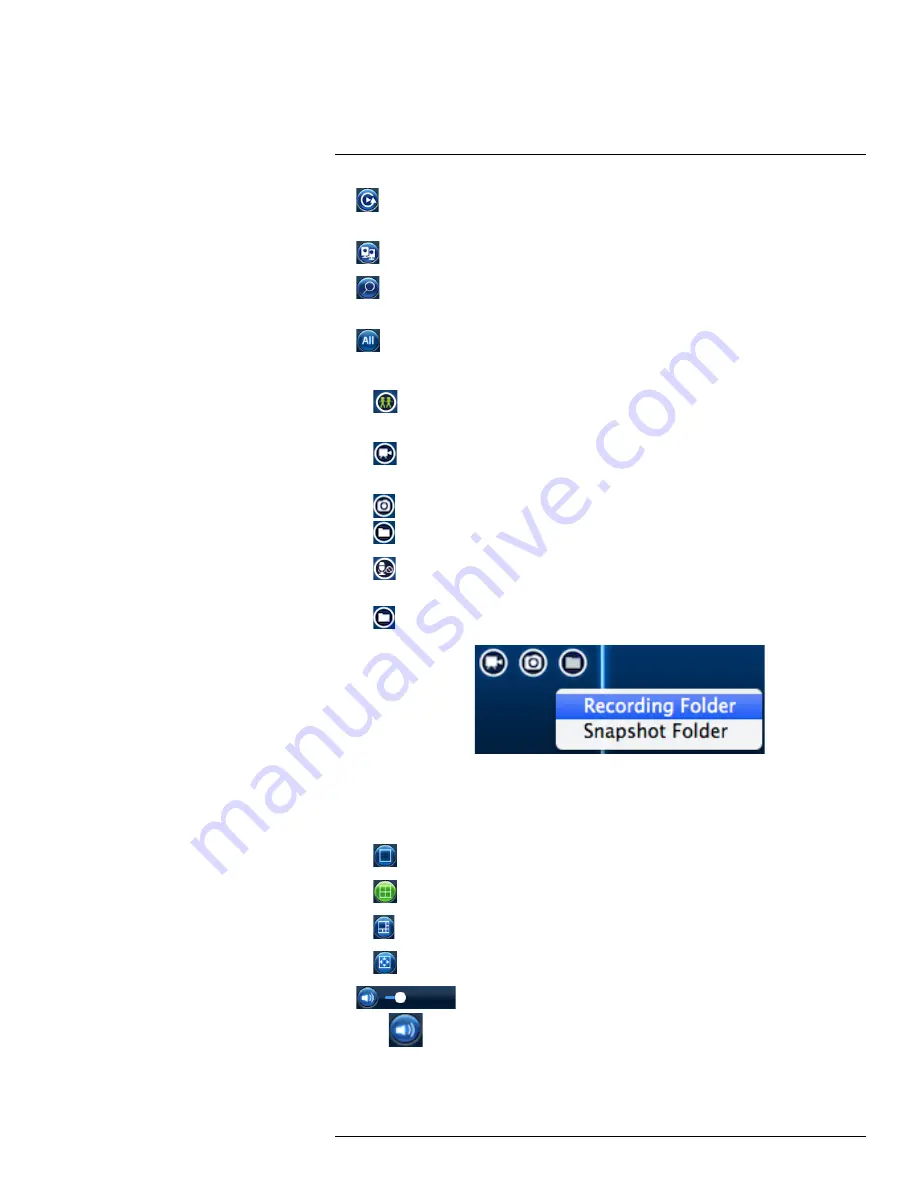
Recording Controls:
•
Connect/Disconnect:
Click to disconnect from the camera. Click again when
not viewing live video to reconnect.
•
Record:
Click to start/stop manual recording. For details, see 11.7
Recording
Video to Your Mac’s Hard Drive
, page 57.
•
Snapshot:
Click to take a snapshot from the camera. To view snapshots, click
and select Snapshot folder.
•
Microphone On:
Click to enable audio from the selected camera. Adjust vol-
ume with the Volume Slider.
•
Folder:
Click to open the recording folder or snapshot folder for this camera.
9.
Display Area:
Shows video from your camera.
• Double-click to view the camera in full-screen; double-click again to exit full-screen.
10.
Split-screen Controls:
•
: Click to open single camera view.
•
: Click to open 4-camera view.
•
: Click to open 6-camera view.
•
: Click to open the current display in full-screen. Press
ESC
to exit full-screen.
11.
Volume Slider:
Use to adjust the volume of the selected channel.
Click
to mute/unmute audio.
#LX400072; r.28402/28402; en-US
54
Summary of Contents for LNC254 series
Page 1: ...USER S GUIDE LNC254 Series ...
Page 2: ......
Page 3: ...USER S GUIDE LNC254 Series LX400072 r 28402 28402 en US iii ...
Page 153: ......

