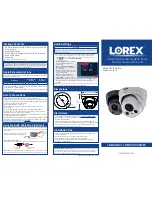
Connecting the Cameras
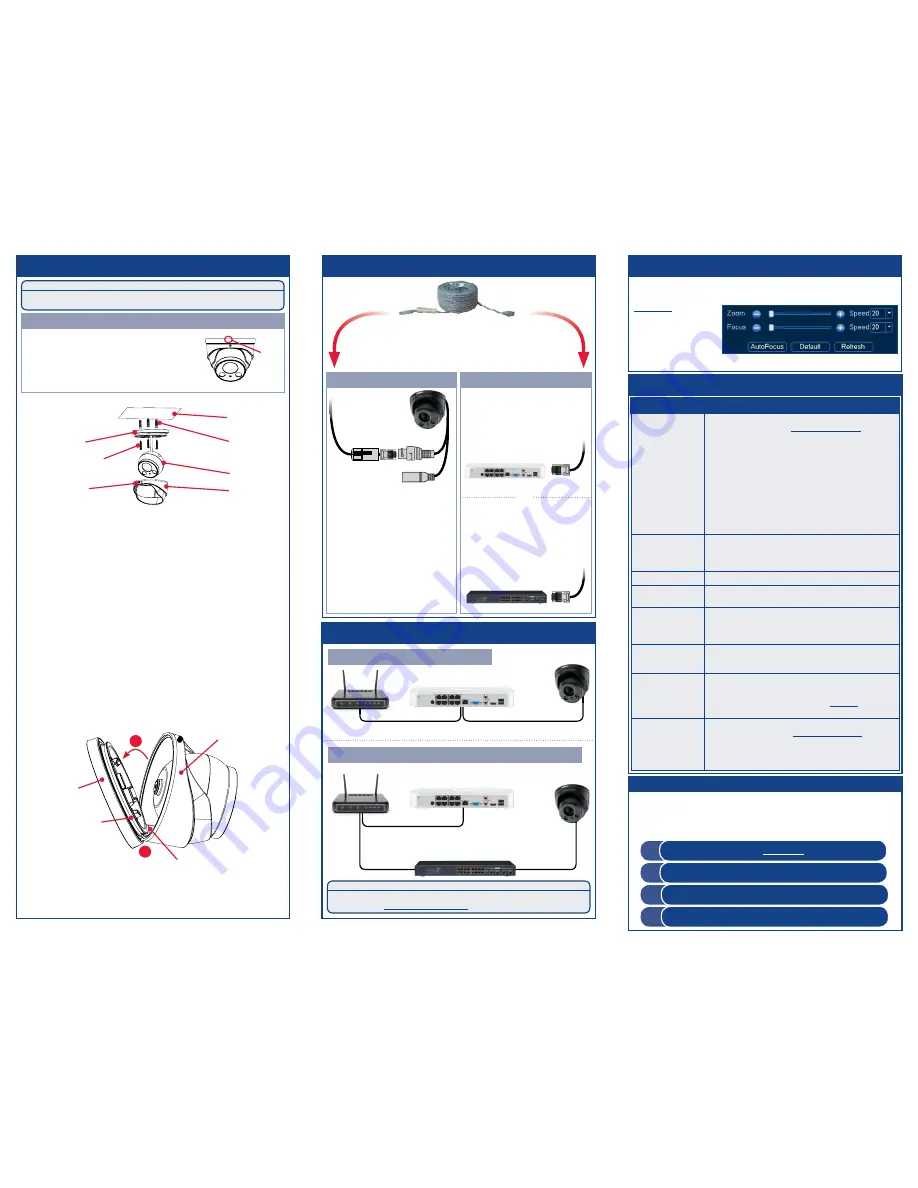
To install your camera:
Installing the Camera
Connect the Ethernet cable to
the camera.
Connect the other end of the
Ethernet cable to the NVR’s PoE
ports. The camera may take a
minute to power up after
being connected.
Connecting the Camera
LNE8964_LNE8974_QSG_EN_R1
Problem
Solution
No picture / signal
• Ensure the camera is connected to a compatible NVR. For full
camera compatibility, visit
lorex.com/compatibility
.
• The camera may take up to 1 minute to power up after being
connected to the NVR. Wait two minutes before following the
steps below.
• Ensure the camera is connected to your NVR or to your local
network.
• If you are not using PoE, you must connect the camera to a
12V DC power adapter (not included).
• If the camera is connected to the LAN, you must search your
network for cameras using the NVR. See the NVR’s instruction
manual.
• Ensure your NVR is properly connected to a TV/monitor.
• There may be an issue with your extension cable run. Connect
the camera to the NVR using a different Ethernet cable.
Picture is too bright
• Ensure your camera isn’t pointed directly at a source of light
(e.g., sun or spot light).
• Move your camera to a different location.
• Check the brightness and contrast settings on the NVR.
Picture is too dark
• Check the brightness and contrast settings on the NVR.
Night vision is not
working
• The night vision activates when light levels drop. The area may
have too much light.
Picture is not clear
• Check the camera lens for dirt, dust, spiderwebs. Clean the
lens with a soft, clean cloth.
• Make sure that the cable run is within the limitations specified
in the section ‘Cable Extension Options’.
Bright spot in video
when viewing camera
at night
• Night vision reflects when pointing a camera through a
window. Move the camera to a different location.
Picture is in color in
dark conditions
• This camera comes with an image sensor that is extra
sensitive to light, meaning that the camera stays in color
mode at low-light conditions. For instructions on how to make
your camera switch to night mode, visit
lorex.com
, and search
for “How do I make my camera switch to night mode?”
No audio
• Audio is only supported on Lorex HD NVRs. For a list of
compatible recorders, visit
lorex.com/compatibility
.
• Ensure NVR volume is turned on / turned up.
• Ensure audio function on camera is turned on (see ‘Audio
Settings’).
• Ensure audio is turned up on viewing device.
Troubleshooting
ATTENTION:
Test your camera prior to selecting a permanent mounting location by temporarily
connecting the camera and cable to your NVR.
Before Installing the Camera
• Decide whether to run the cables through the wall /
ceiling (drilling required) or along the wall / ceiling.
• If you run the cables along the wall / ceiling, you must
run the cable through the
cable notch
on the base. This
will keep the camera base flush to the surface when
mounted.
Connect the other end of the
Ethernet cable to a router or
switch on your network. See
your NVR manual for details on
connecting the camera to your
NVR using a switch or router.
Camera
NVR
Setup Diagram
Camera
HD NVR
Scenario 1:
Connect Cameras to NVR
Scenario 2:
Connect Cameras to Local Area Network (LAN)
Router
Camera
HD NVR
Router
PoE Switch
OR
(Optional)
12V DC Power
ATTENTION:
This camera is only compatible with select NVRs. For a list of compatible
recorders, visit
lorex.com/compatibility
.
Ethernet Cable
NOTES:
• For weatherproofing instructions,
see “Using the RJ45 Cable Gland
(Optional)”.
• A 12V DC power adapter (model#:
ACCPWR12V2A
, not included) is
only required if connecting the
camera’s Ethernet cable to a
router or switch that does not
support PoE.
Adjusting Zoom and Focus
Cable
Notch
Mounting
Surface
Camera Base
Ball Camera
Dome Cover
Screw
Dome Cover
1. Use the included Allen key to loosen the screw on the dome
cover. Do not loosen all the way.
2. Separate the camera base, ball camera, and dome cover.
3. Use the included mounting template to mark holes for the
mounting screws and camera cable.
4. Drill holes for the mounting screws and camera cable.
5. Feed the camera cable through the camera base. If you are
running the cables against a wall or ceiling, make sure to
pass the cable through the cable notch as shown above.
6. Connect the cables as shown in the section ‘Connecting the
Camera’.
7. Mount the camera base to the mounting surface using the
included screws and optional drywall anchors.
8. Place the dome cover over the ball camera.
9. To attach the dome cover to the camera base:
Drywall Anchors
Mounting
Screws
10. Use the included Allen key to tighten the dome cover screw
halfway onto the camera base. Do not tighten all the way.
11. Move the ball camera to the desired position. Tighten the
dome cover screw all the way.
Adjust the camera’s zoom and focus using a compatible NVR.
For more information, see your NVR’s instruction manual on
lorex.com
.
Right-click on the
camera’s live view
and then click
AutoFocus
. Use the
Need Help?
Visit us online for up-to-date software and
complete instruction manuals
Visit
lorex.com
1
2
Search for the model number of your product
4
Click on the
Downloads
tab
3
Click on your product in the search results
C.
Attach the dome cover onto the camera base. Ensure that the
dome cover lays flat against the camera base.
A
. Angle the dome cover as shown below.
Camera Base
Indent
Metal Tab
Dome Cover
B
B
. Align the protruding metal tab inside the dome cover with the
indent on the camera base.
C
Camera Base
sliders to adjust zoom and focus.


