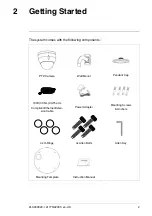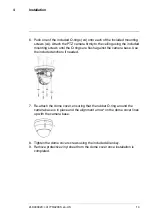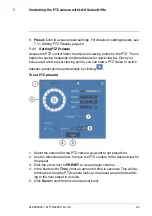
6. Push one of the included O-rings (x4) onto each of the included mounting
screws (x4). Attach the PTZ camera firmly to the ceiling using the included
mounting screws until the O-rings are flush against the camera base. Use
the included anchors if needed.
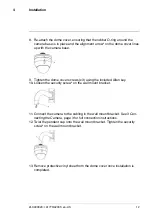
7. Re-attach the dome cover, ensuring that the rubber O-ring around the
camera base is in place and the alignment arrow* on the dome cover lines
up with the camera base.
8. Tighten the dome cover screws using the included Allen key.
9. Remove protective vinyl sheet from the dome cover once installation is
completed.
#LX400020; r.41770/42005; en-US
14
Summary of Contents for LNZ32P12 series
Page 1: ...Instruction Manual LNZ32P12 12x Network PTZ Camera Series ...
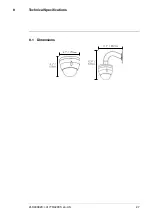
Page 30: ...Technical Specifications 8 8 1 Dimensions LX400020 r 41770 42005 en US 27 ...
Page 35: ......
Page 36: ...Manuel d utilisation Série de caméras réseau PTZ LNZ32P12 12x ...
Page 73: ......
Page 74: ...Manual de instrucciones Serie de cámaras PTZ de red de 12x LNZ32P12 ...
Page 111: ......


