NOTE
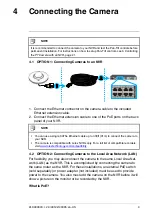
It is recommended to connect the camera to your NVR and test the Pan-Tilt controls before
permanent installation. For instructions on how to setup Pan-Tilt controls, see 6
4.1
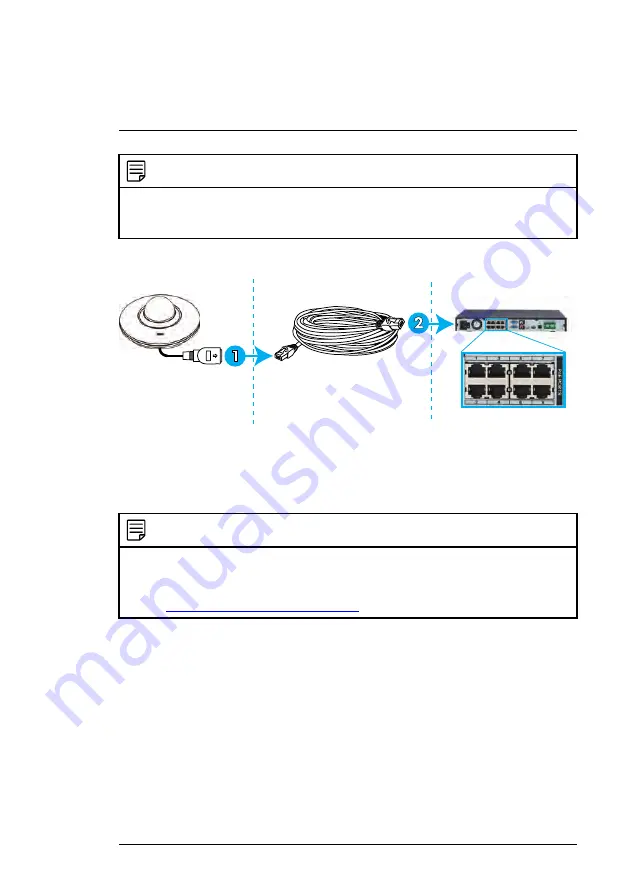
OPTION 1: Connecting Cameras to an NVR
1. Connect the Ethernet connector on the camera cable to the included
Ethernet extension cable.
2. Connect the Ethernet extension cable to one of the PoE ports on the back
panel of your NVR.
NOTE
•
You can use a single CAT5e Ethernet cable up to 300ft (91m) to connect the camera to
your NVR.
•
The camera is compatible with Lorex NVRs only. For a full list of compatible recorders,
visit
www.lorextechnology.com/compatibility
.
4.2
OPTION 2: Connecting Cameras to the Local Area Network (LAN)
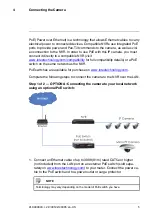
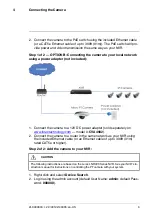
For flexibility, you may also connect the camera to the same Local Area Net-
work (LAN) as the NVR. This is accomplished by connecting the camera to
the same router as the NVR. For these installations, an external PoE switch
(sold separately) or power adapter (not included) must be used to provide
power to the camera. You also must add the camera on the NVR before it will
show a picture on the monitor or be recorded by the NVR.
What is PoE?
#LX400043; r. 2.0/40122/40365; en-US
4
Summary of Contents for LNZ3522
Page 1: ...Instruction Manual LNZ3522 HD MICRO PT DOME CAMERA ...
Page 2: ......
Page 3: ...Instruction Manual LNZ3522 HD MICRO PT DOME CAMERA LX400043 r 2 0 40122 40365 en US iii ...
Page 6: ......
Page 39: ......
Page 41: ...Manuel d utilisation LNZ3522B MICRO CAMERA DÔME HD PT ...
Page 42: ......
Page 43: ...Manuel d utilisation LNZ3522B MICRO CAMERA DÔME HD PT LX400043 r 2 0 40918 40918 fr CA iii ...
Page 46: ......
Page 48: ......
Page 81: ......
Page 83: ...Manual de instrucciones CÁMARA LNZ3522 HD MICRO PT DOME ...
Page 84: ......
Page 85: ...Manual de instrucciones CÁMARA LNZ3522 HD MICRO PT DOME LX400043 r 2 0 40918 40918 es MX iii ...
Page 88: ......
Page 90: ......


