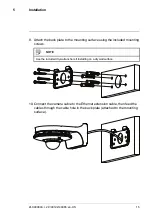
NOTE
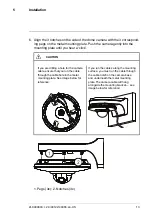
The pegs and notches only align one way. Do not force the camera to fit into the metal
mounting plate.
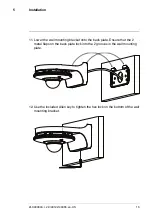
7. Re-insert the M2x5 screw removed in Step 6. Tighten firmly using the in-
cluded Allen key.
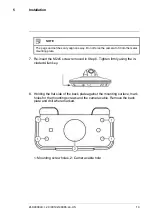
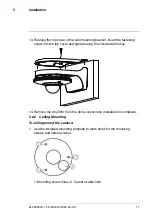
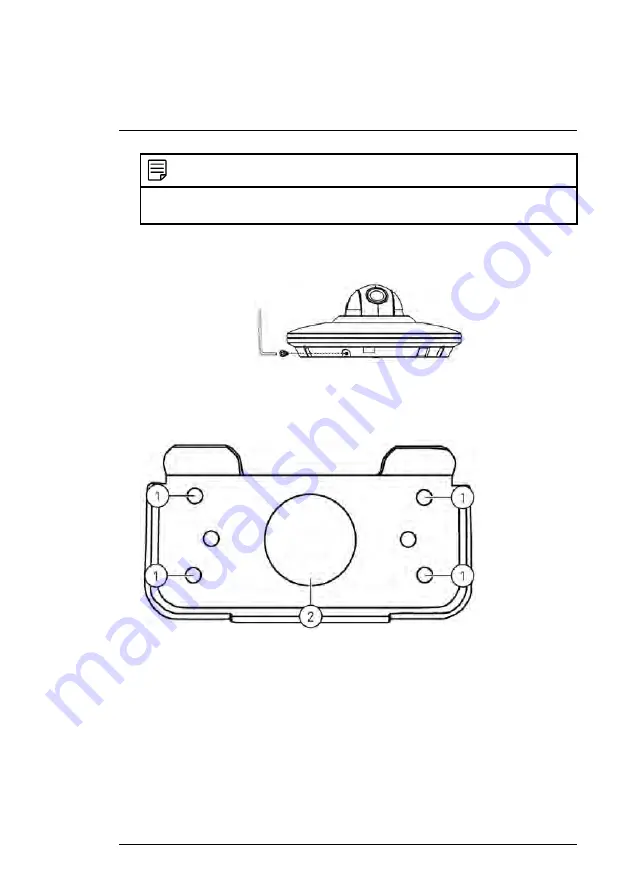
8. Holding the flat side of the back plate against the mounting surface, mark
holes for the mounting screws and the camera cable. Remove the back
plate and drill where marked.
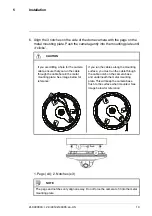
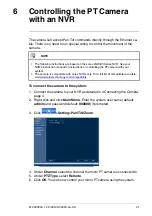
1: Mounting screw holes, 2: Camera cable hole
#LX400043; r. 2.0/40122/40365; en-US
14
Summary of Contents for LNZ3522
Page 1: ...Instruction Manual LNZ3522 HD MICRO PT DOME CAMERA ...
Page 2: ......
Page 3: ...Instruction Manual LNZ3522 HD MICRO PT DOME CAMERA LX400043 r 2 0 40122 40365 en US iii ...
Page 6: ......
Page 39: ......
Page 41: ...Manuel d utilisation LNZ3522B MICRO CAMERA DÔME HD PT ...
Page 42: ......
Page 43: ...Manuel d utilisation LNZ3522B MICRO CAMERA DÔME HD PT LX400043 r 2 0 40918 40918 fr CA iii ...
Page 46: ......
Page 48: ......
Page 81: ......
Page 83: ...Manual de instrucciones CÁMARA LNZ3522 HD MICRO PT DOME ...
Page 84: ......
Page 85: ...Manual de instrucciones CÁMARA LNZ3522 HD MICRO PT DOME LX400043 r 2 0 40918 40918 es MX iii ...
Page 88: ......
Page 90: ......


