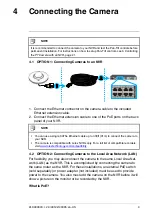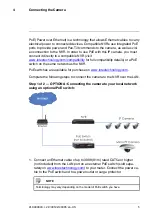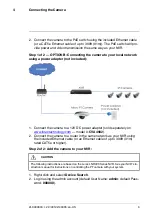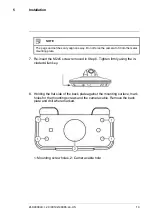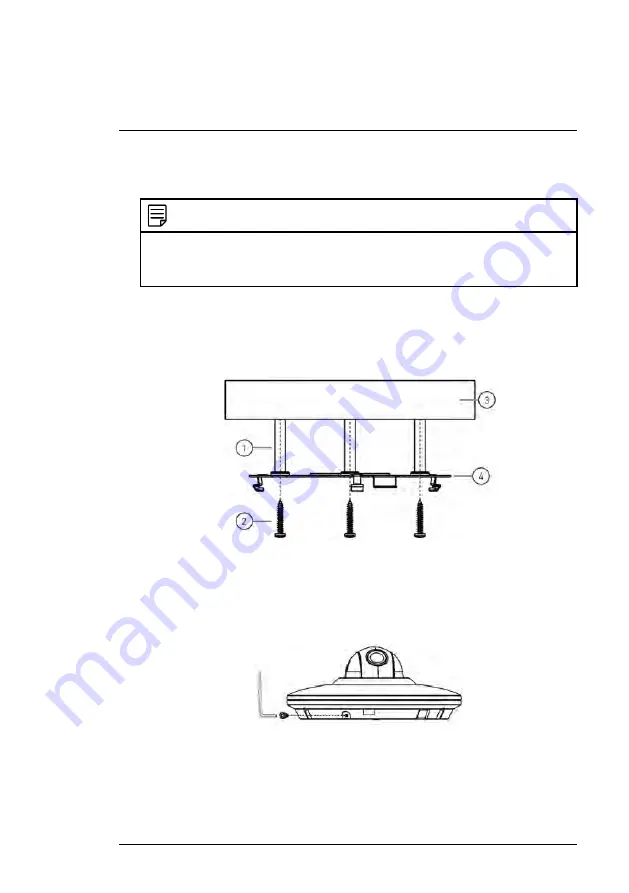
2. Drill holes for the mounting screws, drywall anchors (optional) and camera
cable.
NOTE
•
Use the included drywall anchors if installing on a drywall surface.
•
If you are planning on running the cables along the mounting surface, there is no
need to drill a hole for the camera cable.
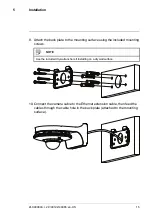
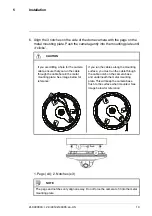
3. Align the metal mounting plate so that the 3 screw holes in the plate line
up with the 3 holes drilled in the ceiling. Attach the flat side of the metal
mounting plate to the mounting surface using the included mounting
screws (3x).
1. Drywall anchors (3x — optional); 2. Mounting screws (3x); 3. Mounting
surface; 4. Metal mounting plate
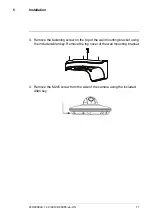
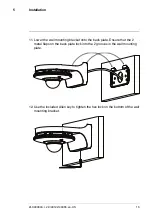
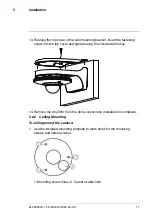
4. Remove the M2x5 screw from the side of the camera using the included
Allen key.
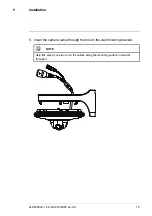
5. Connect the camera cables as shown in 4
, page
#LX400043; r. 2.0/40122/40365; en-US
18
Summary of Contents for LNZ3522
Page 1: ...Instruction Manual LNZ3522 HD MICRO PT DOME CAMERA ...
Page 2: ......
Page 3: ...Instruction Manual LNZ3522 HD MICRO PT DOME CAMERA LX400043 r 2 0 40122 40365 en US iii ...
Page 6: ......
Page 39: ......
Page 41: ...Manuel d utilisation LNZ3522B MICRO CAMERA DÔME HD PT ...
Page 42: ......
Page 43: ...Manuel d utilisation LNZ3522B MICRO CAMERA DÔME HD PT LX400043 r 2 0 40918 40918 fr CA iii ...
Page 46: ......
Page 48: ......
Page 81: ......
Page 83: ...Manual de instrucciones CÁMARA LNZ3522 HD MICRO PT DOME ...
Page 84: ......
Page 85: ...Manual de instrucciones CÁMARA LNZ3522 HD MICRO PT DOME LX400043 r 2 0 40918 40918 es MX iii ...
Page 88: ......
Page 90: ......

