4.2.2
Ceiling Mounting
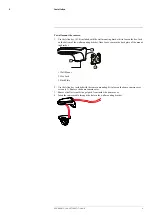
To ceiling mount the camera:
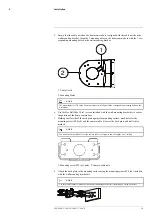
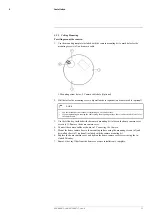
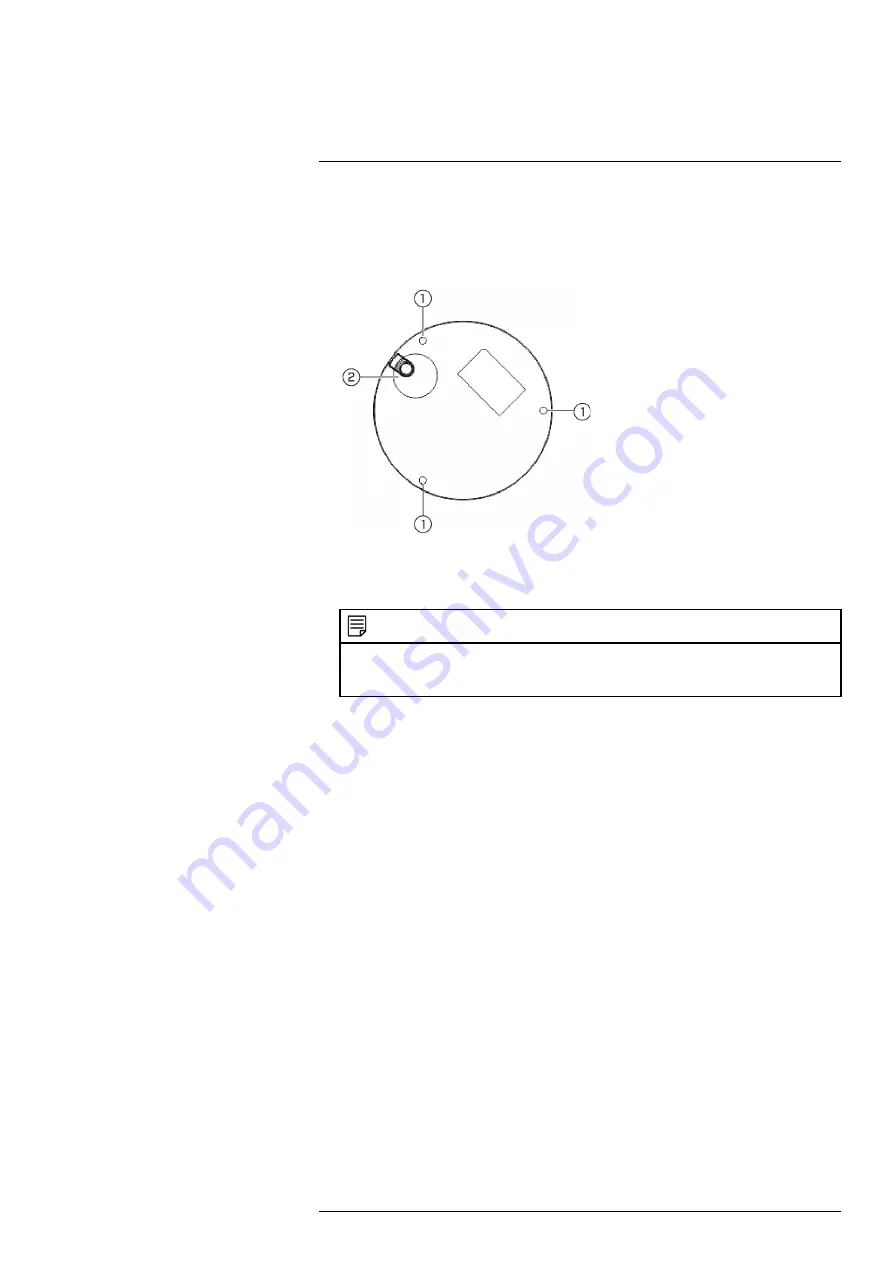
1. Use the mounting template included with the camera mounting kit to mark holes for the
mounting screws (x3) and camera cable.
1. Mounting screw holes; 2. Camera cable hole (Optional)
2. Drill holes for the mounting screws, drywall anchors (optional) and camera cable (optional).
NOTE
•
Use the included drywall anchors if installing on a drywall surface.
•
If you are planning on running the cables along the mounting surface, there is no need to drill a hole for
the camera cable.
3. Use the Allen key included with the camera mounting kit to loosen the dome camera cover
screws (x3). Remove the dome camera cover.
4. Connect the camera cables as shown in 3
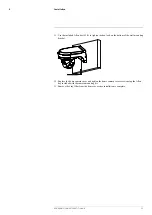
5. Mount the dome camera base to the mounting surface using the mounting screws (x3) and
drywall anchors (x3) (optional) included with the camera mounting kit.
6. Replace the dome camera cover and tighten the dome camera cover screws using the in-
cluded Allen key.
7. Remove the vinyl film from the dome cover once installation is complete.
#LX400075; r. 4.0/58710/58717; en-US
13
Summary of Contents for LNZ44P4 Series
Page 1: ...Instruction Manual LNZ44P4 SERIES 4x IP PTZ DOME CAMERA ...
Page 2: ......
Page 3: ...Instruction Manual LNZ44P4 SERIES 4x IP PTZ DOME CAMERA LX400075 r 4 0 58710 58717 en US iii ...
Page 6: ......
Page 33: ......
Page 35: ...Manuel d utilisation LNZ44P4 SÉRIE IP CAMÉRA À DÔME PTZ 4 x ...
Page 36: ......
Page 40: ......
Page 68: ... LX400075 r 4 0 58716 58717 fr CA 28 ...
Page 69: ......
Page 71: ...Manual de instrucciones LNZ44P4 CÁMARA PTZ IP TIPO DOMO 4x SERIE ...
Page 72: ......
Page 76: ......
Page 104: ... LX400075 r 4 0 58716 58717 es MX 28 ...
Page 105: ......

