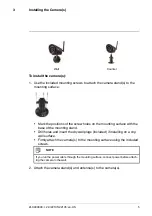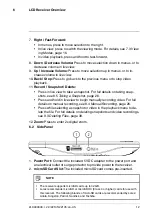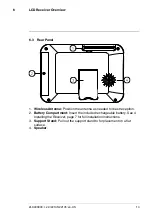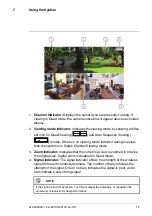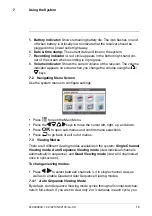
Wall
Counter
To install the camera(s):
1. Use the included mounting screws to attach the camera stand(s) to the
mounting surface:
• Mark the positions of the screw holes on the mounting surface with the
base of the mounting stand.
• Drill holes and insert the drywall plugs (included) if installing on a dry-
wall surface.
• Firmly attach the camera(s) to the mounting surface using the included
screws.
NOTE
If you run the power cable through the mounting surface, connect power before attach-
ing the camera to the wall.
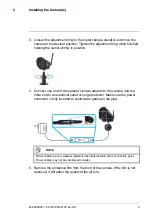
2. Attach the camera stand(s) and antenna(s) to the camera(s).
#LX400030; r. 2.0/22135/22135; en-US
5
Summary of Contents for LW1741
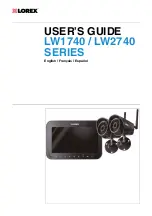
Page 1: ...USER S GUIDE LW1740 LW2740 SERIES English Français Español ...
Page 2: ...USER S GUIDE LW1740 LW2740 SERIES LX400030 r 2 0 22135 22135 en US iii ...
Page 24: ...Using the System 7 NOTE There is no audio in Quad mode LX400030 r 2 0 22135 22135 en US 19 ...
Page 38: ...Recording 8 3 Press repeatedly until all menus are closed LX400030 r 2 0 22135 22135 en US 33 ...
Page 69: ...GUIDE DE L UTILISATEUR SÉRIES LW1740 LW2740 ...
Page 70: ...GUIDE DE L UTILISATEUR SÉRIES LW1740 LW2740 LX400030 r 1 0 17626 17626 fr CA iii ...
Page 138: ...GUÍA PARA USUARIOS SERIE LW1740 LW2740 ...
Page 139: ...GUÍA PARA USUARIOS SERIE LW1740 LW2740 LX400030 r 1 0 19012 19012 es MX iii ...
Page 144: ...Tabla de contenido 14 4 Directiva RoHS 63 LX400030 r 1 0 19012 19012 es MX ix ...
Page 209: ......
Page 210: ......
Page 211: ......

