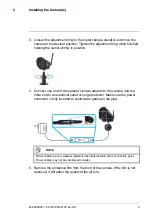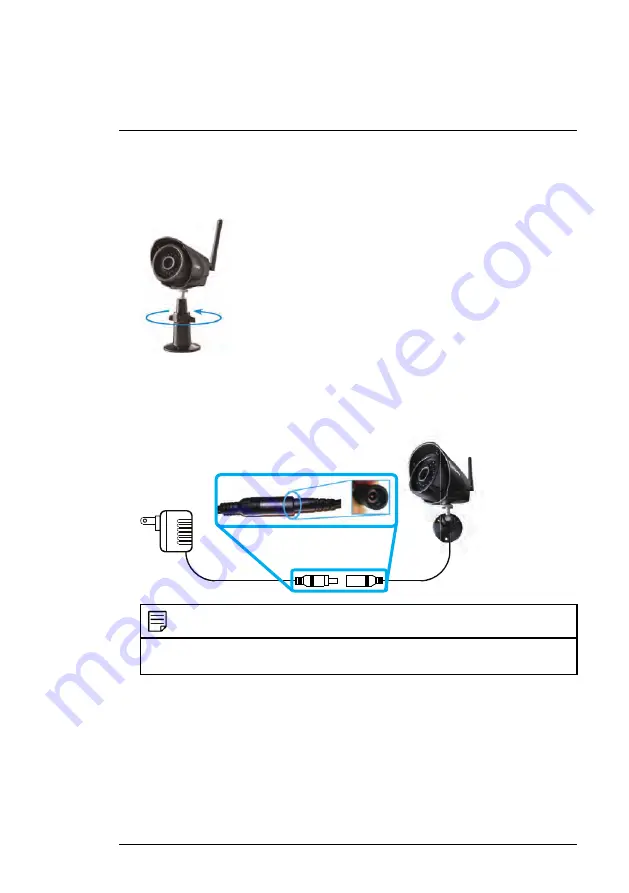
3. Loosen the adjustment ring on the metal camera stand(s) and move the
camera to the desired position. Tighten the adjustment ring when finished,
holding the camera firmly in position.
4. Connect one end of the camera’s power adapter to the camera and the
other end to an electrical outlet or surge protector. Make sure the power
connector is fully inserted to avoid water getting in the plug.
NOTE
Power cables are only weather resistant when fully inserted at the connection point.
Power cables may not be submerged in water.
5. Remove the protective film from the front of the camera. If the film is not
removed, it will affect the quality of the picture.
#LX400030; r. 2.0/22135/22135; en-US
6
Summary of Contents for LW1741
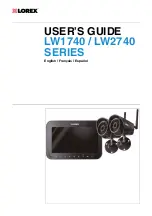
Page 1: ...USER S GUIDE LW1740 LW2740 SERIES English Français Español ...
Page 2: ...USER S GUIDE LW1740 LW2740 SERIES LX400030 r 2 0 22135 22135 en US iii ...
Page 24: ...Using the System 7 NOTE There is no audio in Quad mode LX400030 r 2 0 22135 22135 en US 19 ...
Page 38: ...Recording 8 3 Press repeatedly until all menus are closed LX400030 r 2 0 22135 22135 en US 33 ...
Page 69: ...GUIDE DE L UTILISATEUR SÉRIES LW1740 LW2740 ...
Page 70: ...GUIDE DE L UTILISATEUR SÉRIES LW1740 LW2740 LX400030 r 1 0 17626 17626 fr CA iii ...
Page 138: ...GUÍA PARA USUARIOS SERIE LW1740 LW2740 ...
Page 139: ...GUÍA PARA USUARIOS SERIE LW1740 LW2740 LX400030 r 1 0 19012 19012 es MX iii ...
Page 144: ...Tabla de contenido 14 4 Directiva RoHS 63 LX400030 r 1 0 19012 19012 es MX ix ...
Page 209: ......
Page 210: ......
Page 211: ......

