10
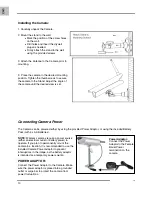
Installing the Camera:
1. Carefully unpack the Camera.
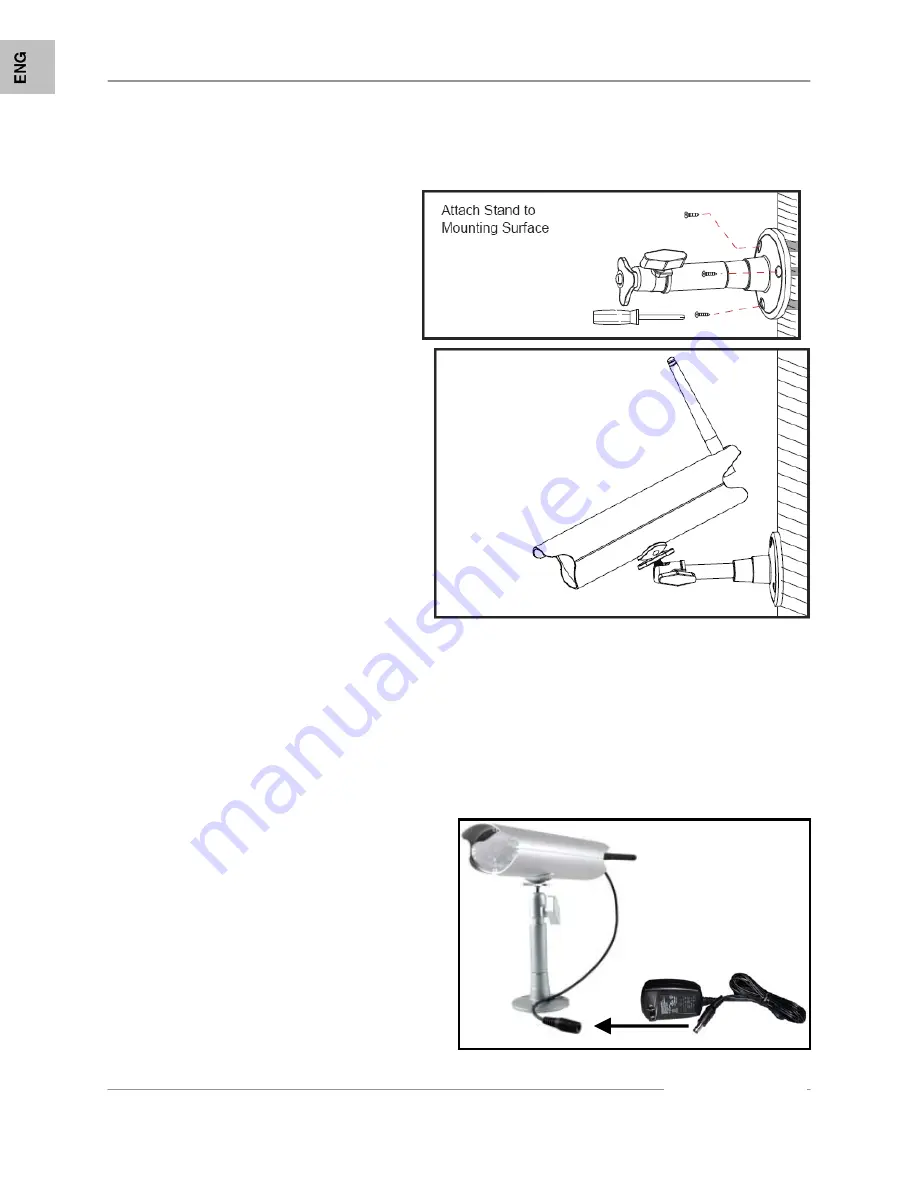
2. Mount the stand to the wall:
•
Mark the position of the screw holes
on the wall.
•
Drill holes and insert the drywall
plugs as needed.
•
Firmly attach the stand to the wall
using the provided screws.
3. Attach the Antenna to the Camera prior to
mounting.
3. Place the camera in the desired mounting
position. Tighten the thumbscrews to secure
the camera to the Stand. Adjust the angle of
the camera until the desired view is set.
Connecting Camera Power
The Camera can be powered either by using the provided Power Adaptor, or using the included Battery
Pack (with 4 x AA Batteries).
NOTE
: Wireless cameras require a power source
(either an electrical outlet or battery power) to
operate. If you plan to permanently mount the
camera in a location, it is recommended to use the
included Camera Power adaptor to prevent
interruptions in the image, as the battery adaptor
is intended as a temporary power solution.
POWER ADAPTOR:
Connect the Power Adaptor to the Camera. Make
sure the power adaptor is placed into a grounded
outlet or surge bar to protect the camera from
power fluctuations.
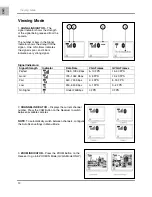
Power Adaptor:
Connect the Power
Adaptor to the Female
Barrel Power
termination on the
camera.

