www.lorextechnology.com
LW2731AC1 Series Quick Start Guide_R1 Page 1
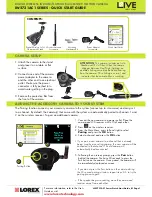
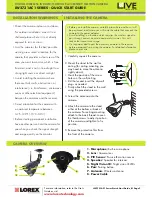
For more information, refer to the User’s
Guide or visit
DIGITAL WIRELESS INDOOR/OUTDOOR ACCESSORY MOTION CAMERA
LW2731AC1 SERIES - QUICK START GUIDE
SIMPLY AWARE
™
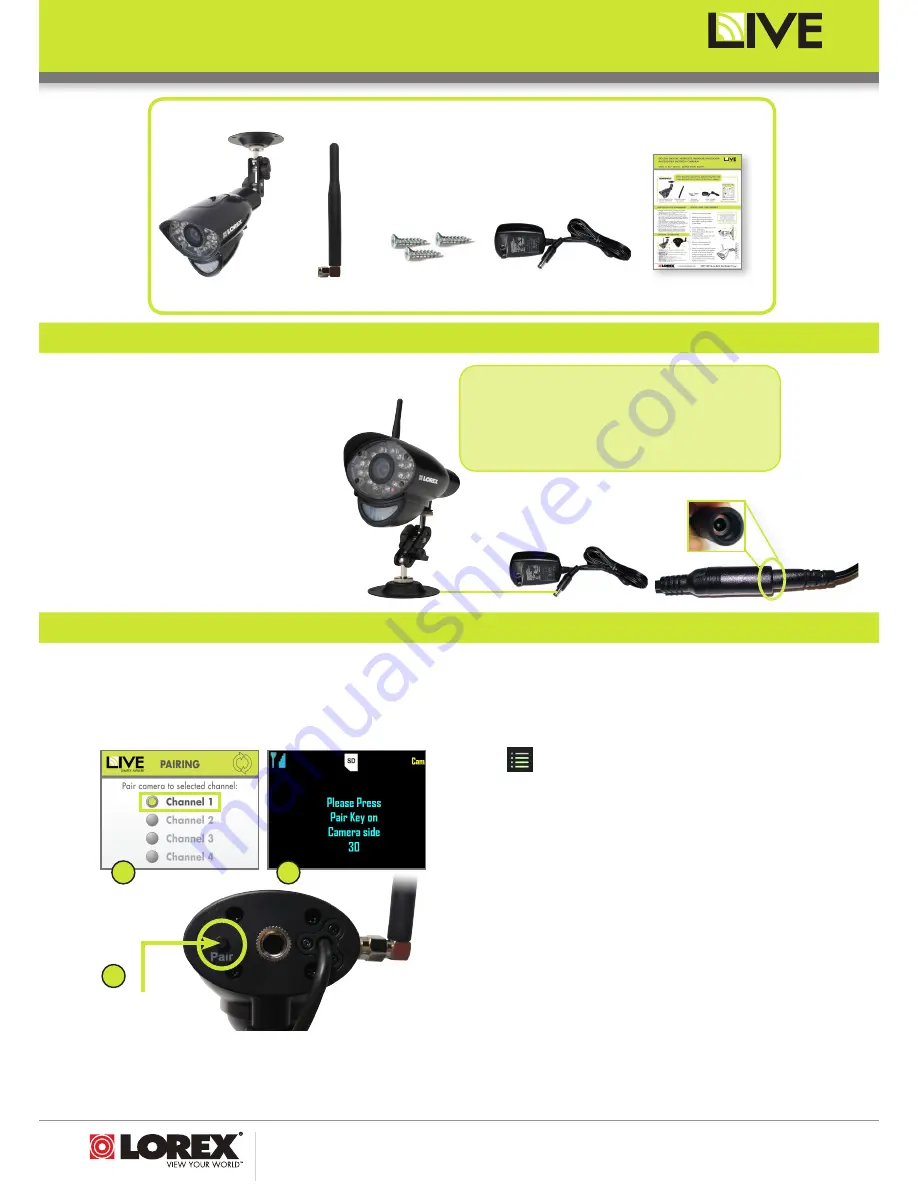
CONTENTS:
Quick Start Guide
Digital Wireless Color
Camera with Stand
Wireless Antenna
for camera
Power Adapter
for camera
Mounting
Hardware Kit
CAMERA SETUP
1. Connect the new camera to a power outlet. Place the
camera and LCD receiver within 1ft of each other.
2. Press
on the wireless receiver.
3. From the Main Menu, press left and right to select
Pairing
and press the
OK
button.
4. Select a channel and press the
OK
button.
• If you pair a new camera to a channel that is already
being used by an existing camera, the new camera will be
connected to that channel. The old camera will
automatically be disconnected.
5. Following the on-screen prompt, press the
Pair
button
behind the camera. You have 30 seconds to press the
Pair button on the camera. Once paired, the camera will
be immediately displayed on-screen.
•
If you do not press the Pair button on the camera during
the 30 second pairing window, repeat steps 2~5 to try the
pairing process again.
•
If the speaker begins squealing, move the camera and
receiver away from each other.
ADDING THE ACCESSORY CAMERA TO YOUR SYSTEM
The Pairing function connects your accessory camera to the system (connect up to 4 cameras) and assigns it
to a channel. By default, the camera(s) that came with the system are automatically paired to channels 1 and
2 on the wireless receiver. To pair an additional camera:
ATTENTION
: This camera includes an Auto
Mechanical IR Cut Filter. When the camera
changes between Day/Night Lighting, an
audible clicking noise may be heard coming
from the camera. This clicking is normal, and
indicates that the camera filter is working.
4
5
Pairing Button
5
1. Attach the camera to the stand
and place it on a table or flat
surface.
2. Connect one end of the camera
power adapter to the camera
and the other end to an electrical
outlet. Make sure the power
connector is fully pushed in to
avoid water getting in the plug.
3. Remove the protective film from
the front of the camera.


