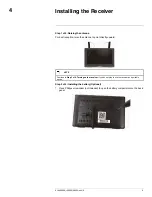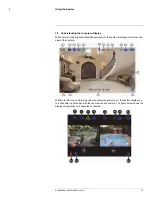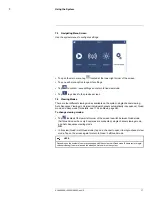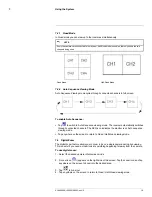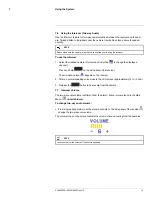
Installing the Receiver
4
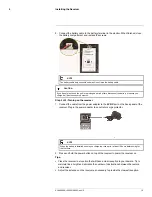
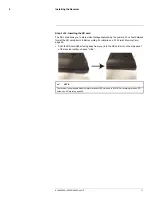
2. Connect the battery cable to the battery terminal in the monitor. When finished, close
the battery compartment and replace the screws.
NOTE
The battery cable only connects one way. Do not force the battery cable.
CAUTION
If you do not plan to use the unit for a prolonged period of time, disconnect the battery or ensure you
charge it at least once every 6 months.
Step 3 of 4: Turning on the receiver
1. Connect the cable from the power adapter to the
5V DC
port on the back panel of the
receiver. Plug in the power adapter to an outlet or surge protector.
NOTE
When the battery is installed, ensure you charge the receiver for at least 10 hours before using for
the first time.
2. Press and hold the power button on top of the receiver to power the receiver on.
Tips:
• Place the receiver in a location that will have a clear reception to your camera. Try to
maintain line-of-sight and minimize the number of obstructions between the camera
and receiver.
• Adjust the antennas on the receiver as necessary to provide the clearest reception.
#LX400069; r.28523/28523; en-US
10
Summary of Contents for LW2770 SERIES
Page 1: ...USER S GUIDE LW2770 Series ...
Page 2: ......
Page 3: ...USER S GUIDE LW2770 Series LX400069 r 28523 28523 en US iii ...
Page 80: ......
Page 81: ......


