- 33 -
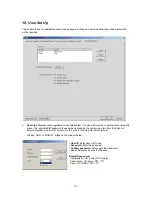
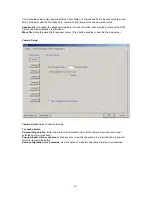
1. Select Directory for local searching
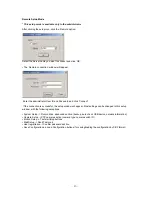
Click the ‘Setup’ button (
). The following window will open:
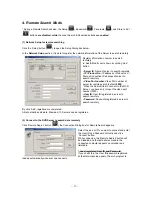
In the
Directory
section, select the drive and directory for local searching.
•
Select a drive for searching: The default will be the
drive that the DVR software has been installed in.
•
Select a directory for searching
2. Select the Date to Search
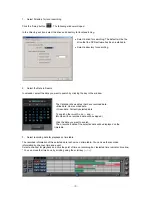
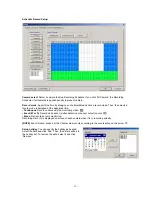
In calendar, select the date you want to search by clicking the day in the window.
The Calendar shows dates that have recorded data.
▪
Blue date: Has recorded data.
▪
Green date: Currently selected date.
To search other month, use
←
and
→
.
(Months with no recorded data will be skipped.)
Click the date you want to search.
Then, recorded data of the selected date will be displayed on the
timetable.
3. Select recording data for playback on timetable
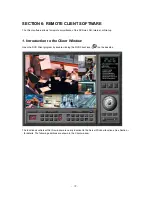
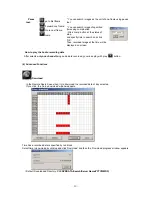
The recorded information of the selected date is shown on a timetable. You can see the recorded
information by channel, time and event.
Select a channel for playback and click the point of time on recording bar. (selected time indicator: blue line)
* You can move the time zone by scrolling using the scroll key (
←
/
→
).


