- 34 -
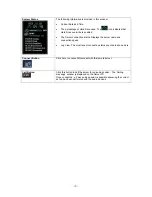
Time Indicator
: Display the real time of recorded data is on playback. (data of present time: blue line)
Channel Select
: Select the channel for playback (by 1-channel mode).
Quad View
: User can see the screen by 4-channel quad mode by clicking ‘Quad’ button.
*By double-clicking on the screen, 1-channel display mode and quad mode are changed alternately
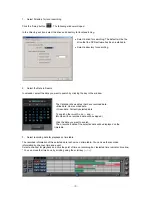
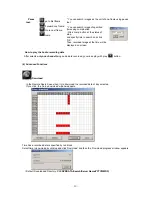
Timetable
: Display the recording data of selected date by channel as bar of various color.
*The colors of the bar indicate various types of recording:
( Green = Continuous Recording, Red = Motion Detection, Orange = Sensor, Pink = Pre-recording,
White line = Audio Recording)
Select by Event
: Use to see the recorded data by event.
▪
A
= Display all types of recording.
▪
C
= Display only Continuous Recording data. (Green)
▪
M
= Display only Motion Detection Recording data. (Red)
▪
S
= Display only Sensor Recording data. (Orange)
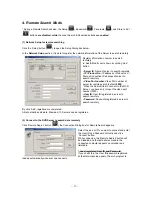
4. Playback the selected data recorded
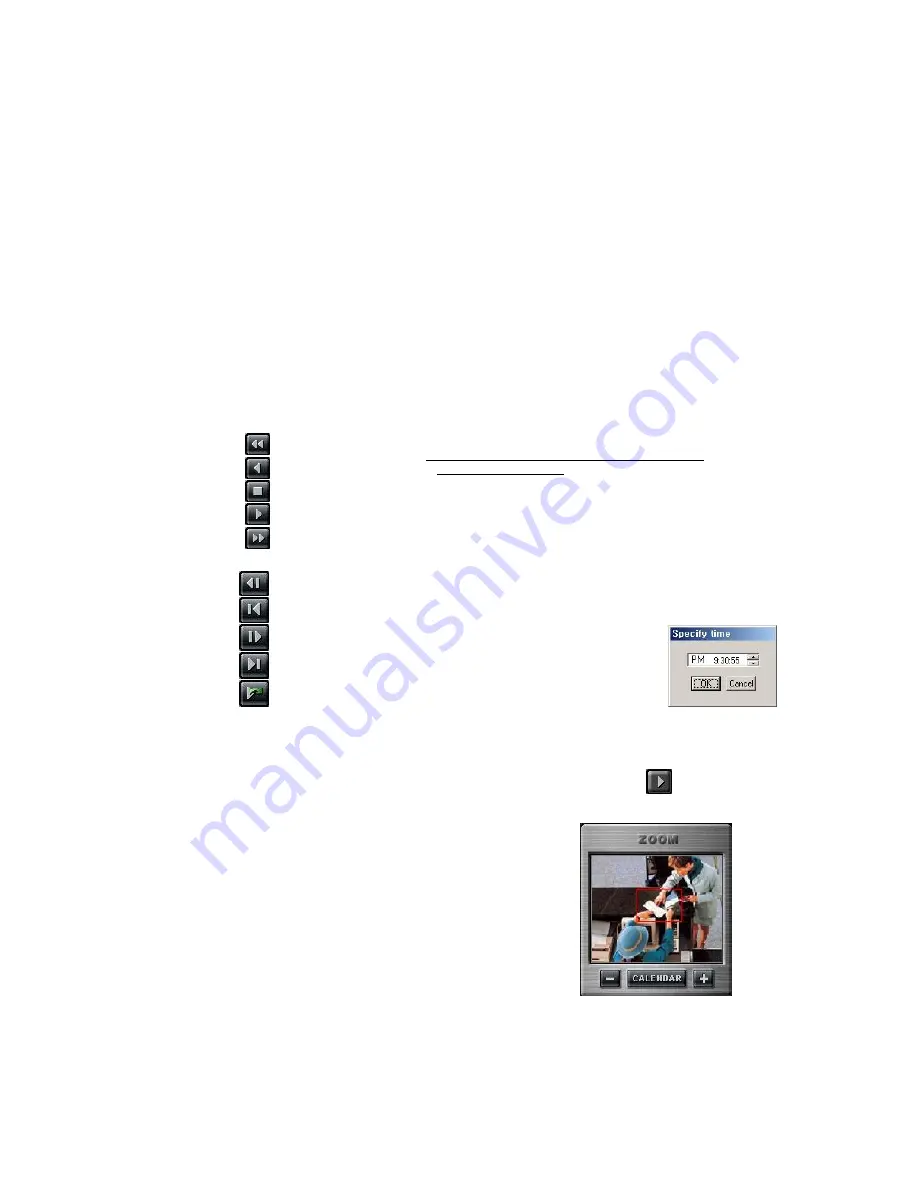
Use the following controls to adjust playback specs and direction.
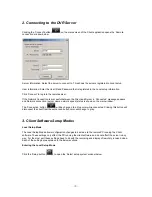
Play tool
:
Fast Backward Play (x3)
Backward Play
Stop
Play
Fast Forward Play x3)
* During play, the following buttons are disabled.
(Enabled during stop.)
▪
Scroll bar and data bar on timetable
▪
Setup, Bookmark, AVI, Panorama, Capture buttons
▪
Remote Search, Zoom in/out buttons
▪
Jump button
Pause
tool
:
Backward one frame
Go to First frame
Forward one frame
Go to Last frame
Jump
* Play images frame by frame using the Pause tool
* Use the Jump button to go to a specific
time.
Click the ‘Jump’ button, specify time to
search, and click ‘OK’.
How to play the Audio recording data
After selects
only one channel
being audio data recorded, you make play with play (
) button.
Zoom
: If you click the ‘Zoom’ button below calendar, the Zoom control
window is shown. Use the + and – keys to Zoom in and out.

