5
Installing the Camera
Installing the Camera
There are two methods of installing the Mini Speed Dome Camera*: cable pass-through, or visible
cable.
Prior to installing the camera, make sure of the following:
• You have powered-on the camera to run the automatic Self-Test (
see
Camera Self-Test
• You have connected the camera to a TV, DVR, keyboard controller, or observation system(not
included) to check the video signal and RS-485 connection to ensure the camera, TV, DVR,
keyboard controller, or observation system are functioning properly
Cable Pass-Through
The cable pass-through method involves drilling a hole in the mounting surface large enough for
the BNC/RS-485/Power cable to pass-through. This method conceals the cable from view and
prevents tampering.
To install the camera:
1. Drill an opening in your mounting surface large enough for the cables to pass through—
approximetaly 2 cm/0.79 in in diameter.
2. With the pass-through hole drilled in the mounting surface, feed the BNC/RS485/Power
cable through the hole.
3. Feed the BNC/RS485/Power cable through the large hole of the included mounting plate.
4. Fasten the mounting plate to to the surface using the included mounting screws.
5. Connect the serial port of the BNC/RS485/Power cable firmly to the port on the base of the
camera.
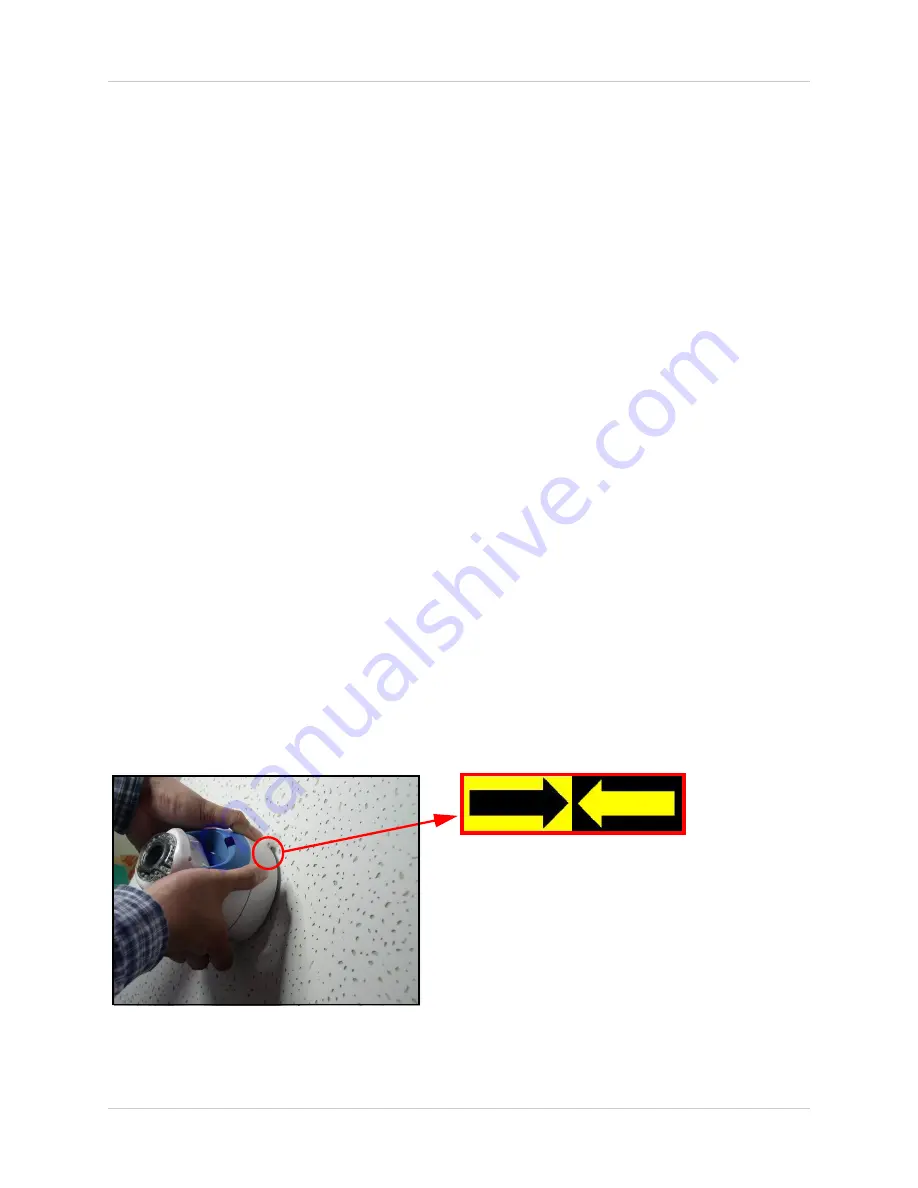
6. Place the camera on the mounting plate, making sure to line up the arrow on the base of the
camera with the arrow on the plate. The camera should be flush against the mounting plate.
7. Turn the base of the camera clockwise until it clicks into place.
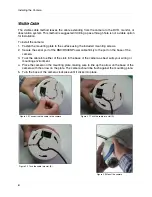
Figure 1.0 Mounting the camera—cable pass-through
Figure 1.1 Line-up arrows on camera and plate
*Camera may not be exactly as shown.


