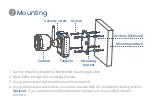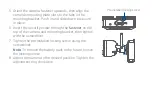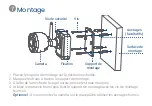
5. Orient the camera fastener upwards, then align the
camera’s mounting plate slots to the tabs in the
mounting bracket. Push in and slide down to secure
in place.
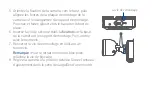
6. Insert the security screw through the
fastener
on the
top of the camera and mounting bracket, then tighten
with the screwdriver.
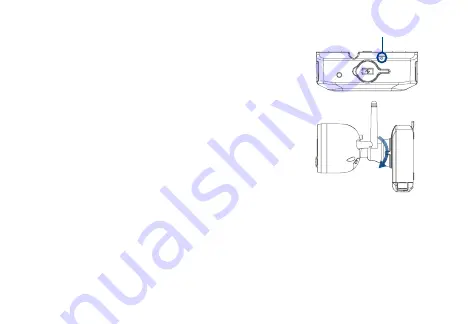
7. Tighten the pre-installed locking screw using the
screwdriver.
Note:
To remove the battery pack in the future, loosen
the locking screw.
8. Adjust the camera to the desired position. Tighten the
adjustment ring clockwise.
Pre-installed locking screw
Summary of Contents for U424AA Series
Page 1: ...2K Wire Free Camera Quick Start Guide U424AA Series lorex com En ...
Page 2: ...How to get started with your 2K Wire Free Camera Thank you for your purchase ...
Page 14: ...Caméra 2K sans fils Guide de démarrage rapide Série U424AA lorex com Fr ...
Page 15: ...Voici comment démarrer votre 2K caméra sans fil Merci pour votre achat ...
Page 27: ...Cámara 2K sin cables Guía de inicio rápido Serie U424AA lorex com Es ...
Page 28: ...Cómo empezar con su cámara 2K sin cables Gracias por su compra ...


