6
Installing the Camera
4. INSTALLING THE CAMERA
4.1 Before Installing the Camera
Decide if you are going to run the cables through the wall /
ceiling (drilling required) or along the wall / ceiling.
• If you are running the cables through the wall / ceiling,
connect the power and BNC video cables to the camera
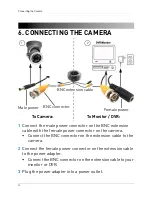
before installing. See “Connecting the Camera” on page 12
for details.
• If you are running the cables along the wall / ceiling, follow
the instructions below before connecting the camera
power and BNC video cables.
4.2 To Install the Camera
1
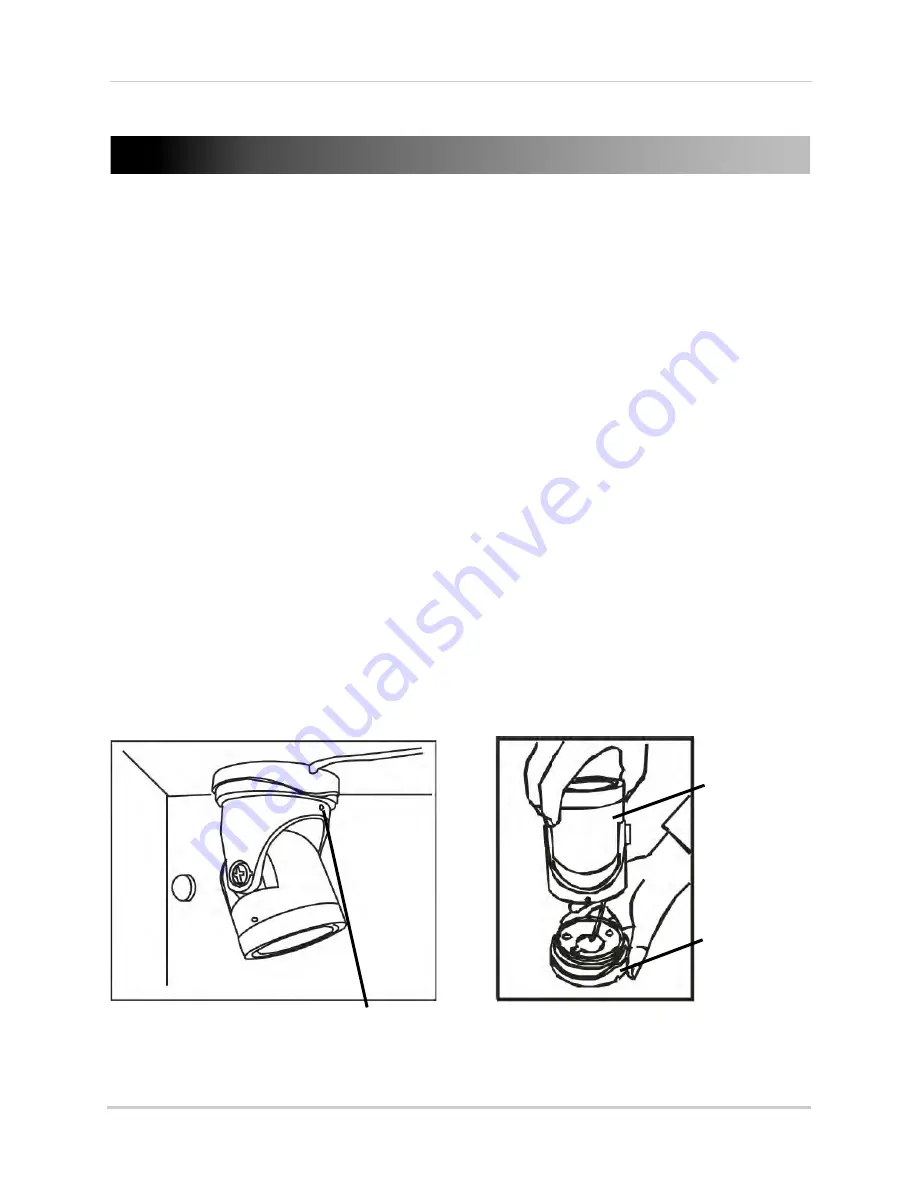
Use the included allen key to loosen the base screws
(Figure 1). Twist the mounting base until it loosens; then,
separate the camera from the mounting base.
Base screws
(1 on each side)
Twist the base until
it loosens; then,
pull to separate.
Figure 1:
Figure 2:
Camera
Mounting
base
Summary of Contents for VANTAGE LBC5451
Page 1: ...INSTRUCTION MANUAL ENGLISH VERSION 1 0 www lorextechnology com LBC5451 SECURITY CAMERA...
Page 2: ......
Page 6: ...iv...
Page 25: ......
Page 26: ......
Page 27: ......
Page 28: ...Copyright 2011 Lorex Technology Inc LBC5451 www lorextechnology com Version 1 0...

