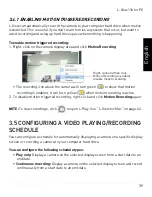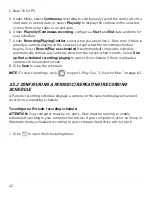
43
L-View 116 for PC
English
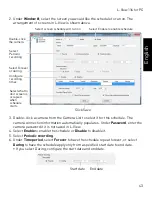
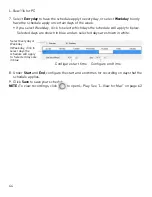
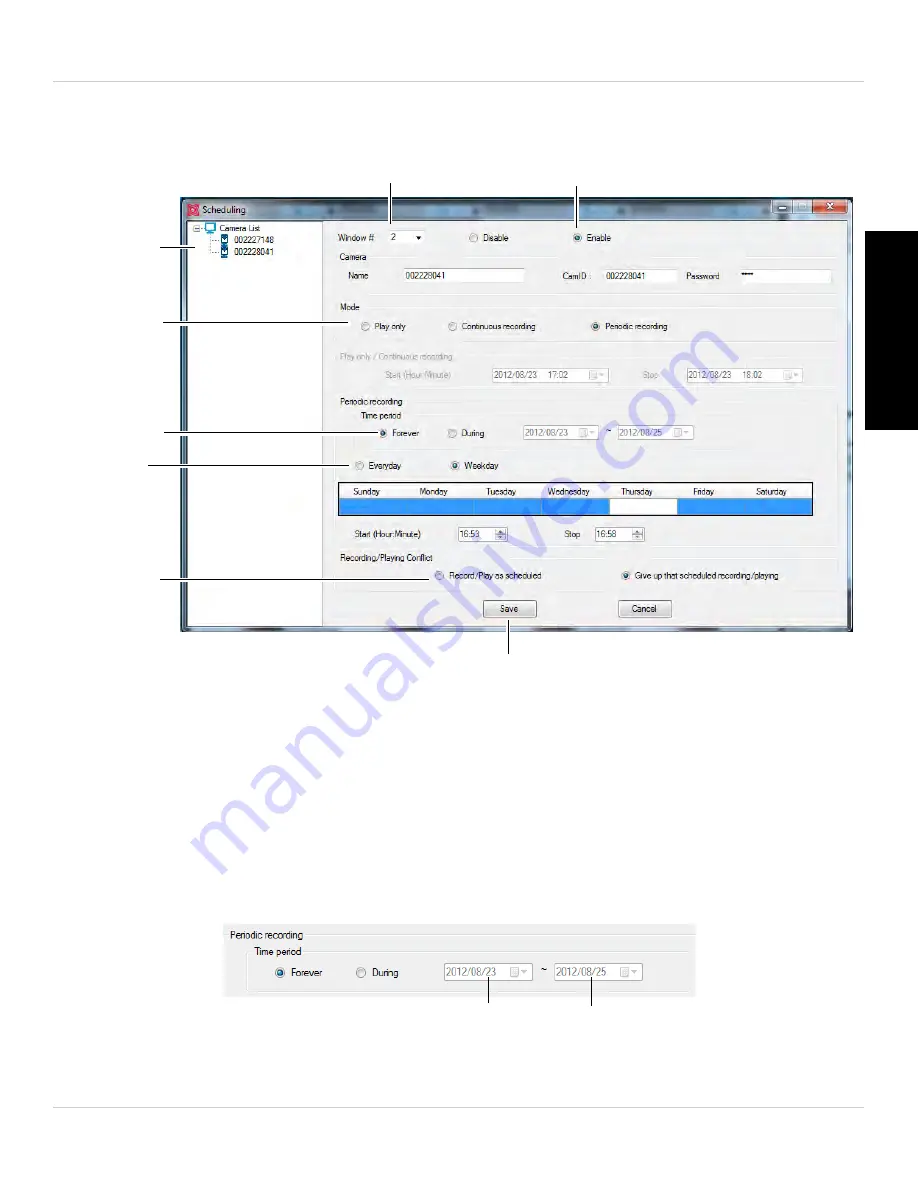
2. Under
Window #
, select the screen you would like the schedule to run on. The
arrangement of screens in L-View is shown above.
Select Enable to enable schedule
Select screen schedule will run on
Double-click
the camera
Select
Periodic
recording
Select Forever
or during
Select what to
do if screen is
occupied
when
schedule
starts
Click Save
Configure
recording
times
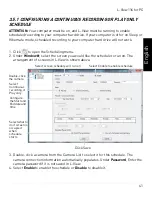
3. Double-click a camera from the Camera List to select it for this schedule. The
camera connection information automatically populates. Under
Password
, enter the
camera password if it is not saved in L-View.
4. Select
Enable
to enable the schedule or
Disable
to disable it.
5. Select
Periodic recording
.
6. Under
Time period
, select
Forever
to have the schedule repeat forever, or select
During
to have the schedule apply only from a specified start date to end date.
• If you select During, configure the start date and end date.
Start date
End date

