69
L-View for Mac
English
8. Check
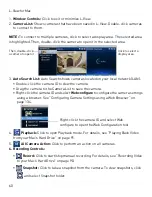
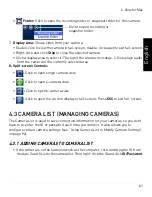
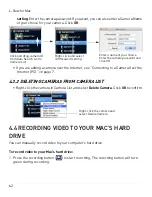
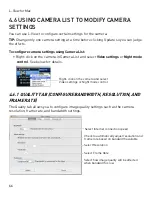
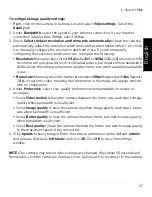
Enable time display on video
to turn on video time stamps or un-check it to
disable video time stamps.
9. Under
Microphone
, select
Enabled
to enable the built-in microphone on the camera
or select
Disabled
to disable the built-in microphone on the camera.
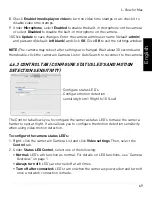
10.Click
Update
to save changes. Enter the camera admin user name (default:
admin
)
and password (default:
left blank
) and click
OK
. Click
OK
to exit the settings window.
NOTE:
The camera may reboot after settings are changed. Wait about 30 seconds and
then double-click the camera in Camera List or Auto Search to reconnect to the camera.
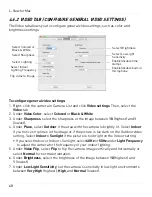
4.6.3 CONTROL TAB (CONFIGURE STATUS LED’S AND MOTION
DETECTION SENSITIVITY)
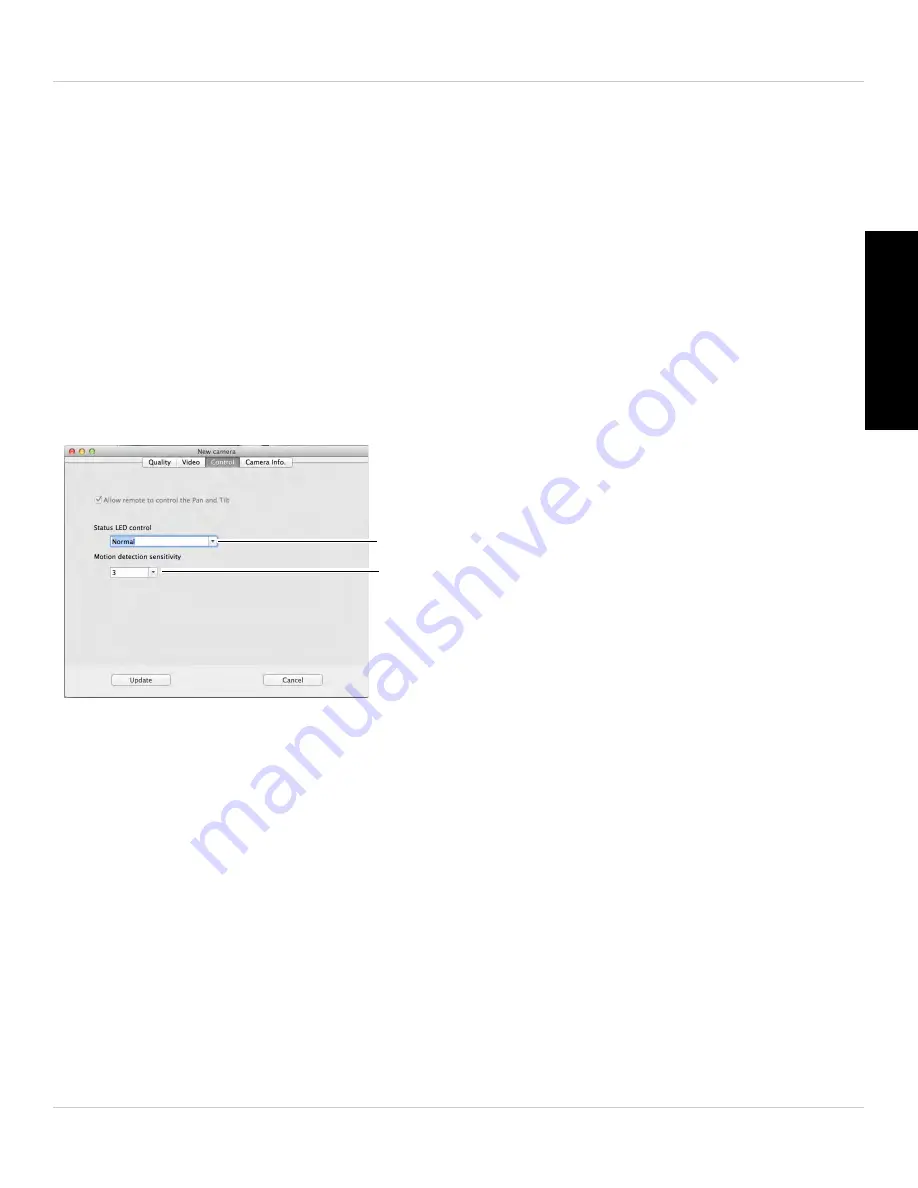
Configure status LED’s
Configure motion detection
sensitivity from 1 (High) to 10 (Low)
The Control tab allows you to configure the camera status LED’s to make the camera
harder to spot at night. It also allows you to configure the motion detection sensitivity
when using video motion detection.
To configure the camera status LED’s:
1. Right-click the camera in Camera List and click
Video settings
. Then, select the
Control
tab.
2. Under
Status LED Control
, select one of the following:
•
Normal:
LED’s will function as normal. For details on LED functions, see “Camera
Overview” on page 1.
•
Always turn off:
LED’s are turned off at all times.
•
Turn off after connected:
LED’s turn on when the camera is powered on and turn off
once a network connection is made.


