I271
I
GB
F
E
02
17
31100324
G
B
10
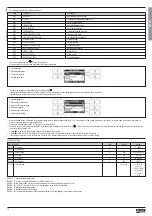
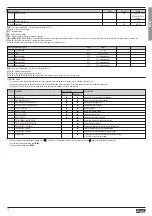
Code Sub-menu Description
M01 GENERAL Detailed data of the installation
M02 UTILITY Language, backlight, display pages, etc.
M03 PASSWORD Access codes enabling
M04 INTEGRATION Readings integration time
M05 HOUR COUNTER Hour counter enabling
M06 TREND GRAPH Trend graph reading and scale
M07 COMMUNICATION (COMn) Communication ports
M08 LIMIT THRESHOLDS (LIMn) Limit thresholds on readings
M09 ALARMS (ALAn) Alarm messages
M10 COUNTERS (CNTn) General counters
M11 ENERGY PULSING (PULn) Energy pulse count
M12 BOOLEAN LOGIC (BOOn) Boolean logic variables
M13 INPUTS (INPn) Digital inputs
M14 OUTPUTS (OUTn) Digital outputs
M15 USER PAGES (PAGn) User-defined pages
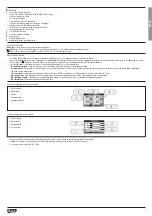
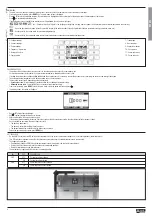
– The following table lists the available sub-menus:
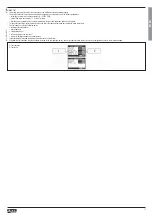
– Select the sub-menu and press
to show the parameters.
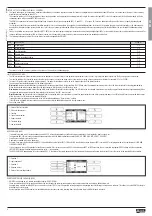
– Each parameter is shown with code, description and current setting value.
1 - Parameter code
2 - Parameter description
3 - Current setting value
4 - Selected parameter
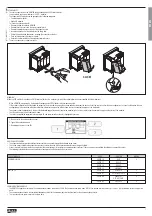
– To modify the setting of one parameter, select it and then press
.
– If the Advanced level access code has not been entered, it will not be possible to enter editing page and an access denied message will be shown.
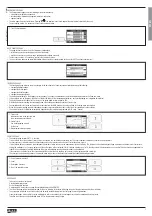
– If instead the access rights are confirmed, then the editing screen will be shown.
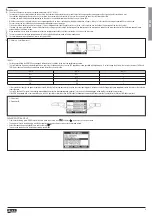
1 - Selected parameter
2 - Minimum possible setting
3 - Graph bar of the value-range
4 - New value entered
5 - Maximum possible setting
6 - Factory default setting
– When the editing screen is displayed, the parameter setting can be modified with
and
keys. The screen shows the new setting, a graphic bar that shows the setting range, the maximum and minimum
values, the previous setting and the factory default.
– Pressing simultaneously
and
, the setting is set to factory default.
– During the entry of a text string, keys
and
are used to select the alphanumeric character while
is used to move the cursor along the text string. Pressing keys
and
simultaneously will move the
character selection straight to ‘A’.
– Press
MENU
to go back to the parameter selection. The entered value is stored.
– Press
MENU
again to save all the settings and to quit the set-up menu. The multimeter executes a reset and returns to normal operation.
– If the user does not press any key for more than 2 minutes, the multimeter leaves the setu-p automatically and goes back to normal viewing.
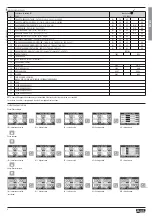
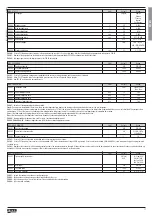
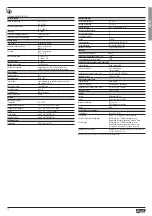
M01 - GENERAL UdM Default Range
P01.01 CT primary A 5 1-10000
P01.02 CT secondary A 5 5
P01.03 Rated voltage V Aut Aut / 50-500000
P01.04 VT usage OFF OFF-ON
P01.05 VT primary V 100 50-500000
P01.06 VT secondary V 100 50-500
P01.07 Type of wiring L1-L2-L3-N L1-L2-L3-N
L1-L2-L3
L1-L2-L3-N BIL
L1-L2-L3 BIL
L1-N-L2
L1-N
PARAMETER TABLE
P01.01
– CT primary winding rated current.
P01.02
– CT secondary winding rated current. For DMG700 fixed to 5A.
P01.03
– System rated voltage. Leaving to Aut the multimeters automatically adapts bar-graph full scale.
P01.04
– Set to ON if VT are used. If set to OFF, the following two parameters will be ignored.
P01.05
– VT primary winding rated voltage.
P01.06
– VT secondary winding rated voltage.
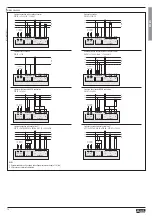
P01.07
– Set this parameter according to the used wiring diagram. See wiring diagrams on last pages of the manual.


