


PB
5
Basic Operation |
Elite-7m
Basic Operation |
Elite-7m
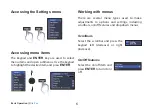
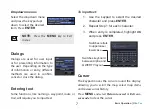
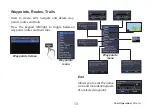
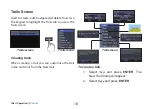
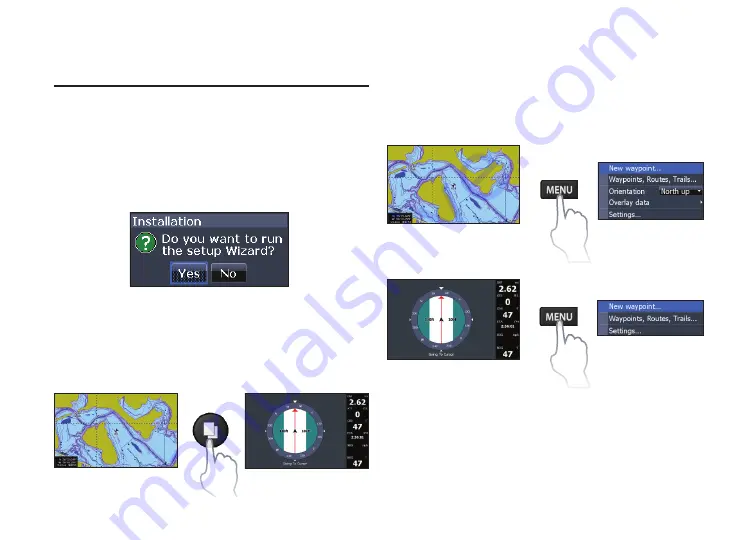
Page menus
The Steer and Chart pages have menus that can
only be accessed when those pages are displayed.
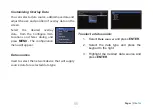
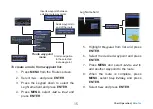
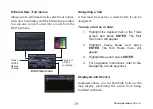
Setup wizard
The Setup wizard will appear when the unit is
turned on for the first time. To choose your own
settings, do not run the setup wizard. To restart the
Setup wizard, restore defaults.
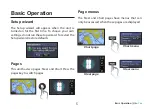
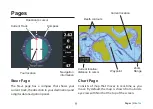
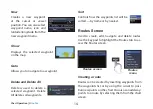
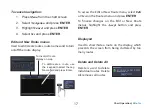
Pages
This unit has two pages: Steer and Chart. Press the
pages key to switch pages.
Steer page
Steer menu
Basic Operation
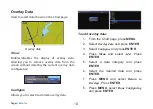
Chart page
Chart menu
Summary of Contents for Elite-7m
Page 1: ...Installation Operation manual Elite 7m Operation manual ...
Page 35: ......
Page 36: ......
Page 37: ......
Page 40: ... 988 10433 001 Visit our website www lowrance com N2584 ...


