17
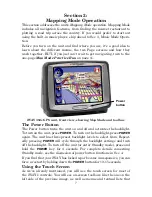
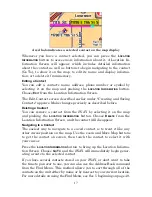
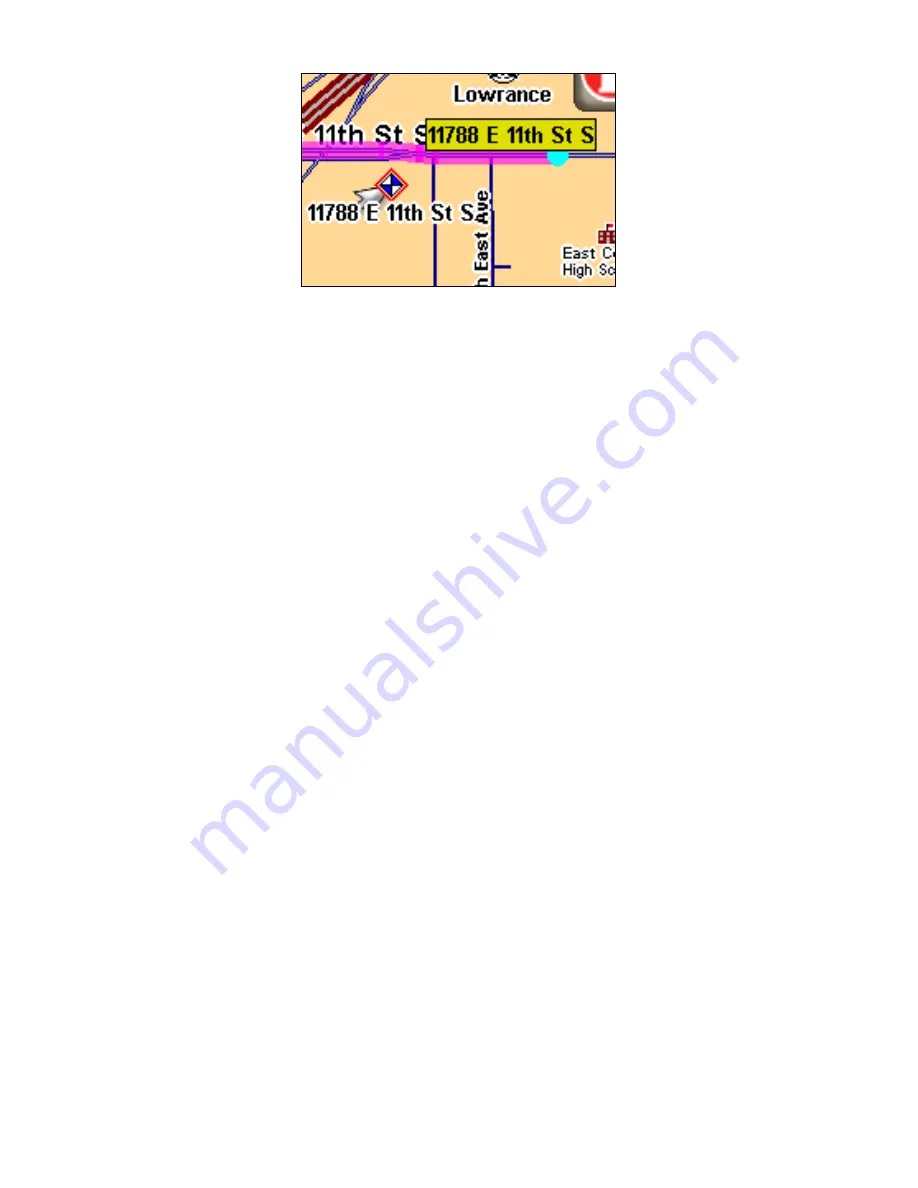
A red halo indicates a selected contact on the map display
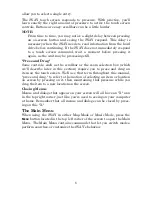
Whenever you have a contact selected, you can press the
L
OCATION
I
NFORMATION
button to access more information about it. A Location In-
formation Screen will appear, which includes detailed information
about the contact as well as buttons to begin navigating to the contact
(Go To), to show it on the map, to edit its name and display informa-
tion, or to delete it from memory.
Editing a Contact
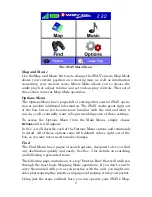
You can edit a contact's name, address, phone number or symbol by
selecting it on the map and pushing the
L
OCATION
I
NFORMATION
button.
Choose
E
DIT
from the Location Information Screen.
The Edit Contact screen described earlier under "Creating and Saving
Contacts" appears. Make changes precisely as described before.
Deleting a Contact
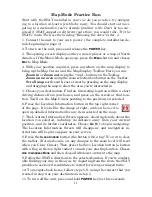
You can remove a contact from the iWAY by selecting it on the map
and pushing the
L
OCATION
I
NFORMATION
button. Choose
D
ELETE
from the
Location Information Screen, and the contact will disappear.
Navigating to a Contact
The easiest way to navigate to a saved contact is to treat it like any
other cursor position on the map. Use the zoom and Move Map buttons
to get the contact on screen, then touch the contact to select it with
your cursor.
Press the
L
OCATION
I
NFORMATION
button to bring up the Location Informa-
tion Screen. Choose
G
O
T
O
and the iWAY will immediately begin gener-
ating a route to the selected contact.
If you have several contacts stored on your iWAY, or don't want to take
the time to pan over to one, you can also use the Address Book command
from the Find Menu. This method allows you to sort through all of the
contacts on the unit either by name or by nearest to your current location.
For more details on using the Find Menu, see Sec. 5 beginning on page 49.

