99
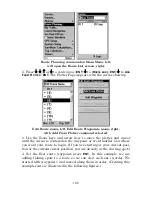
3. Press
→
to
D
ELETE
T
RAIL
|
↓
to
N
AVIGATE
|
ENT
.
4. Press
↓
to
N
AVIGATE
|
→
to
R
EVERSE
|
ENT
|
←
to
N
AVIGATE
|
ENT
. The unit
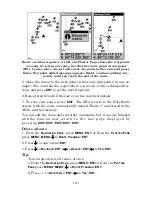
begins showing navigation information along the trail, in reverse.
NOTE:
If you are already located at or near the end of your trail, the arri-
val alarm will go off as soon as you hit Enter. Just press
EXIT
to
clear the alarm and proceed.
5. Now, begin moving and follow your M52.
6. When you reach your destination, be sure to cancel your navigation:
press
MENU
|
MENU
|
↓
to
C
ANCEL
N
AVIGATION
|
ENT
. The M52 asks if you're
sure; press
←
|
ENT
.
Icons
Icons are graphic symbols used to mark some location, personal point of
interest or event. They can be placed on the plotter screen, saved and
recalled later for navigation purposes. These are sometimes referred to
as event marker icons. The M52 has 42 different symbols you can pick
from when creating an icon.
Icons are similar to waypoints, but they do not store as much informa-
tion (like names) as waypoints do. You can't use a menu to navigate to
icons as you can with waypoints. (But, you
can
use the plotter cursor
and navigate to any icon on the plotter.)
You can create an icon at the cursor position on the plotter, or at your
current position while you are navigating.
Create Icon on Plotter
1. Use the arrow keys to move the cursor to the place where you want
to make an icon.
2. Press
ENT
and the screen shows a "Select Icon Symbol" menu.
3. Press
←
or
↑
or
→
or
↓
to select your icon symbol, then press
ENT
.
The icon appears on the plotter.
Summary of Contents for M52 S/GPS
Page 48: ...42 Notes ...
Page 72: ...66 Notes ...
Page 76: ...70 Notes ...
Page 134: ...128 Notes ...
Page 137: ...131 Notes ...
Page 138: ...132 Notes ...


