L-Proxy User Manual
102
LOYTEC
Version 3.1
LOYTEC electronics GmbH
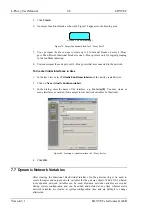
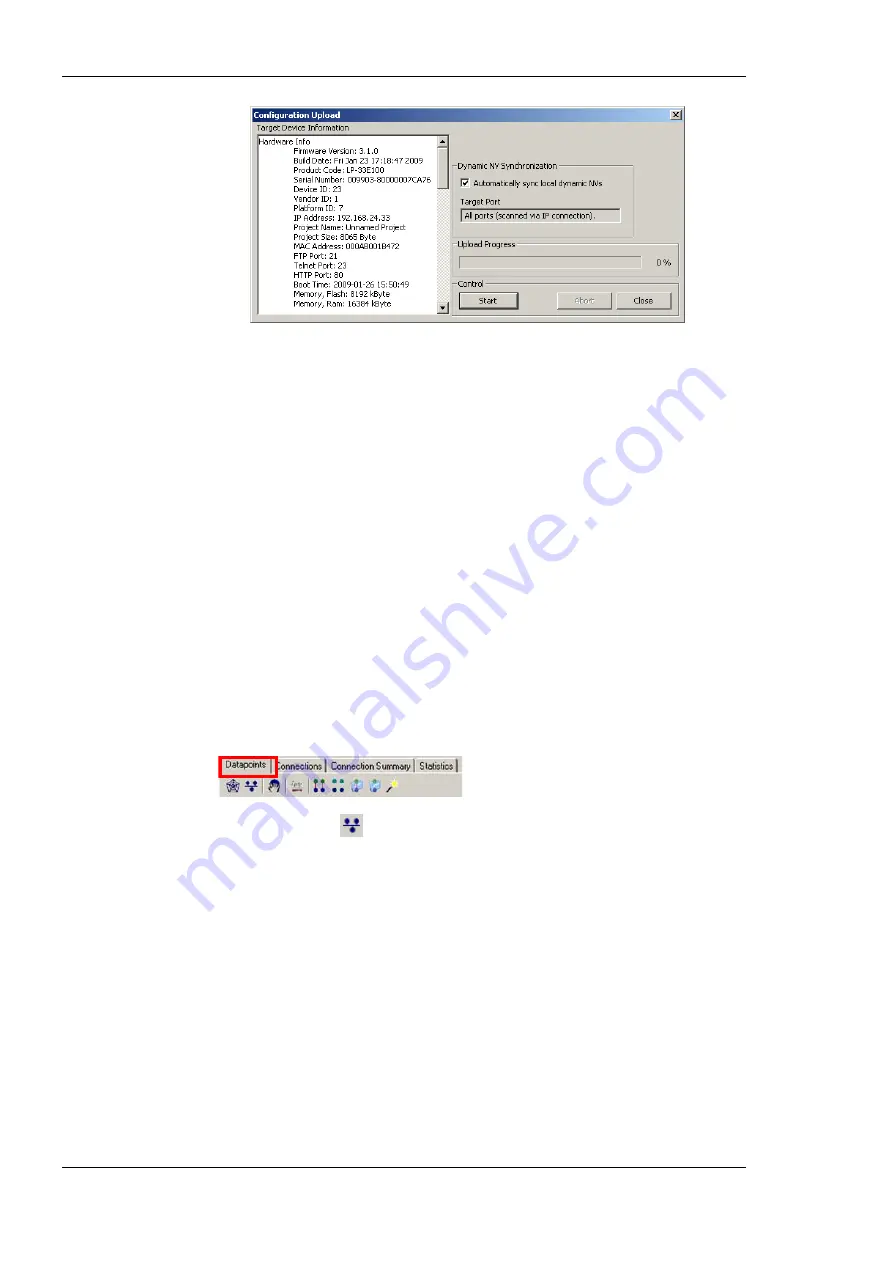
Figure 103: Configuration upload dialog.
2.
If the check-box
Automatically sync local dynamic NVs
is marked, any manually
created dynamic NVs will be uploaded and merged into the data point configuration.
3.
Click on the button
Start
to start the transfer. This will upload the configuration of all
ports, if the software is connected stand-alone via FTP or the network variable
interface, for which the LNS plug-in was started for.
4.
When asked, if schedules shall be uploaded also, click
Yes
, if you want the current
schedule configuration be extracted from the device. Note, that when doing so, the
original schedules in the project are replaced by the uploaded schedules.
5.
If dynamic NVs were synchronized, click on
Finish
.
7.9.4 Scanning for Network Variables
When the L-Proxy Configurator is connected to an LNS database, network variables can be
scanned from that data base.
To scan network variables from the LNS database
1.
Click on the
Datapoints
tab.
2.
Click on the button
Scan channel
. This scans in all NVs on all devices connected
to the CEA-709 channel of the L-Proxy.
3.
After the scan has completed, the folder
LNS Database Scan
is populated with the
found NVs. Data point names for those NVs are automatically generated, following the
data point naming rules defined in the project settings (see Section 7.3.2). By default
the name is generated from node name, object name, and NV name. These names are
ensured to be unique by adding a counter for multiple occurrences of the same name.
Summary of Contents for L-Proxy
Page 1: ...L Proxy CEA 709 Gateway User Manual LOYTEC electronics GmbH ...
Page 10: ......

