28
29
4 service sheets: structural components
service sheets: structural components
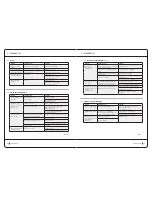
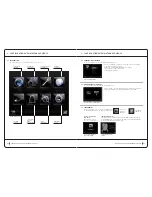
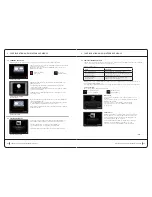
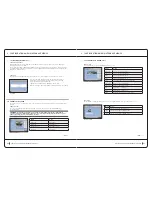
4.4 rePlacing a MoVaBle arM
Safety:
For safety reasons, the CELLU M6 safety operator or technician should not continue
when the machine is powered on or in 230V areas.
Unplug the power cord from the outlet.
required materials:
1 x T20 torx key, 1 x T30 torx key.
operating time:
40 min.
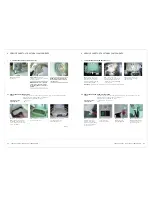
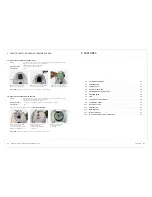
2)
Remove the hose from the
movable arm, with its guide.
reassembly:
Perform the
operations in reverse to reassemble
the new assembly.
4)
Unscrew (T30 Torx) and
remove the movable arm
with the panel still tilted.
note:
note the housing for the
movable arm’s hinge housing
in the top frame.
3)
Unscrew the two screws
from the rear cover of the
panel. Tilt the panel down
to remove the cover.
note:
adjust the hose’s position
so that it runs along the joint of
the moving arm when in its
lower position.
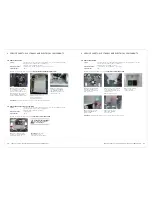
1)
Follow the instructions from step 1 to 4:
4.3 rePlacing a Head HoSe
4 service sheets: structural components
service sheets: structural components
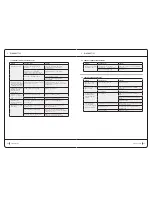
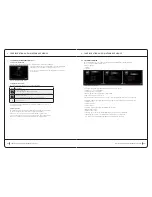
4.3 rePlacing a Head HoSe
Safety:
For safety reasons, the CELLU M6 safety operator or technician should not
continue when the machine is powered on or in 230V areas.
Unplug the power cord from the outlet.
required materials:
1 x T20 torx key.
operating time:
5 min.
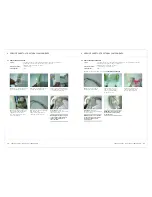
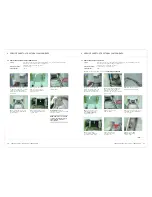
1)
Remove the cover by unscrewing
the screw using the T20 Torx key.
4)
Unlock the ring by lining up the
two ¦ symbols, and then pull the
ring to disconnect the hose.
(Disconnecting: See note at the
start of the chapter.)
2)
Remove the movable arm cover
by releasing the two prongs.
5)
Remove the hose with its guide
from its housing.
Remove the metal guide and
reposition it on the new hose.
3)
Open the filter drawer and pull
on the frame arm cover to remove
it, releasing the two prongs.
reassembly:
Perform the
operations in reverse to reassemble
the new assembly.
note:
adjust the hose’s position
so that it runs along the joint of
the moving arm when in its
lower position.


