32
33
4 service sheets: structural components
service sheets: structural components
>
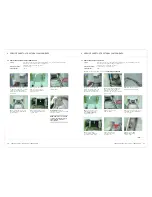
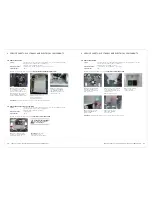
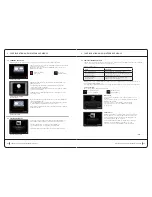
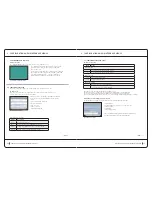
4.7 rePlacing tHe Filter HouSing (cont.)
4)
Unscrew the four screws
(T20 Torx) from the bottom
plate (six screws in the first
version), and lift the plate by
moving it down and up.
reassembly:
Perform the operations in reverse to reassemble the new assembly.
5)
Disconnect the sensor.
Disconnect the two hoses from
the filter housing. (Remove the
clamps, if necessary, depending
on the version.)
6)
Unscrew the four screws
(T20 Torx) on the housing
and set it aside.
2
1
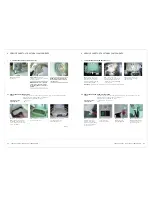
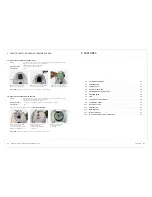
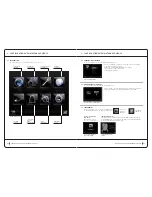
4)
Unclip the side coves
by pulling up and lifting
in order to release the
two internal guides.
3)
Unclick the top/
bottom covers by
firmly pulling down.
2)
Unscrew the locking
screw on the top
of the power socket.
1)
Unscrew the screws
attached to the cover
under the wheel legs
(3mm hex key, depending
on the version). Remove
the wheel covers.
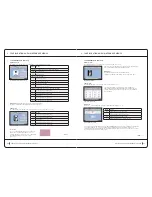
4.8 rePlacing a Front, rear, or Side coVer
Safety:
For safety reasons, the CELLU M6 safety operator or technician should not continue
when the machine is powered on or in 230V areas.
Unplug the power cord from the outlet.
required materials:
1 x T20 torx key, 1 x T3 hex key
operating time:
5 min.
4 service sheets: structural components
service sheets: structural components
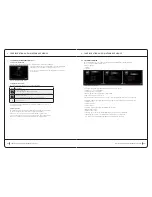
4.7 rePlacing tHe Filter HouSing
Safety:
For safety reasons, the CELLU M6 safety operator or technician should not continue
when the machine is powered on or in 230V areas.
Unplug the power cord from the outlet.
required materials:
1 x T20 torx key.
operating time:
15 min.
1)
Open the head storage
drawer, empty it, and remove
the bottom. Unscrew the four
screws holding the slides, and
remove the drawer.
2)
Unclip and raise to remove
the head storage tray.
3)
Unscrew the six screws
(T20 Torx) from the top
plate and remove it.
cont .
>
>
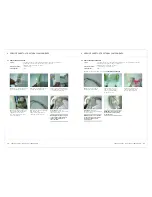
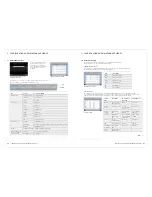
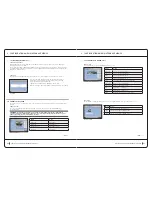
4.6 rePlacing tHe toP Structure (cont.)
reassembly:
Perform the
operations in reverse to reassemble
the new assembly.
note:
adjust the hose’s position
so that it runs along the joint of
the moving arm when in its lower
position.
note:
note the housing for the
movable arm’s hinge housing in
the top frame..
11)
Lift the top frame
to remove it.

