8
9
1 information
overview, operation, and maintenance
2 overview, operation, and maintenance
2 .1
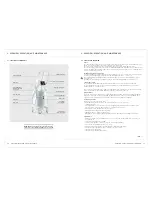
location of components . . . . . . . . . . . . . . . . . . . . . . . . . . . 10
2 .2
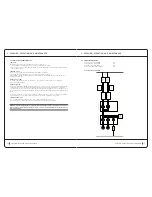
principle of operation . . . . . . . . . . . . . . . . . . . . . . . . . . . . 11
2 .3
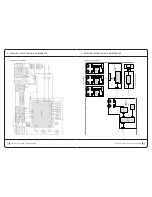
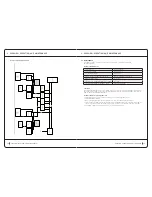
operating diagrams . . . . . . . . . . . . . . . . . . . . . . . . . . . . . . 13
2 .4
maintenance . . . . . . . . . . . . . . . . . . . . . . . . . . . . . . . . . . 17
information
1.3 electrical danger
note:
For your safety, never remove the machine covers, without first switching the off.
then unplug the power cord.
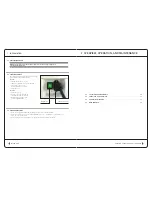
1.4 SWitcHing on/oFF
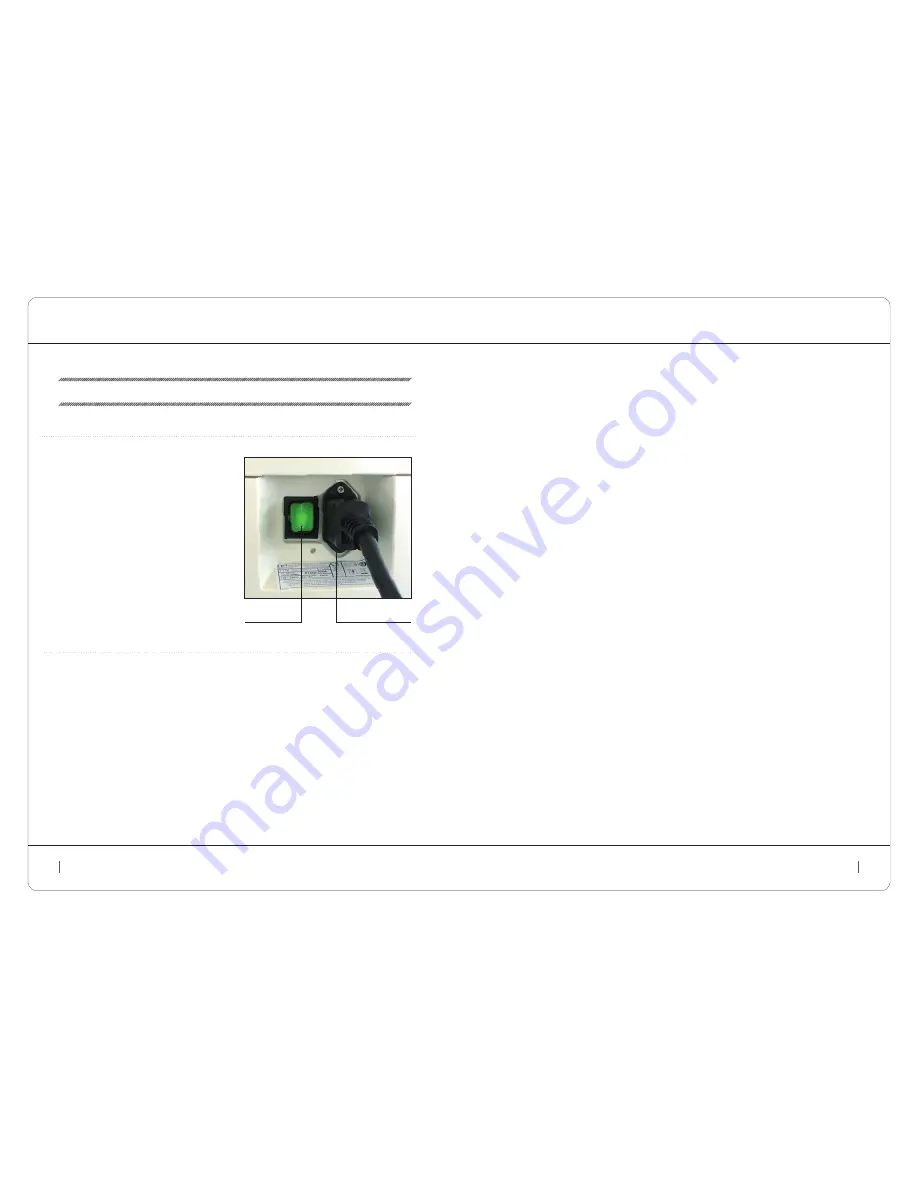
The on/off switch is located on the front of the machine,
to the left of the power cord connection.
turn on:
Confirm that the switch is at “0”.
•
Completely unwind the machine’s power cord.
•
Connect the cord first to the
•
machine and then to the outlet.
Set the switch to “1”.
•
turn off:
Set the switch to “0”.
•
Disconnect the cord, first from the
•
outlet and then from the machine.
Wind the machine’s power card
•
on the designated holder.
1.5 uSage PrecautionS
Do not use the auxiliary adapter directly against the skin like as a treatment head.
•
Do not treat certain sensitive areas of the human body (eyes, ears, cuts and sores, recent injuries, etc.),
•
which can cause serious injury.
To test that the machine is working, use the treatment head in the palm of your hand.
•
power supply socket
on/off switch

