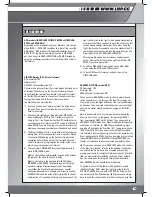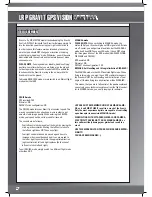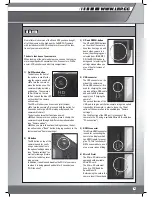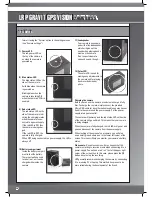
No matter which version of the Gravit GPS you have bought,
all of them come with a high-quality, Full-HD WiFi-camera
with included color-LCD. This chapter will cover all the func-
tions of your camera in detail.
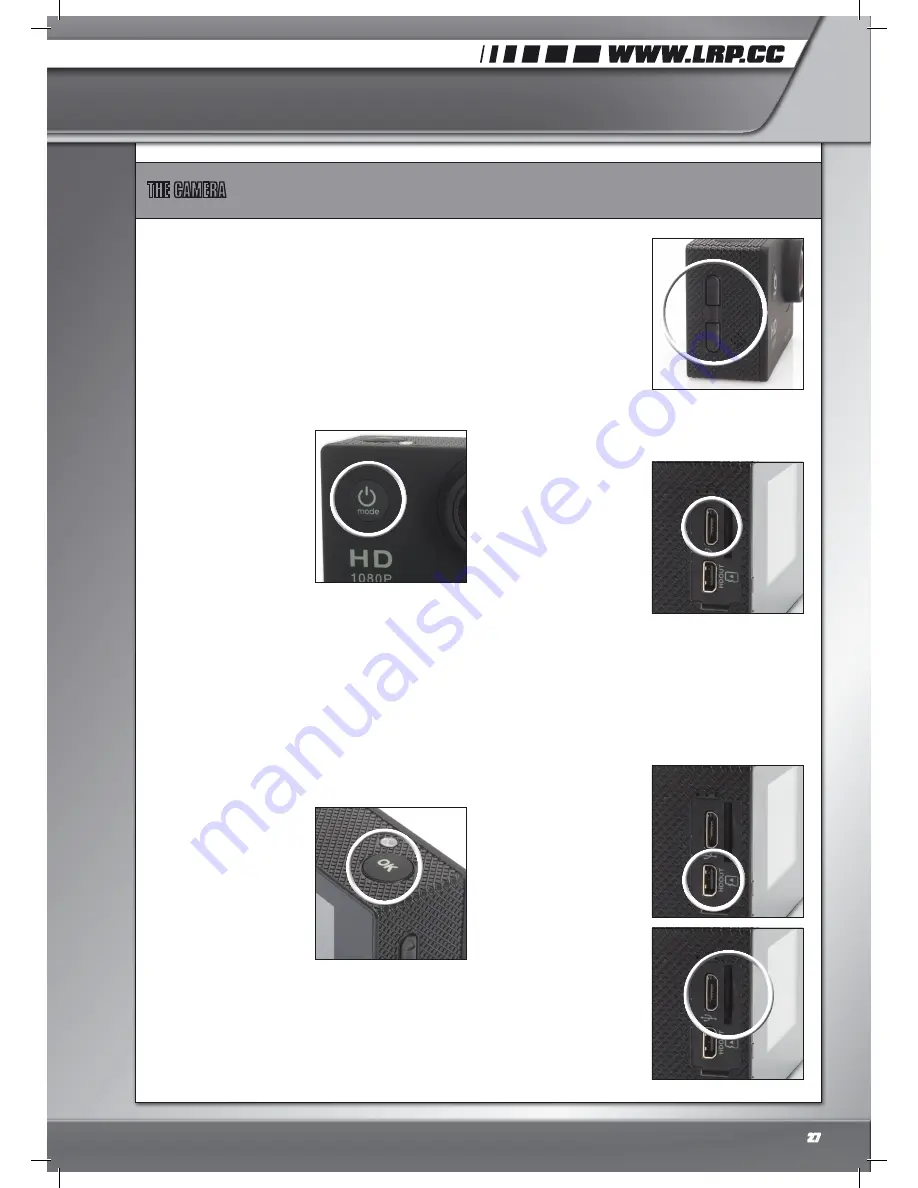
The basic functions of your camera
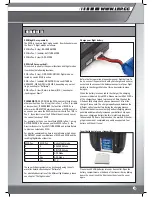
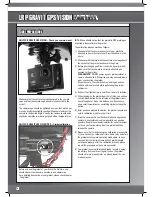
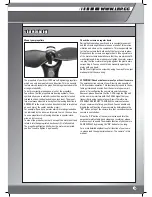
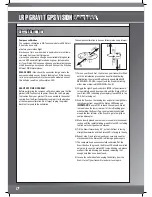
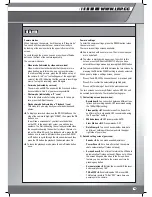
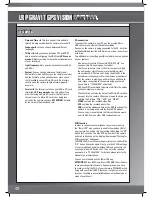
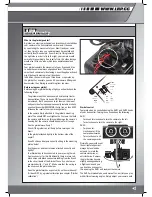
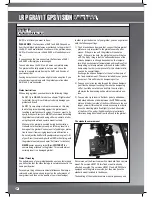
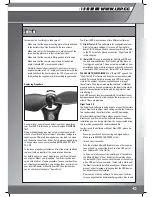
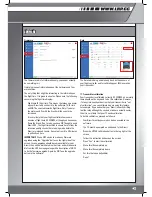
When looking at the pictures below, you can see that your ca-
mera is equipped with several buttons, 2 connectors, 3 LEDs,
a color-LCD, speakers and a battery compartment.
1) On/Off/mode-button
The button on the front of
the camera is used for tur-
ning the camera on and off.
To turn the camera on,
press the button once. The
camera will play a melody
and boot up. The camera’s
LCD will turn on, the red
LED on top and the blue LED
on the side of the camera
will come up.
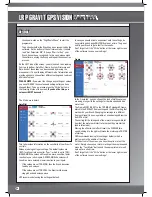
The LCD will show you a live-screen (start screen)
To turn the camera off, press and hold the button for
2 seconds and let go off it. A melody will play and the
camera will shut off.
The button has two other functions as well:
When the camera is on and you press it shortly, the
camera will cycle through its different operation-modes
(see “Camera modes”).
When you are in the options/settings menue, the but-
ton will serve as a “Back” button, bringing you back to the
last screen (see “Camera settings)
2) OK button
The OK button on top of the
camera is used for confir-
ming a selected option in
the options/settings menue
(see “Camera settings”) as
well as for taking a picture
and to start and stop recor-
ding a movie.
In addition, it enables and disables the WiFi of your came-
ra when it is being pressed and held for 2 seconds (see
“WiFi function”)
3) UP- and DOWN-button
The UP and DOWN buttons
on the side of the camera
have function to go up and
down when you are in a
menu, thus changing your
selected item. IN ADDITI-
ON, the DOWN button is
being used for entering the
settings menue when you
are on the start screen of
the camera.
4) USB-connector
The USB-connector on the
side of the camera is a
Micro-USB-connector. It is
used for charging the came-
ra using a Micro-USB-cable
and a suited USB-power-
supply (see “Charging the
camera”).
The second function of the
USB-port is to give out the live-camera image to a suited
transmitter, for example. In order to do so, the TV-out
option of the camera has to be enabled (see “Camera
settings”).
The third function of the USB-port is to connect the
camera to the PC, using a suitable Micro-USB-cable (see
“PC-connection”)
5) HDMI-connector
This Micro-HDMI-connector
is used for connecting the
camera to a display which
has HDMI-inputs, for exam-
ple a TV. This function will
NOT be covered here, use it
at your own risk and liking.
6) Micro-SD-slot
The Micro-SD-slot must be
equipped with a suitable
Micro-SD card.
The Micro-SD card must
have 4 to 32 GB and be
Speed-Class 10.
Before using the card in the
camera, insert the card and
THE CAMERA
27

