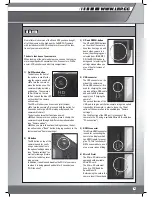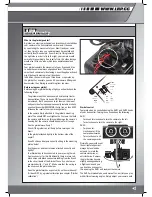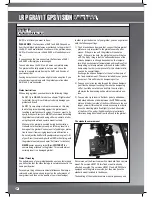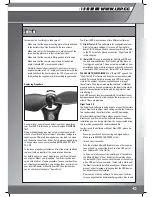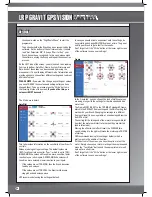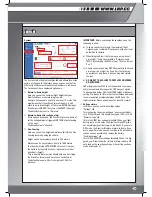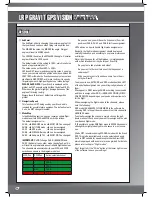
Camera modes
When turning on the camera, it will boot up in “Video-mode”.
You can check the mode that your camera is currently in
by looking at the icon/symbol in the upper left corner of the
screen.
To cycle through the modes, you can press the on/off/mode-
button on the front of the camera repeatedly.
The camera-modes are:
- Video-mode (indicated by video-camera-icon)
Video-mode is the standard mode that the camera is in
when booting up. In this mode, you can record movies.
To start recording a movie, press the OK button on top of
the camera. A red “rec” text will appear at the upper right
corner of the LCD, indicating that the camera is recording a
movie. To stop the recording, press OK again
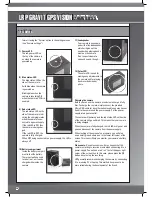
- Car-mode (indicated by car-icon)
The car mode will NOT be used with the Gravit and will not
be covered here. Use it at your own responsibility.
- Photo-mode (indicated by a “P”-icon)
This is the photo mode for taking pictures. To take a pic-
ture, press the OK-button once.
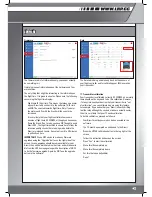
- Playback-mode (indicated by a “Playback”-icon)
This mode let’s you play back your recorded videos and
photos.
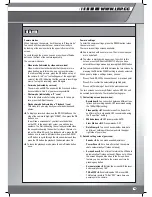
To display a recorded video, use the DOWN-button on the
side of the camera to high-light “VIDEO”, then press the OK
button once.
You will see a screenshot of your last recorded video
on the LCD. In the upper right corner, you will see two
numbers. The first is showing the currently selected video,
the second is showing the number for videos that are sto-
red on the Micro-SD-card. To playback a vide, press the OK
button once, to select a different video, press the DOWN
or UP button to cycle through the video-numbers and then
press the OK button the playback the desired video file.
To leave the playback-mode, press the on/off/mode button
once.
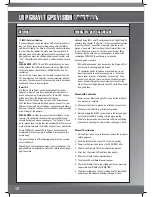
Camera settings
To enter the camera settings, press the DOWN button (when
the camera is on).
There are two settings screens available:
One is marked with a camera icon. That is the screen you
are in by default.
The other is marked with a gear-icon. To switch to this
screen, press the OK button DIRECTLY after you have
entered the settings menue by pressing the DOWN button.
You can switch back and forth between the two screens by
pressing the OK button WHEN nothing is already selected.
When you are inside a settings screen, you can:
- Press UP and DOWN to choose the next or previous point
- Press OK to confirm the selected/high-lighted point
- Press on/off/mode to get back to the previous screen
The two screens cover many different options. NOT ALL will
be covered here in details. The important settings are:
1) First setting screen (camera-icon):
- Resolution
You can switch between different reso-
lutions and recording speeds. LRP recommends using
the 1080p(30fps)setting.
- Video quality
Choose between Fine, Super Fine
and Normal. For best quality, LRP recommends using
the “Super Fine” setting
- White balance
LRP recommends: AUTO
- Slow Motion
LRP recommends: OFF
- Date Stamp
You can choose whether date, date
and time or nothing will be stamped into the upper
right side of your video.
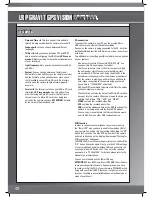
2) Second setting screen (gear-icon)
- Sounds
You can make sound adjustments
- Power Save
Set a time after which the camera
shuts automatically off (when not used)
- Screen Save
Set a time after which the LCD shuts
automatically off (when not used). Please note: When
the screen has gone blank due to the Screen-Save
feature, you can reactivate the screen any time by
pressing any button
- Screen rotation
Rotates the screen AND the recor-
ded movie/photo by 180°
- TV-Out/FPV
Enables/disables TV-Out over USB.
This feature resets to TV-Out “OFF” every time you
power-cycle the camera.
THE CAMERA
29

